














How to Make Epoxy Resin Coasters
A Step-by-Step Guide for Beginners
Resin coasters are one of the most satisfying beginner projects you can tackle with epoxy. They're easy to make, quick enough to finish in a weekend, and make great personalized gifts. Whether you're looking to protect your coffee table in style or experiment with color and design for the first time, learning how to make resin coasters is a natural first step into the world of epoxy art.
This guide walks you through the full process, from gathering your supplies to demolding a finished set of epoxy coasters, with tips for adding color, avoiding common mistakes, and getting a clean, professional result every time.
What You Need to Make Resin Coasters
Resin and Hardener
A crystal-clear casting resin is the foundation of this project. Look for a resin formulated for artistic applications with a low viscosity and self-leveling. A simple 1:1 mix ratio (equal parts resin and hardener, by volume) makes measuring much easier, especially for beginners. For a standard set of four coasters in square or hexagon molds, a pint or quart kit will give you plenty to work with and a little extra for practice pours.
Silicone Coaster Molds
Silicone molds are the easiest option for resin coasters because cured epoxy releases cleanly from flexible silicone without the need for mold release agents. Square and hexagon shapes are popular choices, typically around 4 to 4.5 inches, which is a practical size for most drinks. Reusable silicone molds hold up well across multiple pours, making them a worthwhile investment if you plan to make coasters more than once.
If you plan on embedding objects and doing multiple layers, opt for a thicker ½”-1” coaster mold.
Project kits that contain all the basic supplies are a great option if you're just getting started.
Pigments and Colorants
Mica powders and alcohol inks are the two most popular colorants for resin coaster projects, and they create very different effects. Mica powders are finely milled metallic or pearlescent pigments that disperse beautifully in resin, giving shimmery, dimensional colors. Alcohol inks are fluid and translucent, which makes them excellent for swirling, marbling, and layered color effects. You can use them separately or combine both in the same pour. Always confirm that any colorant you use is compatible with epoxy resin before adding it to a project.
Mixing and Measuring Tools
Accurate measuring is one of the most important parts of working with epoxy, so having the right tools matters. You'll need graduated plastic mixing cups (half-quart size works well for a set of coasters), small disposable beakers or cups for mixing individual colors, wooden stir sticks, and plastic syringes for transferring small amounts of tinted resin with precision.
Safety and Workspace Supplies
Wear nitrile gloves to protect your skin from uncured resin, which can cause irritation after repeated exposure.
Work in a well-ventilated area to avoid breathing in fumes.
A silicone project mat or plastic sheeting protects your work surface, and it makes cleanup significantly easier since cured epoxy peels cleanly off silicone.
Gather some cotton rags or paper towels and have denatured alcohol on hand for wiping up any drips while the resin is still wet.
Have painters tape on hand for helping remove dust and debris from your molds prior to pour, and for sealing off the edges if you choose to topcoat your coasters.
A Heat Gun or Torch
A heat gun or small butane torch is useful for eliminating surface bubbles after you've poured the resin. After the epoxy settles in the mold, pass the heat gun or torch over the surface from about 6 -8” above, moving steadily back and forth. The heat causes bubbles to rise and pop before the resin begins to gel. Be careful not to hold the heat in one spot, as overworking an area can scorch the resin surface, or worse, burn and ruin your mold.
Setting Up Your Workspace
Epoxy is sensitive to both temperature and contamination, so a little preparation goes a long way toward a clean result. Before you mix anything, run through this checklist:
- Temperature between 65 -75°F. Work in temperatures below 65°F and your resin thickens and won't release bubbles easily; above 75°F, it may begin to gel faster than expected
- Humidity below 60%. Excess moisture in the air can affect how the resin cures and can cloud a clear finish
- A flat, level surface. Epoxy self-levels to whatever plane it's sitting on, so even a slight tilt can leave one side of a coaster mold noticeably thicker than the other
- A dust-free environment. Clean your space thoroughly before you begin to minimize chances of dust getting into your uncured epoxy; having a fan running for ventilation is ideal, so ensuring there isn’t dust around that will get blown up and into your workspace is best practice
- All tools and colorants laid out in advance. Once the resin and hardener are mixed, the clock starts; a typical casting resin gives you about 20 -30 minutes of working time before it begins to thicken noticeably
Pro Tip: If your workspace or resin materials are below 65°F, warm the sealed resin and hardener bottles in a warm water bath before mixing. Dry them thoroughly before opening to avoid introducing moisture. The sweet spot is 70°F, which gives you the best combination of flow, self-leveling, and bubble release.

Resin Coaster Design Ideas and Inspiration
One of the best things about making resin coasters is the creative freedom. The same basic process produces completely different results depending on the colors, techniques, and materials you use. Here are some of the most popular designs to try.
Ocean Waves
With their realistic waves and beachy colors, it’s no surprise ocean-inspired coasters are among the most popular resin projects. The combination of deep navy or teal mixed resin, layered with translucent blues and greens and a touch of white, creates stunning depth, dimension, and natural movement . You’ll want to pour a base before making the waves on the top layer. For an extra coastal feel, embed small shells or sand in the base layer before the top pour.
The below example shows epoxy waves made on top of a tile coaster.

Geode and Agate
Geode-style coasters use layers of translucent and opaque pigments arranged in irregular rings to mimic the cross-section of a gemstone. Deep purples, golds, and dusty pinks are a classic combination, and mica powder gives these designs their signature sparkle. The technique involves pouring a base color, then carefully adding rings of alternating colors using a syringe or toothpick, working from the outside in. Running some gold or silver paint along the edges of the cured coaster ties the whole thing together.

Marble Effect
Marble coasters are elegant and relatively easy to achieve. Start with a white or cream base pour and add thin ribbons of black, gray, or gold pigment across the surface. Use a toothpick, skewer, or the tip of a wooden stir stick to gently drag the colors into vein-like patterns. Less manipulation gives you a cleaner, more realistic marble look. Over-swirling tends to muddy the colors together, so a light hand goes a long way.
Petri Dish Effect
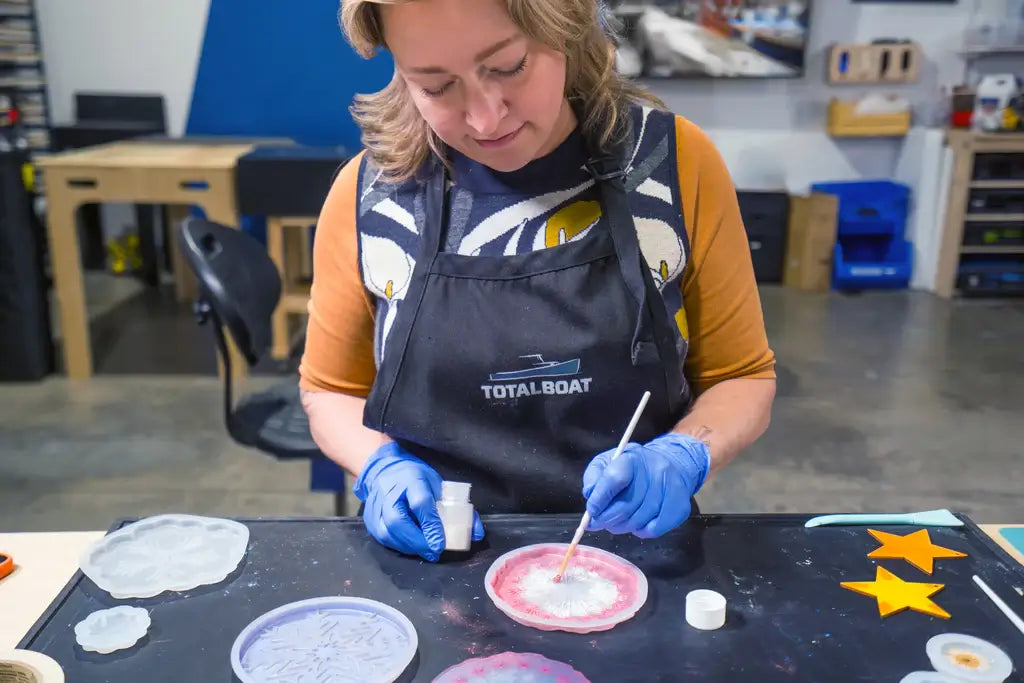
The petri dish effect is a visually striking, and it's a very beginner friendly technique. The process involves dropping alcohol ink onto the surface of poured resin, then adding another thin layer of clear epoxy, and more alcohol ink drops. You continue to layer untinted epoxy and alcohol ink, and to really get the petri dish effect, using white alcohol ink is a must. No two pours produce the same result, which is a big part of the appeal. The finished coasters tend to look far more complex than they actually were to make!

Solid Color and Embedded Objects
Solid-color coasters made with a single, well-mixed hue are perfect for matching giftsets, and make a great first project for beginners. Mica powders in metallic finishes like rose gold, bronze, or silver offer a beautiful, shimmery result. Use opaque pigments for bold, solid color that highlights the resin’s glossy finish. If you're after something more luminous, transparent alcohol inks create vibrant, stained glass effects that catch and reflect the light.
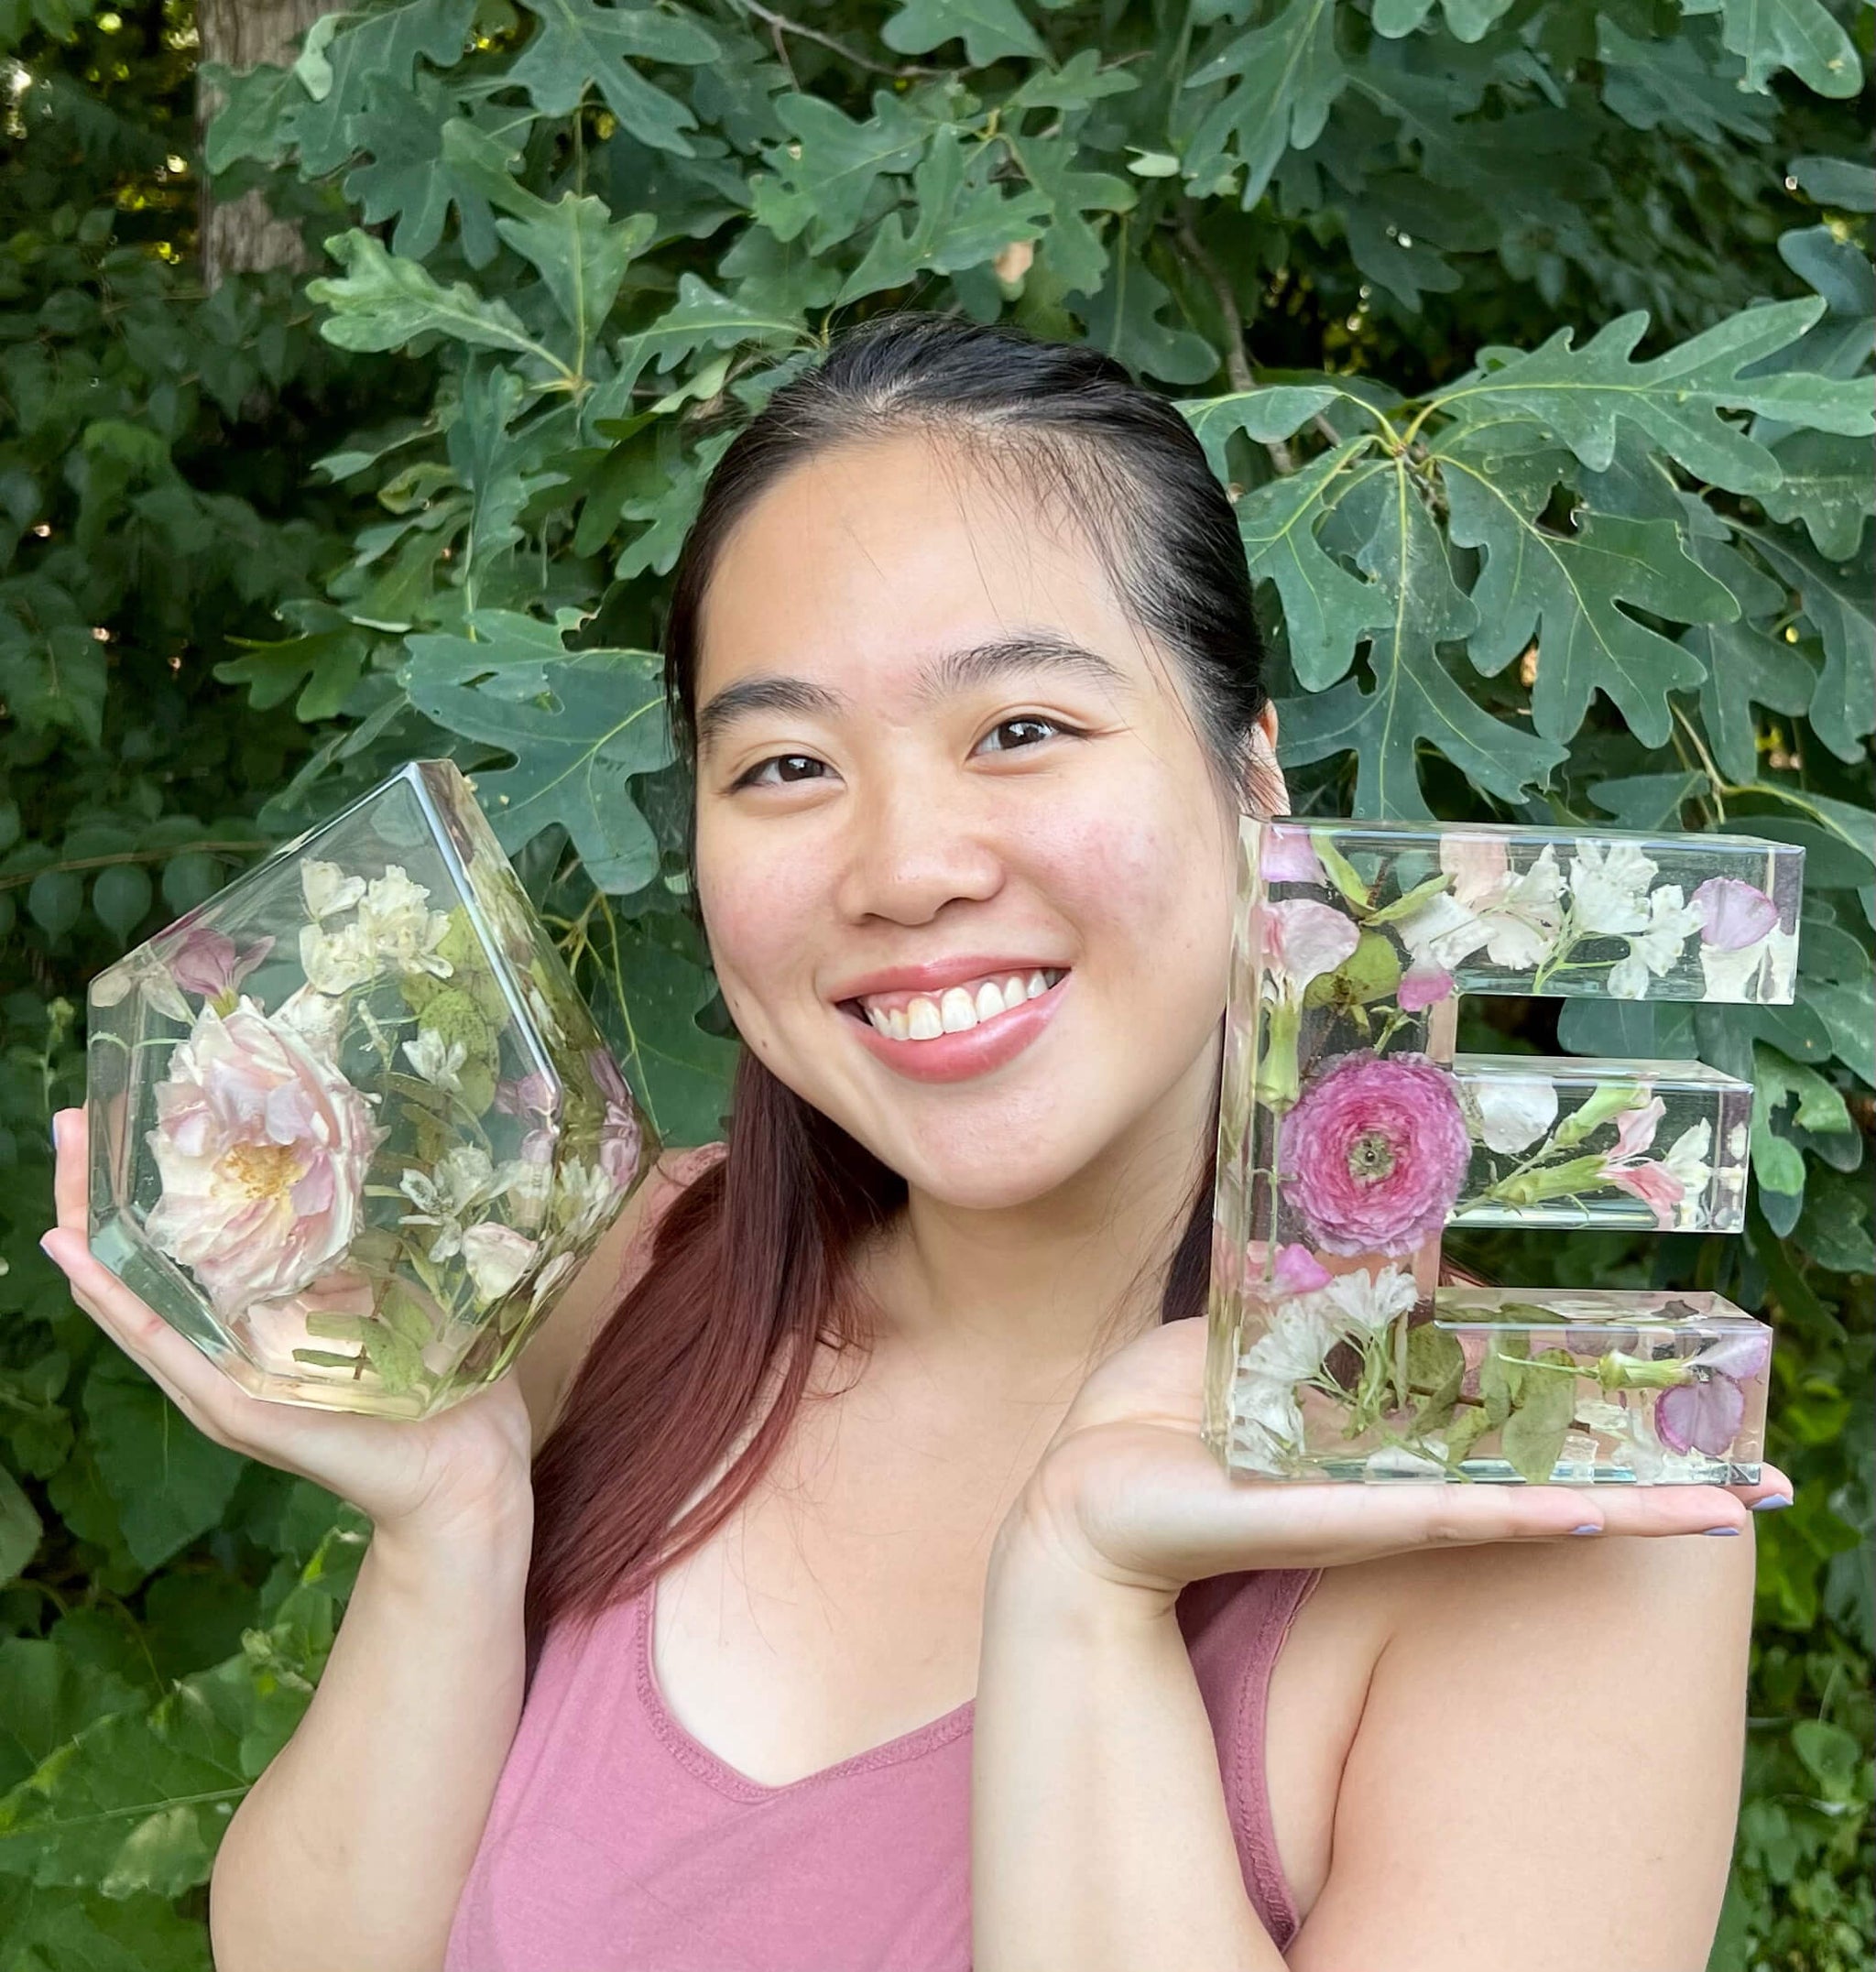
For coasters with embedded elements, such as pressed flowers or decorative foils, place them in a middle layer of the mold before pouring the final layer, and they will appear suspended in the finished coaster.

Above: Pressed floral coasters by EllaFulDeco
How to Make Epoxy Resin Coasters: Step by Step
Step 1: Measure and Mix Your Resin
Pour equal volumes of resin and hardener into a clean mixing cup, measuring carefully. For a set of four standard silicone coaster molds, a few ounces of mixed resin is typically enough, but it's worth using an epoxy resin coverage calculator to estimate your needs before you start. Once you've combined both parts, stir slowly and thoroughly for 3 - 5 minutes, scraping the sides and bottom of the cup as you go. Avoid stirring aggressively, as this whips air into the mixture and creates more bubbles to deal with later.
After the first mix, transfer the blended resin to a second clean cup and stir for another 2 - 3 minutes. This two-cup method is one of the most reliable ways to ensure thorough mixing and avoid soft or sticky spots in the cured result.
Let the mixed resin sit for a minute or two before adding colorants. This gives any air introduced during mixing a chance to start rising to the surface on its own.

Step 2: Add Your Colors
Divide your mixed resin among smaller cups based on how many colors you're using. Add your chosen pigments, inks, or powders to each cup and stir to combine. A little colorant goes a long way, especially with mica powder and pigments, so start conservatively and add more if needed. Keep track of how much resin is in each cup so you can plan your pour and avoid running short mid-design.
Step 3: Pour into the Mold
Set your silicone molds on a flat, level surface. Pour your base color into the mold first, filling it to roughly half or three-quarters full depending on your design. For a layered or swirled look, add secondary colors on top or alongside the base pour, then use a toothpick, stir stick, or syringe to create your desired pattern.
Pour slowly to minimize splashing and the introduction of new bubbles. For designs with embedded objects, place them in the mold and let that first layer gel before pouring the final top layer. Objects like shells or dried flowers may float or sink depending on their weight, so timing the layers can help control where they land in the finished piece.


Step 4: Remove Bubbles
Once you've finished pouring, let the molds sit for about 5 to 10 minutes – This gives the resin time to settle and allows bubbles to begin rising on their own. Then pass a heat gun or torch lightly over the surface, staying 6 - 8” above the resin and moving constantly. Do a second pass 10 - 15 minutes later to catch any bubbles that rise during the early stages of cure.
Avoid the temptation to keep going back to the molds once the resin starts to thicken. Overworking the surface after the resin begins to gel can disrupt the finish and leave texture or drag marks.
Pro Tip: Dust, bugs and pet hair can ruin a freshly poured coaster. Once you've finished the bubble pass, cover your molds loosely with a clean cardboard or plastic box turned upside down — it keeps the surface protected during cure without trapping heat or touching the resin. Avoid sealing anything completely airtight, as some airflow helps the cure process proceed normally.
Step 5: Cure and Demold
Set the covered molds aside in a warm, stable environment and allow the resin to cure undisturbed. A casting resin formulated for artistic applications will typically be tack-free in 6 - 8 hours and ready to demold after a minimum of 24 hours. For best results, wait the full cure time before using the coasters or exposing them to heat and moisture. Full cure, which gives the epoxy its final hardness, generally takes 3 - 5 days at room temperature.
To demold, gently flex the silicone mold and peel it away from the coaster. Silicone releases easily from cured epoxy, and you shouldn't need any tools. If there are any sharp edges on the underside of the coaster, a few passes with fine-grit sandpaper will smooth them quickly.

Finishing Techniques
Taking the time to refine your work turns casts into professional-quality coasters. If there are rough edges on your pieces from excess resin in the mold, you can simply sand them off, or use a deburring tool to scrape the edges clean. If the mold has been heavily used and leaves a dull surface after demolding, top coat the coaster with another layer of epoxy resin.
To prevent excess drips, you can use painters tape to seal off the edges and bottom when topcoating your coasters.
Pro Tip: Another option resin artists find useful when sealing off the bottoms of coasters is to use a washable art & craft glue. Simply coat the bottom with glue and let it dry fully before turning over the coaster and top coating. Once the top coat is cured, you can peel off the glue from the bottom.
Troubleshooting Common Resin Coaster Problems
Sticky or Soft Surface After Curing
If your coaster comes out of the mold tacky or flexible, the most likely cause is an improper mix ratio or insufficient mixing. Double-check that you measured the correct ratios of resin and hardener as specified by the instructions, and that you mixed thoroughly using the two-cup method. If the entire batch is soft, it may be salvageable by placing it in a warmer environment for 12 - 24 hours, which can sometimes restart the cure. If only one area is sticky, the cause is usually an unmixed streak.
Bubbles in the Finished Coaster
Surface bubbles that weren't caught with a heat gun will cure in place and appear as small craters or pinholes on the top of the coaster. These can often be fixed by applying a thin, fresh layer of mixed resin over the top. This thin topcoat self-levels and fills in surface imperfections cleanly – many artists prefer to add a topcoat regardless of imperfections for added shine and durability.
Bubbles throughout the body of the coaster (rather than just the surface) are usually caused by mixing too aggressively, working in cold temperatures, or pouring too thick. For future pours, slow down the mixing and ensure your workspace and materials are at the recommended temperature.
Colors Muddied or Blended Too Much
If your swirls or patterns disappeared into a single blended color, the epoxy was worked too much after pouring. The formula is very fluid at first and colors blend quickly with minimal manipulation. For sharper, more defined patterns, use less stirring and let the resin do more of the movement on its own. Pouring colors in distinct locations rather than all in one spot also helps preserve separation.
Fisheyes or Bare Spots on the Surface
Fisheyes are small, round areas where the resin has pulled away from the surface, usually caused by contamination. Oil from your skin, residue on the mold, or incompatible mold release products are common culprits. Clean your silicone molds thoroughly before each use and avoid touching the interior surface with bare hands. Silicone molds generally do not need a mold release agent, as they are naturally non-stick.

Intermediate Design Idea: You can make coasters with epoxy and wood using larger molds. Example above by Forrest Design Co.
Frequently Asked Questions About Making Resin Coasters
How long do resin coasters take to make?
The hands-on time for making a set of resin coasters is typically 30 - 45 minutes, including measuring, mixing, coloring, and pouring. The rest is waiting: most casting resins are tack-free within 6 - 8 hours and ready to demold after 24 hours. You'll want to give them the full 3 - 5 days to reach complete hardness before using them with hot drinks.
Are resin coasters heat resistant?
Most artistic casting resins are not designed to withstand extreme heat. They can handle normal room-temperature drinks without issue, but placing a very hot mug or pot directly on an epoxy coaster can cause whitening, softening, or surface distortion over time. If heat resistance is a priority, look for the heat distortion temperature on your resin's technical data sheet.
How do you finish the bottom of a resin coaster?
After demolding, check the underside of the coaster for any sharp edges or drips left from the pour. A light sand with 220-grit sandpaper smooths the bottom quickly. Many makers also apply self-adhesive cork or felt pads to the underside of their coasters to prevent scratching on tabletops and add a finished, professional look.
Ready to Make Your First Set of Resin Coasters?
Making resin coasters is a genuinely enjoyable project, and the results are something you'll actually use and show off. Once you've made one set, the process becomes second nature, and the design possibilities are essentially endless. Start with a simple color palette, get comfortable with your working time and pour technique, and build from there!
Have questions about working with epoxy resin? Our technical support team is happy to help. Give us a call at (401) 396-8199 or email us at info@totalboat.com