





















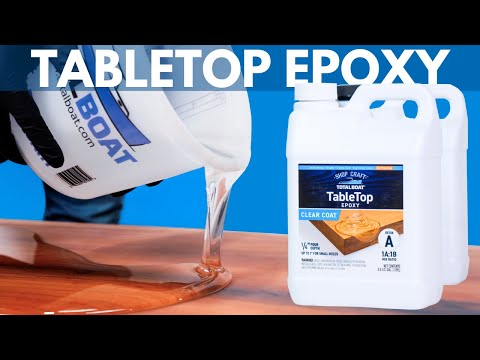


CRYSTAL-CLEAR, HIGH-GLOSS FINISH
Pour clear or add color with pigments, inks & tints
EASY TO MEASURE, MIX, POUR & SPREAD
Simple 1:1 mix ratio & self-leveling formula
SCRATCH, STAIN & YELLOWING RESISTANT
For durable finishes on tables, bars & countertops
IS TABLETOP RIGHT FOR YOUR PROJECT?
This chart will help you choose the right epoxy systemTableTop Epoxy Resin Kits
TableTop Epoxy Resin Kits
CRYSTAL-CLEAR, HIGH-GLOSS FINISH
Pour clear or add color with pigments, inks & tints
EASY TO MEASURE, MIX, POUR & SPREAD
Simple 1:1 mix ratio & self-leveling formula
SCRATCH, STAIN & YELLOWING RESISTANT
For durable finishes on tables, bars & countertops
IS TABLETOP RIGHT FOR YOUR PROJECT?
This chart will help you choose the right epoxy systemCouldn't load pickup availability
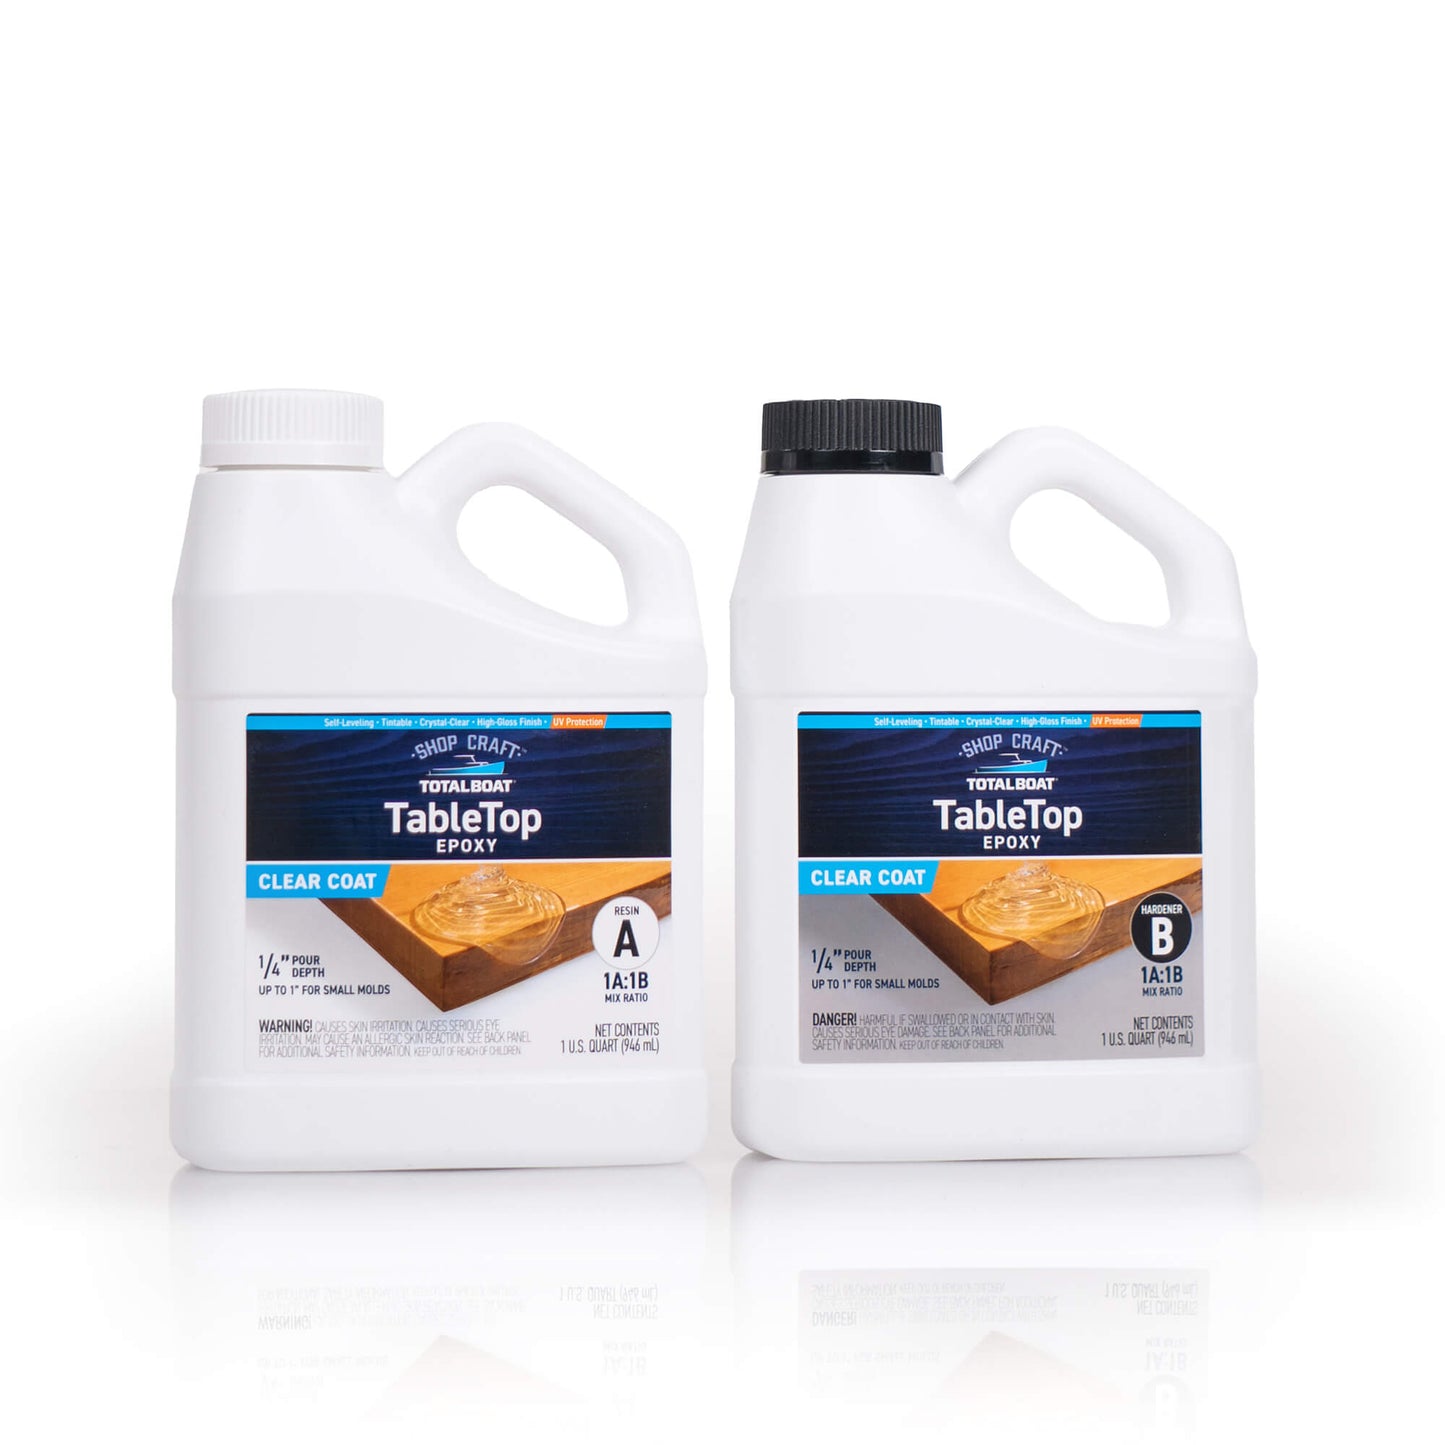
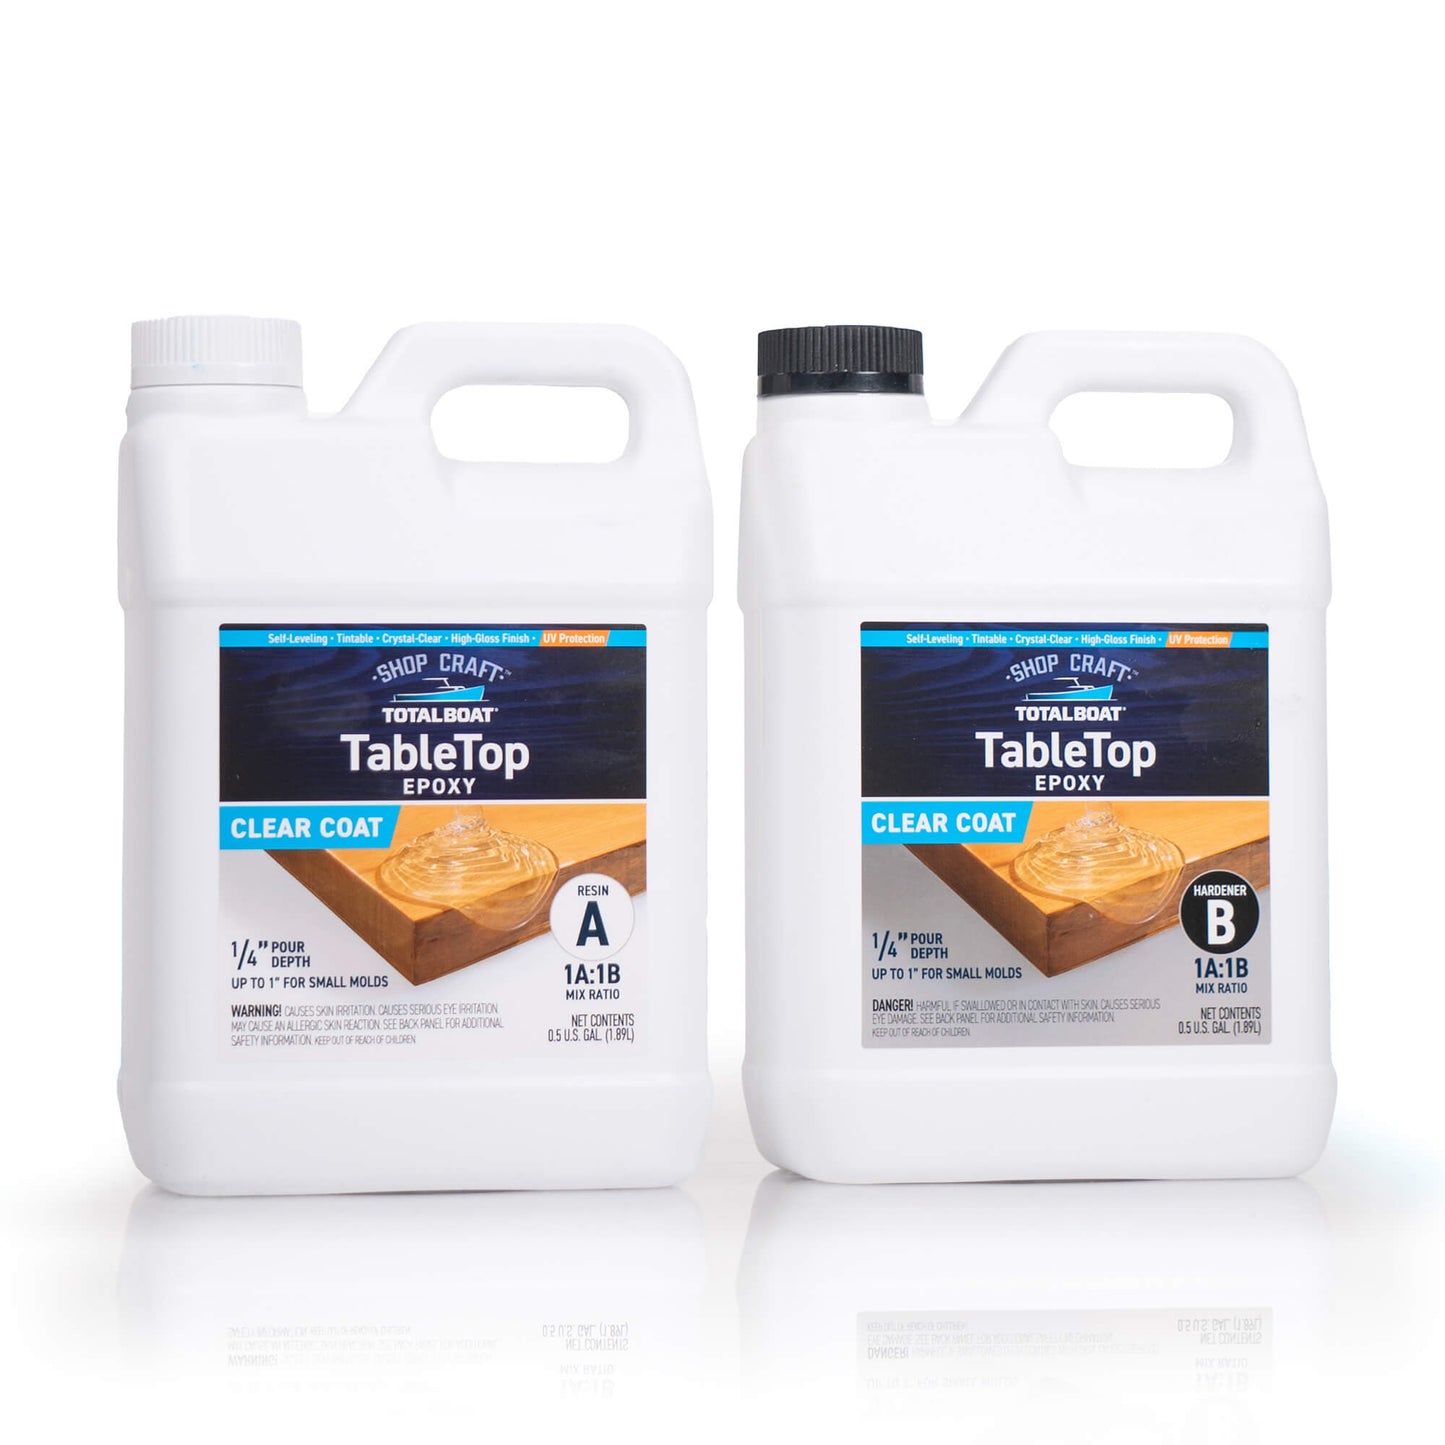


CRYSTAL-CLEAR COATING EPOXY FOR TABLES, BARS & COUNTERTOPS
Whether you're looking to create beautiful epoxy countertops in your home or protect tables and bar counters in a commercial space, TotalBoat TableTop & Bar Top Epoxy Kit makes it easy to achieve great results every time. The formula cures to a glassy finish with excellent clarity, a slight blue tint to help prevent yellowing, and excellent resistance to stains and scratches. Use to create durable, waterproof coatings on properly prepared wood, metal, stone, ceramic, concrete, and other porous surfaces.
DO MORE WITH TABLETOP EPOXY - EMBED OBJECTS, COLOR AND TINT, CAST OR COAT
TotalBoat epoxy is clearly the best solution for coating, but we promise you’ll love how this versatile formula can be used to cast shallow molds or create original resin art.
Coat: TableTop Epoxy lets you cover any compatible surface that's been properly prepared, including wooden tables, kitchen counters, bathroom vanities, outdoor bar tops, and cornhole boards. You can even coat lamps, tumblers, wine glasses, and other curved surfaces to make original resin art. The smooth viscosity and self-leveling create pristine, clear layers of up to 1/4" depth. Wait at least 3 hours at 70°F between coats to allow the formula to level and set properly before building up.
Before coating, make sure the surface is clean, dry, lightly abraded when required, and free of contaminants like dust, oil, or moisture. Always apply a seal coat to wood, concrete, and other porous materials before flood coating.
Personalize: For a personal touch, you can embed a variety of objects - bottle caps, buttons, charts, coins, crystals, photographs, shells, tile - the possibilities are endless! Pour a base layer and allow it to cure, then glue down your items (we recommend using UV cure resin or TotalBond CA glue). Add thin layers to encase the embedded objects or create a floating effect by adding in between layers. For delicate items like photos and cards, seal with a clear coat before adding to an epoxy layer.
Cast: With a max pour depth of 1" when casting with 6 fl. oz. or less, TotalBoat TableTop epoxy can be used with shallow molds to make original home decor, crafts, and jewelry. The same durability that protects furniture ensures that any coasters, dice, figurines, holiday ornaments, pendants, trays, and vases made can withstand daily wear-and-tear while beautifying your space.
For larger molds, build up thin layers to create beautiful effects or use TotalBoat Thickset Deep Pour for up to 2" pours. Not sure which way to go? We have a handy comparison guide between coating and deep pour epoxy so you choose the right one for your project.
Create: Want to add creative flair to your epoxy resin countertops? Mix the clear formula with mica powder, alcohol inks, or pigments to create beautiful effects and elevate your woodworking or maker project. You can even create original abstract art with dirty pour and fluid painting methods. Check out our Reviews Gallery for your next project inspiration!
LOW-VOC FORMULA FOR LESS ODOR AND BPA-FREE FOR FOOD-SURFACE CONTACT
Some resin systems can have strong fumes and are not safe to use on charcuterie boards, serving dishes, counters, and other food-contact surfaces. TableTop epoxy features a low volatile organic compounds, or VOCs, formula for less odor while stirring, pouring, and spreading -- but keep your workspace well-ventilated or wear a respirator if working in close quarters. And, because it cures into a non-toxic and BPA-free surface, this epoxy resin is more suitable for use on counters, serving boards, and other woodwork that will be used to serve or display food.
Note: Epoxy should not be used on cutting boards or other prep areas. Knives and other sharp objects can damage the epoxy finish, exposing the surface underneath to bacteria while damaging or dulling the blade. To protect and beautify wood cutting boards, we recommend TotalBoat Wood Honey.
TOTALBOAT TABLETOP EPOXY RESIN FEATURES
- Easy-to-use epoxy resin for coating flat surfaces, casting molds, and building layers
- 1:1 ratio of resin and hardener by volume for simple measuring
- Syrup-like viscosity to easily control flow while pouring
- 2-part formula cures at room temperature
- Excellent bubble release and self-leveling help create a smooth surface
- Crystal-clear, high-gloss finish with no blushing
- 100% waterproof with resistance to heat, scratches, stains, discoloration from sunlight, and yellowing
- BPA-free for use on food-contact surfaces like serving boards and charcuterie sets
- Low-VOC formula helps minimize strong odors during mixing and application
- Available in a variety of kit sizes to match your project size – 2 Quart, Gallon, 2 Gallon, and 4 Gallon
Not sure how much table top epoxy resin you’ll need? Try our simple epoxy calculator to determine how much your project will require.
TABLETOP KIT SIZES
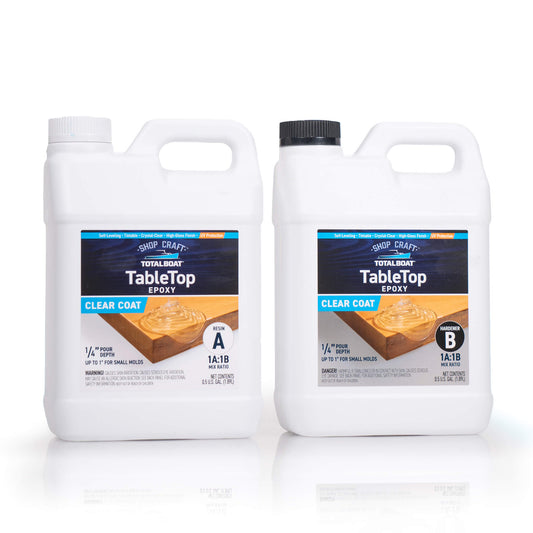
- 2-Quart Kit (1 Quart Epoxy Resin Part A, and 1 Quart Epoxy Hardener Part B)
- 1-Gallon Kit (½ Gallon Epoxy Resin Part A, and ½-Gallon Epoxy Hardener Part B)
- 2-Gallon Kit (1 Gallon Epoxy Resin Part A, and 1 Gallon Epoxy Hardener Part B)
- 4-Gallon Kit (2 Gallons Epoxy Resin Part A, and 2 Gallons Epoxy Hardener Part B)
FREQUENTLY BOUGHT TOGETHER
-
-


-


-
-
Halcyon Water-Based Marine Varnish
Regular price $23.99-$137.99Sale price $23.99-$137.99Unit price per -
-


SEE HOW EASY IT IS TO USE TABLETOP EPOXY
SEE HOW EASY IT IS TO USE TABLETOP EPOXY
TECHNICAL DATA
- Multi-Surface Application: Apply to properly prepared wood, metal, stone, ceramic, and concrete surfaces
- Edge Taping: Before mixing and pouring, contain the liquid epoxy by taping the edges of the top. Packing tape is best because it releases cleanly and easily after the epoxy cures.
- Colorants/Tints: Epoxy dyes, colorants, or special effects additives can be added and mixed in. Only use products designed for use with epoxy.
- Seal Coat Application: Brush
- Maximum Pour Depth per Layer (Coating): Up to 1/4"
- Maximum Pour Depth per Layer (Casting up to 6 fl. oz.): Up to 1"
- Recommended Working Temperature & Relative Humidity: 65-80°F with 0-60% humidity
- Working Time: 40 minutes @ 70°F
- Initial Mixed Viscosity: 2250 cP @ 77°F
- Gel Time (150g mass): 72 minutes @ 77°F
- Full Cure: 5-7 days
- Shelf Life: At least 1 year (under proper storage conditions)
- Kit Includes: Resin (Part A) and Hardener (Part B)
- Cured Color & Finish: Clear, High Gloss
- Mix Ratio by Volume: 1A:1B (1 part resin to 1 part hardener)
- Mix Ratio by Weight: 1.2A:1B (1.2 parts resin to 1 part hardener)
- Coverage for 2-Quart Kit: At 1/8" thick – 6.4 square feet; at 1/4" thick – 3.2 square feet
- Coverage for 1-Gallon Kit: At 1/8" thick – 12.8 square feet; at 1/4" thick – 6.4 square feet
- Coverage for 2-Gallon Kit: At 1/8" thick – 25.6 square feet; at 1/4" thick – 12.8 square feet
- Coverage for 4-Gallon Kit: At 1/8" thick – 51.2 square feet; at 1/4" thick – 25.6 square feet
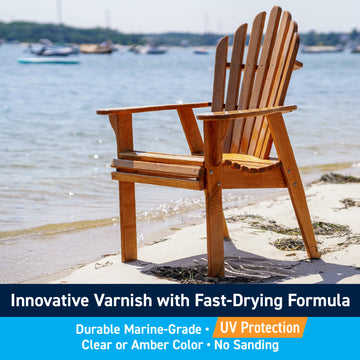
- UV Resistant: Yes - For superior UV protection, coat with UV-blocking varnish.
- Hardness: 82 Shore D
- Heat Deflection Temperature: 118°F
- Thinner: Do not thin this product
- Surface Prep Solvent: Denatured alcohol or acetone (only for use on compatible substrates)
- Cleanup: Part A – EPOXY RESIN: Denatured alcohol, acetone, vinegar
- Cleanup: Part B – HARDENER: Warm, fresh water and a mild soap, or denatured alcohol
- Cleanup: Mixed Epoxy: Scrape up and remove any uncured material, as needed. Denatured alcohol, lacquer thinner, or acetone may be used to clean up uncured, mixed epoxy. Cured epoxy must be removed mechanically.
-
TableTop Epoxy Resin Kits
- Best for:
- Choose It When:
- Mix Ratio by Volume:
- Working time:
- Maximum Pour Depth:
- Full Cure Time:
- Crystal-Clear:
- BPA-Free:
- Outdoor Use:
- Available Kit Sizes:
- THIS ITEM
-
TableTop Epoxy Resin Kits
- Best for: Table tops, bar tops, counters, furniture, and shallow molds
- Choose It When: You need an easy-to-use, high-gloss coating for surfaces or small-volume castings.
- Mix Ratio by Volume: 1A:1B
- Working time: 40 minutes at 70°F
- Maximum Pour Depth: Up to 1/4" for coatings; Up to 1" for small castings with max 6 fl. oz. mixed epoxy
- Full Cure Time: 5-7 days
- Crystal-Clear: Yes
- BPA-Free: Yes
- Outdoor Use: Yes - For superior UV protection, coat with polyurethane varnish.
- Available Kit Sizes: 2 Quart, 1 Gallon, 2 Gallon, 4 Gallon
-

Wave + Marble Art Epoxy Resin Kit
- Wave pours, marbling, lacing, fluid art, decorative panels, and high-gloss furniture coatings
- You need a high-viscosity art epoxy that maintains color separation and keeps detailed effects from over-blending.
- 1A:1B
- 30 minutes @ 77°F
- 1-8"-1/4"
- 5-7 days
- Yes
- Yes
- No
- 1 Gallon, 2 Gallon

-
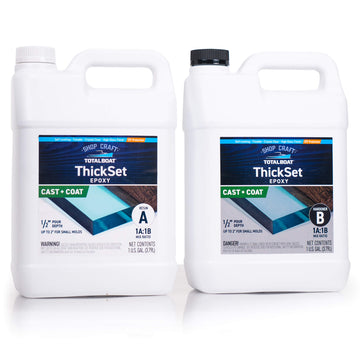
ThickSet Cast + Coat Deep Pour Epoxy Resin Kits
- Small molds, coasters, jewelry, decorative castings, and smaller river or slab pours
- You need a deep-pour epoxy for smaller-volume castings with a faster demold and cure than Fathom.
- 1A:1B
- 30 minutes @ 77°F
- 1/2" for river pours, slab pours; 2" for smaller castings using less than 10 oz. of epoxy
- 3-5 days
- Yes
- Yes
- Yes - For superior UV protection, coat with polyurethane varnish
- 2 Quart, 1 Gallon, 2 Gallon, 4 Gallon
-
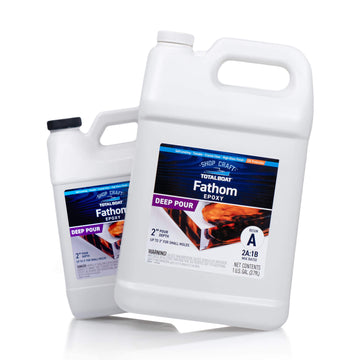
Fathom Deep Pour Epoxy Resin Kits
- River tables, live-edge slabs, flower preservation, sculptures, and large-volume castings
- You need extended working time and deep single pours for a large or complex project.
- 2A:1B
- 4-6 hours
- 3" for larger castings, and up to 2" deep for river tables, slab pours, and live edge tables
- 5-10 days
- Yes
- Yes
- Yes - For superior UV protection, coat with polyurethane varnish
- 1.5 Gallon, 3 Gallon, 6 Gallon
YOU MAY ALSO LIKE
-
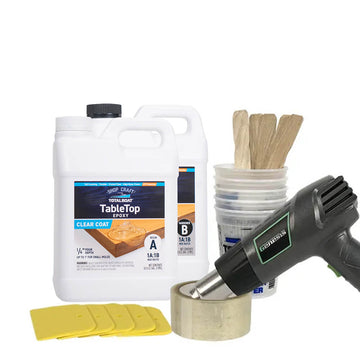
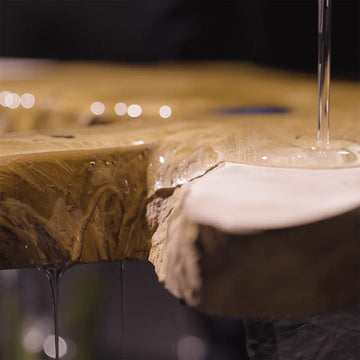
Clear Epoxy Bar Top & Table Top Project Kits
Regular price $89.99-$99.99Sale price $89.99-$99.99Unit price per -
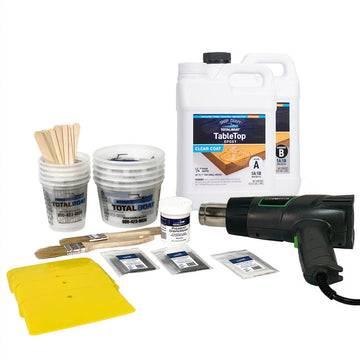
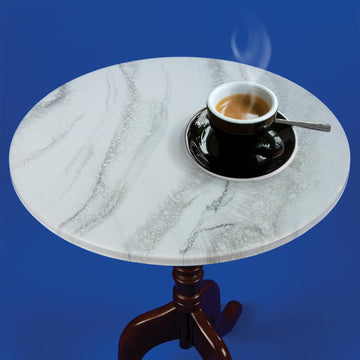
Epoxy White Marble Effect Countertop Kit
Regular price $99.99-$339.99Sale price $99.99-$339.99Unit price per -

Clear High Performance Epoxy Kits
Regular price $40.99-$354.99Sale price $40.99-$354.99Unit price per -


-

ThickSet Cast + Coat Deep Pour Epoxy Resin Kits
Regular price $44.99-$199.99Sale price $44.99-$199.99Unit price per -


FREQUENTLY ASKED QUESTIONS
-
What are the best uses for TableTop Epoxy?
TableTop Epoxy is best for creating clear or pigmented, high-gloss coatings on tables, bar tops, counters, desks, coffee tables, and live-edge furniture. You can also use it for tumblers, embedded-object projects, mixed-media art, and small molds up to 1" deep using no more than 6 fl. oz. per pour. If this is your first time epoxying a table top, use our step-by-step guide for surface prep, seal coating, mixing, pouring, and finishing tips. -
Should I use a coating epoxy or a deep-pour epoxy for my project?
Use TableTop Epoxy for high-gloss coatings on tables, bars, counters, and furniture up to 1/4" thick per layer. It can also be used for small castings up to 1" deep using no more than 6 fl. oz. of epoxy per pour. Choose a deep-pour epoxy for river tables, live-edge slabs, large molds, or projects that require greater depth or volume in a single pour. For a more detailed breakdown, use our selection guide to compare TotalBoat epoxy systems. -
What surfaces can TableTop be applied to?
TableTop Epoxy is compatible with properly prepared wood, metal, concrete, stone, granite, ceramic, tile, glass, laminate, and other compatible surfaces. To prevent adhesion issues, make sure the surface is clean, dry, and free of dust, oil, wax, silicone, moisture, and other contaminants before applying epoxy. Always apply a seal coat before flood coating wood or another porous surface. -
How much epoxy do I need?
The amount depends on the surface dimensions, coating thickness, edges, and whether the material requires a seal coat. Our simple epoxy calculator can use your project dimensions and desired thickness to help determine how much resin you'll need! Once you have your final estimate, the 1:1 mixing ratio by volume makes it easy to measure the right amount of Part A resin with Part B hardener. Our typical coverage at 1/4” thickness is 3 sq. ft. per mixed 2-Quart Kit; 6 sq. ft. per mixed Gallon Kit; and 12 sq. ft. per mixed 2-Gallon Kit. -
What tools do I need to apply TableTop Epoxy?
We recommend a mix of PPE, mixing, and application tools to make your project easier and safer to complete. Always wear gloves and work in a well-ventilated space when applying, or wear a respirator if in a confined space. Use plastic mixing cups with graduated scales for easy measuring and stir with mixing sticks. Pour into a silicone mold or directly on a properly prepared surface, then use a spreader or chip brush to evenly spread the flood coat. If dealing with edges, use masking tape to help prevent drips and reduce sanding needed. If you see bubbles in your layers after you pour, wait 10 minutes then use a heat gun or propane torch to pop away - just be careful not to overuse to prevent distortion. -
How thick can I pour this resin?
For a traditional surface coating on table tops, bar counters, and countertops, you'll want to stay at or below 1/4" to prevent excessive heat and distortion as the epoxy cures. For small castings with 6 fl. oz. max of mixed epoxy, pour up to 1" in a silicone mold. For creating river tables or filling deeper molds, step-pour multiple 1/4″ layers until you get to the desired thickness. Allow each coat to cool and cure for at least 3 hours, then recoat and build up. For deeper coatings up to 1/2", use ThickSet Cast + Coat epoxy resin. -
How many coats do I need?
The number of coats can be as many as you desire for the final thickness. If working with wood and other porous surfaces, always start with a thin seal coat to help prevent air bubbles, then apply a flood coat up to 1/4" thick. To build a thicker finish, apply additional flood coats, allowing at least 3 hours between coats. -
What are the working, recoat, minimum cure, and full-cure times?
Apply and cure it between 65–80°F and 0–60% relative humidity for best results. The total working time will be about 40 minutes. To build up layers, the recoat time is at least 3 hours, where the epoxy is no longer tacky but does not need to be sanded to apply the next layer. For minimum use, wait 3-5 days, but save the heavy or day-to-day use to after the full cure at 5-7 days. -
Can TableTop Epoxy be sanded and polished?
Yes -- TableTop Epoxy can typically be sanded after curing for 24 hours at 70°F. Sanding is not required between flood coats when applying each additional coat after the minimum 3-hour recoat time. To repair imperfections or prepare a fully cured surface for another finish, sand as directed in the TDS. Wait until the epoxy has cured for 5–7 days before wet-sanding and buffing it to a mirror-gloss finish. -
Does it cure clear, and can I add color?
While some epoxies have an amber color after curing, TableTop epoxy cures blush-free to a clear, glassy, 100% waterproof finish with excellent scratch, stain, and yellowing resistance. For creative projects, our epoxy resin can be tinted with a variety of epoxy colorants, including mica powder, alcohol inks, and opaque liquid pigments to create different colors and effects. -
Can I use table top epoxy for molds or tumblers?
Yes! While our table top epoxy resin is the best solution for traditional flat surface coating, the versatile formula can also be used in molds to create jewelry, coasters, dice, figurines, and other epoxy casting projects. You can also use on tumblers, glasses, pens, and other round objects to clear coat or create colorful effects - the creative possibilities are endless! -
Can it be used outdoors?
With UV stabilizers and a slight blue tint in the formula, this product resists yellowing and discoloration from sunlight and can be used outdoors. For maximum protection against long-term or intense UV exposure, we recommend applying a compatible UV-blocking varnish over TableTop epoxy. And don't forget to sand the final cured layer with 320-grit before varnishing. -
Can I put hot pans or dishes on cured TableTop Epoxy? Is TableTop Epoxy safe to use in kitchens and dining areas?
Once fully cured after 5-7 days, this epoxy resin can handle some heat but is not intended for high-heat applications. For best results, we highly recommend using trivets, coasters, and placemats before putting hot pans, plates, or cups on the surface to minimize risk for distortion. TableTop Epoxy is also waterproof, BPA-free, and safe for food-surface contact, making this a great epoxy to use in your home or restaurant. Do not use it on cutting boards or other surfaces where food will be cut or prepared directly because knives can damage the epoxy coating. -
How durable is it once fully cured?
Using the Shore D hardness scale, our TableTop epoxy rates as an 82, meaning it cures to an extra-hard state to resist impact, scratches, and other damage from wear-and-tear. -
Does it have a strong odor?
No - TableTop epoxy has a low-VOC epoxy formula that helps minimize strong odors while mixing and applying. As with any two-part epoxy, work in a well-ventilated area and wear proper PPE like a respirator if working in an enclosed space. -
What causes sticky or tacky spots? How can I fix them?
Sticky or tacky spots are generally caused by inaccurate measuring, not mixing thoroughly, or by curing in cold temperatures. Try moving your piece to a warmer spot: if it doesn’t dry, remove epoxy and start over. -
Can TableTop Epoxy be used on floors?
No -- TableTop Epoxy is designed for coating tables, bar tops, countertops, furniture, and similar surfaces. It is not formulated or recommended for floor applications.