















The Complete Varnishing Guide
Learn How to Varnish Wood Like a Pro
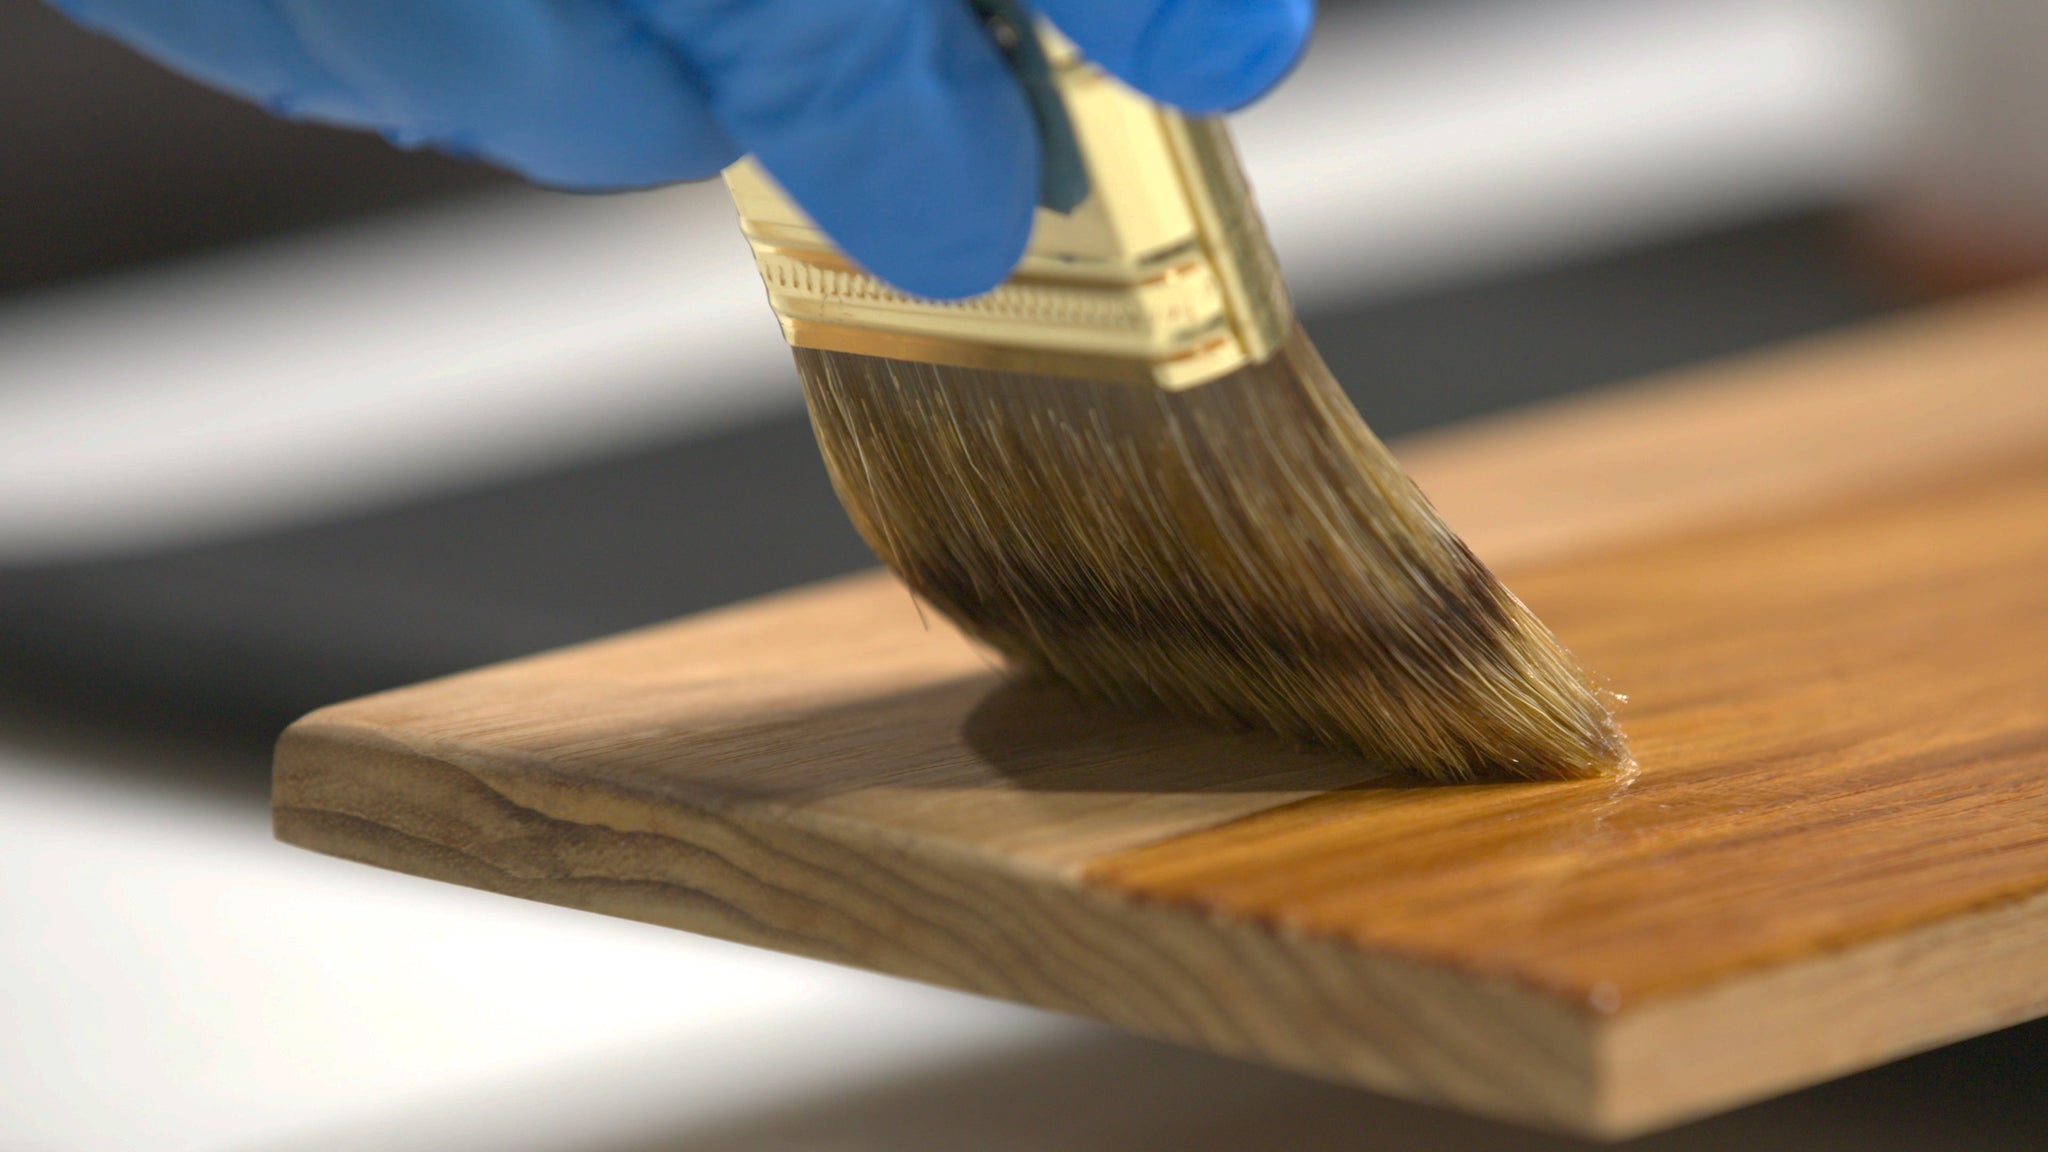
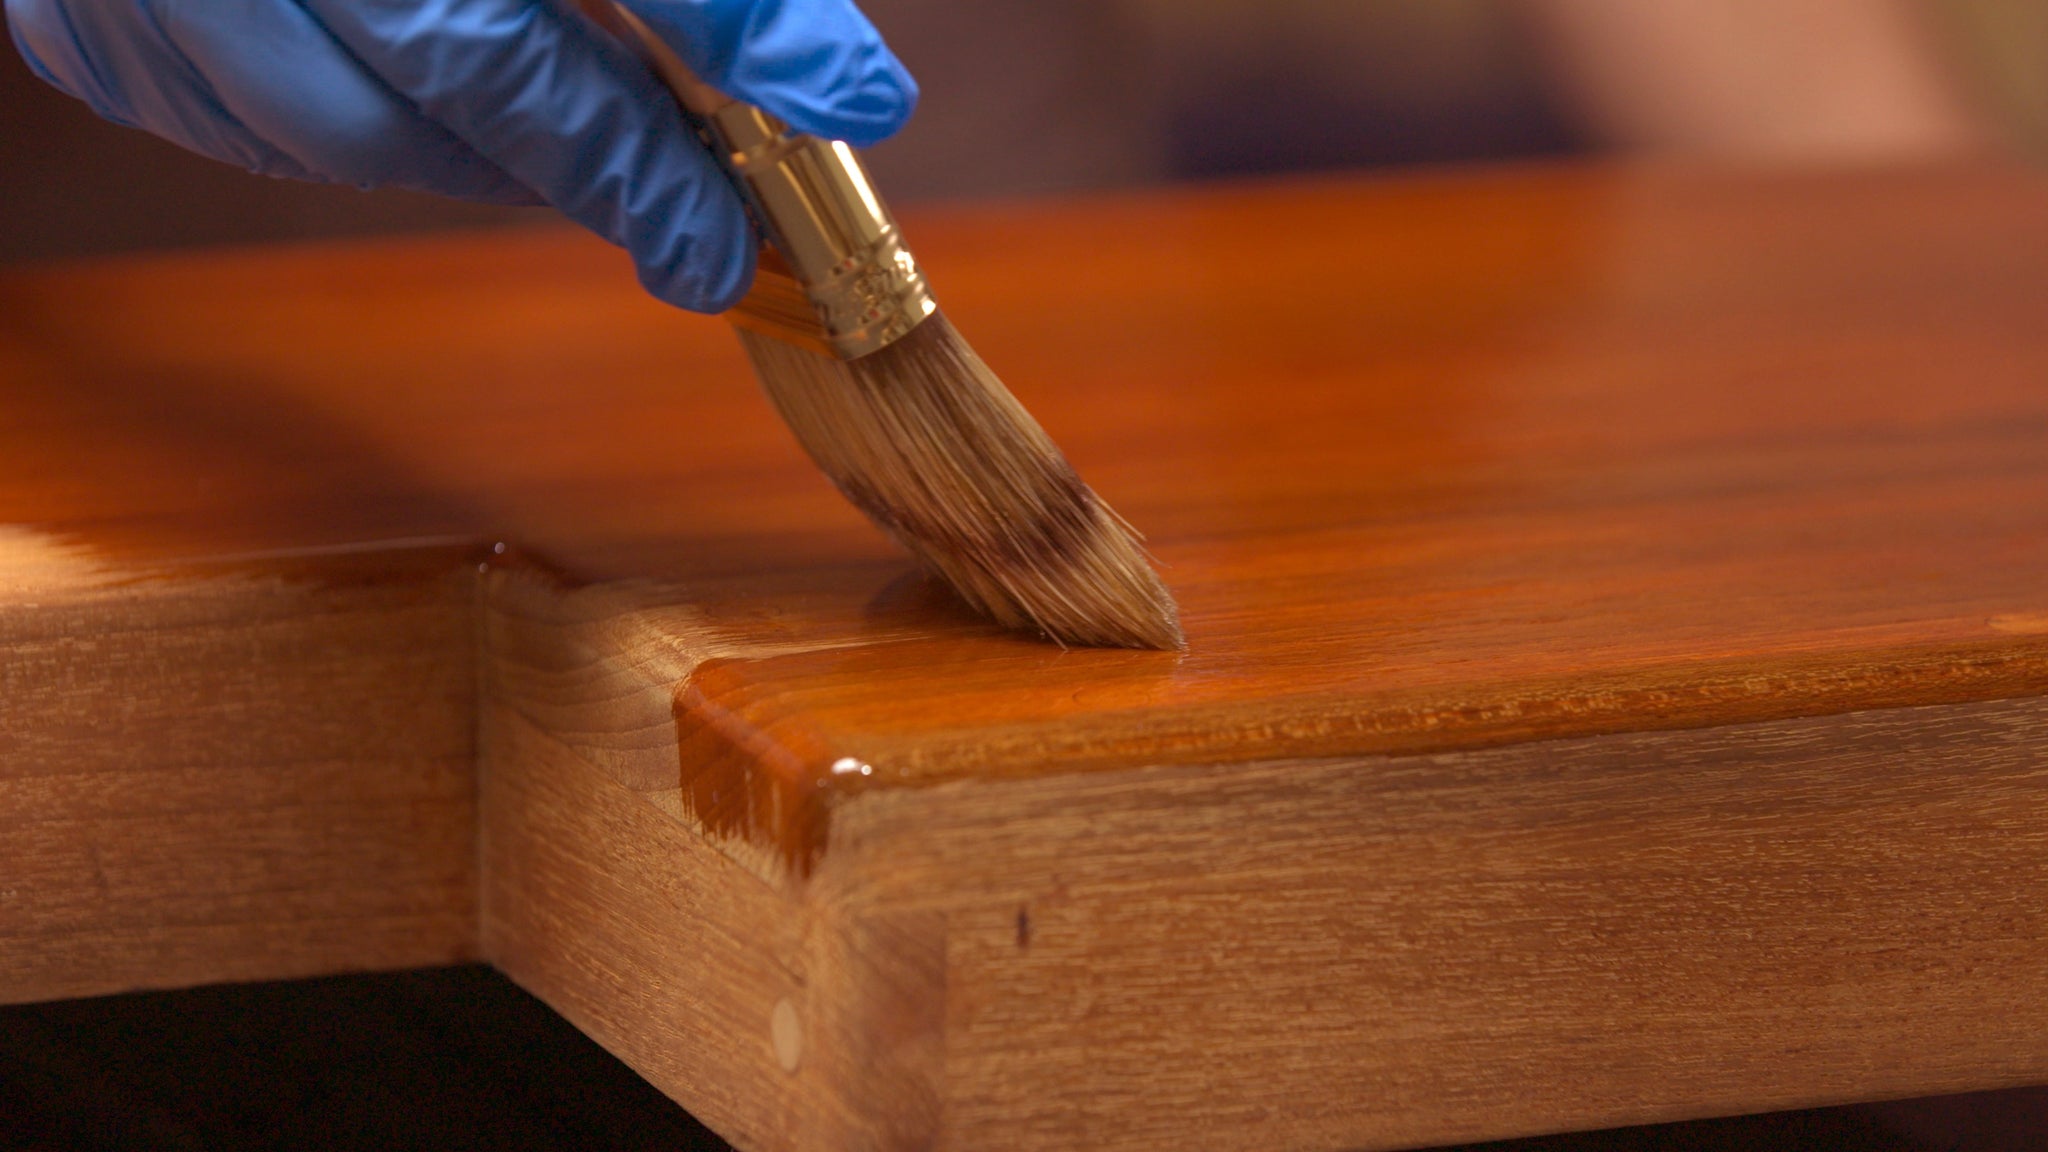
Wood is naturally beautiful, but sun, moisture, and everyday wear can dull its appearance and shorten the life of the finish. Varnishing helps preserve that beauty by enhancing the grain and color while adding durable protection against weather and regular use.
Whether you’re restoring brightwork, refinishing outdoor furniture, or sealing marine plywood, choosing the right wood finish is the first step. We’ll compare varnish with other common finish options so you can decide whether it offers the right look and level of protection for your project. Then, we’ll cover the varnishing process in detail, from surface prep and sanding to applying by brush, roller, or spray.
We’ll also show you how to get professional-quality varnish results with TotalBoat’s lineup: high-build Lust, forgiving Gleam, and water-based Halcyon. You’ll learn how to build multiple coats with confidence and create a beautiful, long-lasting finish that protects your project season after season.
Choosing the Right Wood Finish
Teak Oils & Teak Sealers
Teak, mahogany, and white oak are popular choices for boats because they’re dense, strong, and naturally resistant to decay. Even these durable hardwoods, though, will eventually weather under constant exposure to salt, sun, moisture, and pollution. Left unprotected, their rich color can fade to gray, the surface can dry out, and long-term exposure may lead to cracking or other damage.

Because dense, oily hardwood can be difficult for some finishes to penetrate, they often benefit from products made specifically for them. Teak oils soak into the grain to restore lost oils, deepen the color, and bring back a warm, natural appearance. Teak sealers offer similar ease of application but provide longer-lasting protection by helping lock beneficial oils in and moisture out.
TotalBoat Teak Oil is a good choice for routine rejuvenation and maintenance. Apply it with a brush, roller, or clean rag to revive dry, faded surfaces and preserve healthy teak. For greater penetration, longer-lasting protection, and added mildew resistance, use TotalBoat Danish Teak Sealer. It enriches the surface with a light golden tone while sealing out moisture.
Choose one product based on the condition of the project and the level of protection you need—there’s no need to apply Teak Oil beneath Danish Teak Sealer. Both finishes will require maintenance coats over time, with the schedule depending largely on sun exposure and weather conditions.
Pros and Cons of Teak Oils & Sealers
- Enhances the wood grain and restores a warm, natural-looking color
- Easy to apply with a brush, roller, or clean rag
- Soaks into dense, oily hardwoods instead of forming a heavy surface film
- Creates a low-sheen, matte finish that feels natural
- Easy to refresh with maintenance coats as the surface begins to weather
- An affordable way to rejuvenate teak, mahogany, white oak, and other suitable hardwoods
- Needs more frequent maintenance than varnish, especially on exterior wood
- Offers less UV, moisture, and abrasion protection
- Can darken or attract dirt if overapplied
- Does not produce a high-gloss finish
Wipe-On Polyurethane
For interior woodworking projects that need more protection than a penetrating oil, wipe-on polyurethane offers a practical, easy-to-control finish. It enhances the grain and color while building a thin protective layer over the surface, giving the piece a smooth, hand-rubbed look without the heavier build of traditional varnish.
Gel polyurethane is especially useful on vertical surfaces, trim, carved details, furniture, cabinetry, and restoration work. Its thicker consistency helps reduce drips and runs, while wiping on makes it easier to avoid brush marks. Applied in thin coats, it creates a durable satin finish.

Compared with varnish, wipe-on polyurethane is generally faster and easier to apply, but it is best suited to interior projects. It does not offer the same level of UV resistance, weather protection, or flexibility as a marine varnish, so it is not the right choice for brightwork, outdoor furniture, or other surfaces exposed to sun and moisture.
For projects where easy application, a natural satin look, and reliable interior protection matter most, a gel polyurethane like TotalBoat Legacy can be a strong fit. This gel wood finish is designed for furniture, cabinetry, trim, antiques, musical instruments, and similar woodworking projects. Its no-drip formula wipes on easily with a clean, lint-free rag and creates a warm, hand-rubbed finish with less effort than a traditional brushed varnish system.
Pros and Cons of Wipe-On Polyurethane
- Enhances the natural grain and color
- Creates a smooth, hand-rubbed satin finish
- Easy to apply with a clean, lint-free rag
- Thicker gel formula helps reduce drips and runs
- Builds more protection than a penetrating oil
- Less likely to leave brush marks
- Easy to refresh or spot-repair
- Best suited to interior projects
- Provides less UV and weather protection than marine varnish
- Does not build the same deep, high-gloss finish as traditional varnish
- Requires multiple thin coats for the best protection
- Offers less flexibility for wood exposed to temperature and moisture changes
Wood Varnish
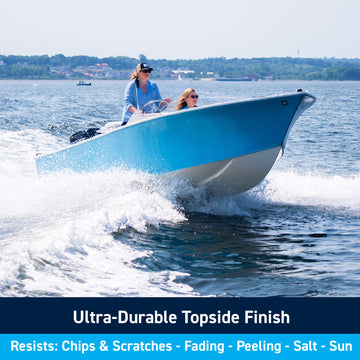
Varnish is a popular choice when you want to highlight the natural grain while adding a durable protective coating. Depending on the formula and sheen, it can create anything from a soft, rubbed effect to a deep, high-gloss finish. On boats and other exposed projects, varnish helps protect against moisture, sunlight, salt, dirt, oil, and everyday wear.

Most varnishes fall into two broad categories: traditional spar varnishes and harder, modern varnish formulas. The best choice depends on how much the surface moves, the conditions it will face, and the look you want to achieve.
Traditional spar varnish is formulated to remain flexible as wood expands, contracts, and moves with changes in temperature and humidity. That flexibility makes it especially well suited to spars, trim, brightwork, and other exterior surfaces. It is typically built up in several coats to create depth and UV protection, with sanding required when the recoat window has passed or when the surface needs to be leveled.
Modern hard-finish varnishes, including one- and two-part polyurethane formulas, form a tougher coating that generally offers greater resistance to abrasion, chemicals, and wear. Two-part systems usually provide the highest level of hardness and durability, but they can be less forgiving to apply and may not be the best choice for surfaces that flex or move significantly.
TotalBoat offers several options for different varnishing needs. Gleam and Lust are both traditional marine spar varnishes that build rich depth, strong UV protection, and a durable gloss or satin finish. Lust is designed for faster, higher-build application, while Gleam typically requires less thinning. Halcyon is a water-based alternative with easy cleanup and a fast recoat schedule. TotalBoat Wood Sealer can also be used beneath compatible varnishes to fill wood grain, create a smooth base, and improve adhesion for a longer-lasting finish.
Pros and Cons of Wood Varnish
- Delivers exceptional grain clarity and depth
- Restores and enhances the wood’s natural color and character
- Produces finishes ranging from satin and rubbed effect to deep, high gloss
- Offers excellent UV protection and long-term durability
- Resists moisture, dirt, grease, oils, and everyday wear
- Flexible spar formulas move with expanding and contracting wood
- Fast-recoat formulas can build multiple coats in a day without sanding between coats when applied within the recommended window
- Requires more time, materials, effort, and expense than simpler finishes
- Needs multiple coats to achieve the best depth and protection
- Some formulas require sanding between coats or longer recoat times
- High-gloss finishes can highlight dust, brush marks, and surface imperfections
- Can crack or delaminate when the surface is dented or subjected to heavy impact
- Harder varnish formulas may be less suitable for surfaces that flex or move significantly
Varnishing Supplies
Once you’ve decided varnish is the right finish for your project, the next step is gathering the tools and materials that will help you apply it smoothly and efficiently.
Tools for Applying Varnish
Your applicator is one of the most important choices you’ll make. Most one- and two-part varnishes can be applied with a brush, a foam roller and brush using the roll-and-tip method, or spray equipment such as an airless or HVLP sprayer. Some varnishes are even available in aerosol cans.
Spraying can produce a smooth finish, but setting up, adjusting, and cleaning the equipment takes time. Fortunately, you don’t need professional spray equipment to get professional-looking results. A high-quality natural-bristle brush can produce an excellent finish with less setup and cleanup.
Buy the best brush your budget allows, reserve it for varnishing, and clean and store it properly after every use. With good care, it can last for years and help you maintain your finished surfaces.
For larger areas, consider the roll-and-tip method. Use a high-density, lint-free foam roller to spread the varnish evenly, then follow immediately with a wide, soft-bristle brush to smooth the surface and remove bubbles left by the roller.

What Type of Varnish Brush Should You Use?
A smooth varnish finish depends on both good technique and the right brush. Even a skilled applicator will struggle with heavy marks, shed bristles, or bubbles caught in the varnish if they use the wrong brush for the job.
Foam brushes can be useful for sealer coats and early build coats because they are inexpensive and easy to use. However, they tend to introduce more bubbles, which can be sanded out between build coats but may remain visible in the final coat.
For finish coats, use a high-quality natural-bristle brush. Badger-style brushes are especially effective because they lay varnish down smoothly with minimal brush marks and are also well suited to tipping rolled varnish and removing small air bubbles.
Other Helpful Supplies
Depending on the condition and size of your project, you may also need:
- Heat gun or chemical stripper: For removing old, failing varnish before refinishing. A product such as TotalBoat TotalStrip can remove multiple layers in one application and cleans up with water.
- Sandpaper: Keep a range of grits from about 80 to 320 for stripping, leveling, smoothing, and preparing between coats.
- Sanding blocks: Use hard blocks on flat surfaces and softer blocks on curves, contours, and molded details.
- Scrapers: Pull scrapers remove old finish efficiently while helping reduce gouging.
- High-quality masking tape: Use standard painter’s tape for straight edges and flexible tape for curves.
- Lint-free wiping rags: Useful for cleaning surfaces and removing sanding residue.
- Appropriate surface cleaner or solvent: Use only the cleaner recommended by the varnish manufacturer and allowed in your area.
- Tack cloth: Removes fine dust immediately before coating.
- Synthetic mesh strainers: Filter varnish into a clean working pot to remove debris and cured particles.
- Clean mixing cups for thinning and application: Avoid working directly from the original can, which can introduce dust and contamination.
- Personal protective equipment: Gloves, eye protection, appropriate respiratory protection, and adequate ventilation.
- Random-orbit sander and dust extractor: Helpful for larger projects and faster cleanup.
- Online coverage calculator: Helps estimate how much varnish you’ll need based on surface area, number of coats, and product coverage.
Preparing the Surface and Work Area for Varnishing
A great varnish finish starts before you open the can. Varnish adds clarity and depth, which means it can make scratches, dents, discoloration, and uneven areas more noticeable rather than hiding them. Take time to repair dings, remove damaged wood, stabilize soft areas, and create a clean, smooth surface before applying the first coat.
Just as important, make sure the working conditions are right. Temperature, humidity, airflow, sunlight, and dust can all affect how varnish flows, levels, and cures. A properly prepared surface coated under poor conditions can still produce disappointing results.
Inspect the Wood
Start by checking the condition of the wood and any existing coating. Old varnish that is dull but still firmly attached may only need cleaning and sanding. Finish that is cracked, peeling, blistering, flaking, or separating from the wood should be removed completely.
Also look for:
- Dents, scratches, and open grain
- Dark or discolored wood
- Soft, damaged, or rotted areas
- Loose hardware or trim
- Moisture beneath the existing finish
- Contamination from oil, grease, wax, or silicone
Repair these problems before moving on. New varnish will not correct damage underneath it.
Remove Old or Failing Varnish
Existing finishes can be removed with a chemical stripper, heat gun, scraper, or a combination of methods.
When using a chemical stripper, protect adjacent surfaces with polyethylene sheeting and compatible masking tape. Follow the product directions carefully, including any ventilation, protective-equipment, cleanup, or neutralization requirements.
A heat gun offers a chemical-free alternative and can work especially well on curved or irregular surfaces. Hold it at a consistent distance and scrape while the varnish softens and bubbles. Keep the scraper sharp, work carefully, and avoid directing excessive heat toward fiberglass, adhesives, seams, or nearby hardware.
Clean the Wood
Wood must be completely clean before sanding and varnishing. Dirt, oil, wax, salt, and residue can interfere with adhesion and become trapped beneath the finish.
Teak and other oily woods require especially thorough cleaning. When using a teak cleaner, scrub across the grain with a stiff-bristle brush. Scrubbing with the grain can push dirt farther into the wood instead of lifting it out. Rinse thoroughly, then allow the wood to dry completely before sanding.
Sand the Surface
Varnish is a popular choice when you want to highlight the natural grain while adding a durable protective coating. Depending on the formula and sheen, it can create anything from a soft, rubbed effect to a deep, high-gloss finish. On boats and other exposed projects, varnish helps protect against moisture, sunlight, salt, dirt, oil, and everyday wear.
Choose your starting grit based on the condition of the surface:
- Use 80 to 120 grit only when needed to remove old finish and deep scratches.
- Move through 150 to 220 grit to refine and smooth the surface.
- Use finer grits only when recommended for the varnish system and stage of application.

Mask Adjacent Areas
Use polyethylene sheeting and high-quality masking tape to protect surrounding surfaces, hardware, fiberglass, paint, and fittings that cannot be removed.
Masking does more than reduce cleanup. It creates cleaner edges and makes it easier to work efficiently when brushing, spraying, or using the roll-and-tip method.
For the best results:
- Apply tape to clean, dry surfaces.
- Use flexible tape around curves.
- Press or burnish the tape edge to reduce varnish bleed.
- Remove the tape before the varnish fully cures, following the manufacturer’s timing recommendations.

Remove Sanding Dust and Contaminants
After sanding and masking, vacuum the area carefully and wipe the wood with a clean, lint-free cloth. Use only the surface cleaner or solvent recommended for the varnish system. Allow it to evaporate completely before coating.
Avoid touching the prepared wood with bare hands. Fingerprints can leave behind oils that interfere with adhesion.
Set Up the Right Varnishing Conditions
Wait until the surface and surrounding conditions fall within the varnish manufacturer’s recommended range. For TotalBoat spar varnishes, the typical application range is 45–105°F with 0–85% relative humidity, but always confirm the instructions for the specific product.
Whenever possible:
- Work on a dry, clear day.
- Begin in the morning after dew has evaporated.
- Avoid direct sunlight and hot surfaces.
- Stay out of strong wind and drafts.
- Protect the area from dust, insects, and pollen.
- Apply indoors when practical, with adequate ventilation.
- Avoid coating when rain, fog, condensation, or evening dew is expected.
- Keep temperature and humidity as stable as possible while the varnish cures.
Direct sun and excessive heat can cause varnish to skin over too quickly, making it harder to level. Wind can introduce dust and speed solvent evaporation, while high humidity or falling temperatures can slow curing and encourage condensation.
The right conditions can also shorten the project timeline. In warmer temperatures and within the approved recoat window, some TotalBoat varnishes can be recoated in as little as one hour, allowing you to build several coats in a day without sanding between each one.
How to Thin and Apply Varnish
Once the surface is prepared and conditions are right, you’re ready to start building the finish. The exact thinning ratio, number of coats, and recoat timing will depend on the varnish, so check the product directions before you begin.
1. Prepare the Work Area
Vacuum the area before opening the varnish. To help control dust, lightly mist the floor or ground with water.
Make sure you have enough light to see missed spots, drips, and uneven coverage. A flashlight aimed across the surface at a low angle can make these easier to spot.
When working outdoors, avoid direct sunlight and allow enough drying time before evening dew forms. Indoors, provide adequate ventilation.
If working in higher temperatures or colder environments, adjust your project accordingly.

2. Mix the Varnish Gently
Do not shake the can or stir aggressively. This can introduce bubbles that may remain visible in the finish.
Stir slowly only as directed by the manufacturer, then pour the varnish through a synthetic mesh strainer into a clean working container. Pour only what you expect to use and avoid applying directly from the original can, which helps prevent contamination.
Pro Tip: Don't pour leftover varnish from your working pot back into the can. Dust, debris, and partially cured varnish can contaminate the remaining product and affect future projects.
3. Thin Only When Needed
Thinner reduces viscosity, making varnish easier to brush, roll, or spray. Use only the thinner recommended for the specific varnish and application method.
Some thinners are designed for:
- Brushing or rolling
- Spray application
- Warm or cool weather
Use the minimum amount needed to achieve good flow and leveling. Over-thinning can reduce film build, slow curing, and affect gloss.
While oil-based varnishes require specialized thinners, water-based formulas can be reduced with clean water. In many cases, however, they're designed to be applied straight from the can, so thinning may not necessary. If you do add water, use only enough to improve flow and leveling, staying within the manufacturer's recommended limits.
4. Apply the Sealer Coat
The first coat on bare wood is usually thinned more than later coats so it can penetrate the grain and create a strong foundation.
The recommended ratio varies by product. For example, TotalBoat Gleam may be thinned up to 50% for the first coat. TotalBoat Lust uses a different first-coat thinning schedule, so always follow the current product instructions rather than applying one ratio to every varnish.
Apply the sealer coat evenly and allow it to dry according to the recommended recoat schedule.
5. Apply the Build Coats
Once the sealer coat has dried, begin applying full-strength build coats according to the product's recoat schedule. Load the brush with a moderate amount of varnish and apply thin, even coats using long, smooth strokes in the direction of the wood grain. Work in manageable sections, maintaining a wet edge to blend each new stroke into the previous one. Resist the urge to overbrush the finish after it begins to set, as this can create brush marks and reduce leveling.
Allow each coat to dry as directed before applying the next. Some modern varnishes can be recoated in as little as an hour without sanding, while traditional spar varnishes may require longer drying times and light sanding between coats. Continue building coats until you've achieved the recommended film thickness and appearance.
Pro Tip: If taking short breaks, follow the varnish manufacturer’s guidance for temporary brush storage. Wrapping a brush tightly can prevent air exposure for a limited time, but it is not a substitute for proper cleaning. At the end of the work session, clean the brush with the recommended solvent, remove residue thoroughly, reshape the bristles, and store it so the bristles are not bent.
6. Sand or Scuff Between Coats
Lightly sand or scuff the surface between coats only when recommended by the manufacturer. Traditional spar varnishes often require light sanding between coats to improve adhesion and remove dust nibs or minor imperfections. Many modern varnishes, however, can be recoated without sanding as long as each coat is applied within the product's specified recoat window.
If that window has passed—or before applying the final finish coat—a light sanding or scuff sanding can help promote adhesion and create the smoothest possible finish. Always remove sanding dust thoroughly before applying the next coat.
When sanding is required:
- Use a fine abrasive pad if the coat is smooth and only needs a light scuff.
- Use 220- to 320-grit sandpaper to level minor imperfections.
- Sand gently and evenly.
- Remove only dust nibs, drips, raised grain, and surface defects.
- Avoid sanding through the previous coat.
7. Apply the Final Coats
Final coats are typically applied with little or no thinner unless conditions or product instructions call for it.
Use your cleanest brush, control dust carefully, and work methodically from one end of the surface to the other. Apply a thin, even coat, maintain a wet edge, and make the final pass in the direction of the grain.
Wood Varnishing FAQs
How many coats of varnish should I apply to wood?
The number of coats depends on the varnish, the type of project, and how much protection the surface needs. Exterior wood and marine brightwork typically need several coats to build enough film thickness for lasting UV and weather protection, while interior projects may require fewer. Rather than relying on one universal number, follow the varnish manufacturer's recommended coat schedule and apply enough coats to achieve the desired depth, gloss, and protection.
For TotalBoat varnishes, we recommend:
- Gleam: 4-6 Coats minimum
- Lust: 6-8 Coats minimum
- Halcyon (Interior): 3-4 Coats minimum
- Halcyon (Exterior): 6-8 Coats minimum
Can varnish be applied on bare wood?
Yes, but it depends on the varnish. Many oil-based spar varnishes are reduced for the first coat so the finish can penetrate the grain and create a strong foundation for the coats that follow. For example, TotalBoat Gleam can be thinned up to 50% for the sealer coat, while Lust can be thinned up to 100%. Water-based varnishes such as Halcyon are designed to be applied to properly prepared bare wood without thinning the first coat.
Whichever formula you use, the surface should be clean, dry, smooth, and free of dust, oil, wax, and other contaminants before application.
What's the difference between spar and water-based varnishes?
Traditional spar varnish is typically oil-based and formulated to remain flexible as wood expands, contracts, and moves with changes in temperature and humidity. It also tends to add a warm amber tone that deepens the grain and creates the classic look associated with marine brightwork.
Water-based varnish dries faster, has lower odor, and cleans up more easily with soap and water. It can also provide a clearer finish with less amber color, which is useful when you want to preserve the natural tone of lighter woods. Both types can provide durable protection, so the best choice depends on the look you want, application time, cleanup preferences, and exposure conditions.
Can I varnish over old varnish?
Yes, as long as the existing varnish is still firmly bonded and in good condition. In fact, recoating before the finish starts to fail is one of the best ways to maintain varnished surfaces and extend the life of the coating. If the finish is still sound but has lost some gloss or shows light weathering, clean the surface thoroughly, sand or scuff as recommended, remove all dust, and apply compatible maintenance coats.
If the old varnish is peeling, blistering, cracking, or separating from the surface, maintenance coats are no longer enough. Remove the failing finish, repair any damaged or discolored areas, and prepare the surface before refinishing. Regular inspection and timely recoating can help prevent the need for a full strip-and-refinish later.
Stock Up on Supplies
Ready to put what you’ve learned into practice? TotalBoat varnishes are made for hands-on projects where appearance, durability, and ease of application all matter. From traditional oil-based spar varnishes like Gleam and Lust to the fast-drying, water-based convenience of Halcyon, there’s an option for brightwork, furniture, trim, and other varnishing projects. Choose the finish that fits your surface, schedule, and desired look, then build it up coat by coat for a smooth, long-lasting result.