How to Apply Varnish in Cold Weather
June 2026
Cold weather and varnishing don't naturally get along. Drop below the recommended application temps and you're looking at extended dry times, poor adhesion, a finish that won't level properly, and in some cases varnish that never cures. If you've ever come back to a coat that was still tacky hours later than expected, temperature was the likely culprit. That said, cooler weather doesn't have to shut down your project entirely. With the right product knowledge and a few adjustments, you can varnish in less-than-ideal temperatures and still get a beautiful finish.

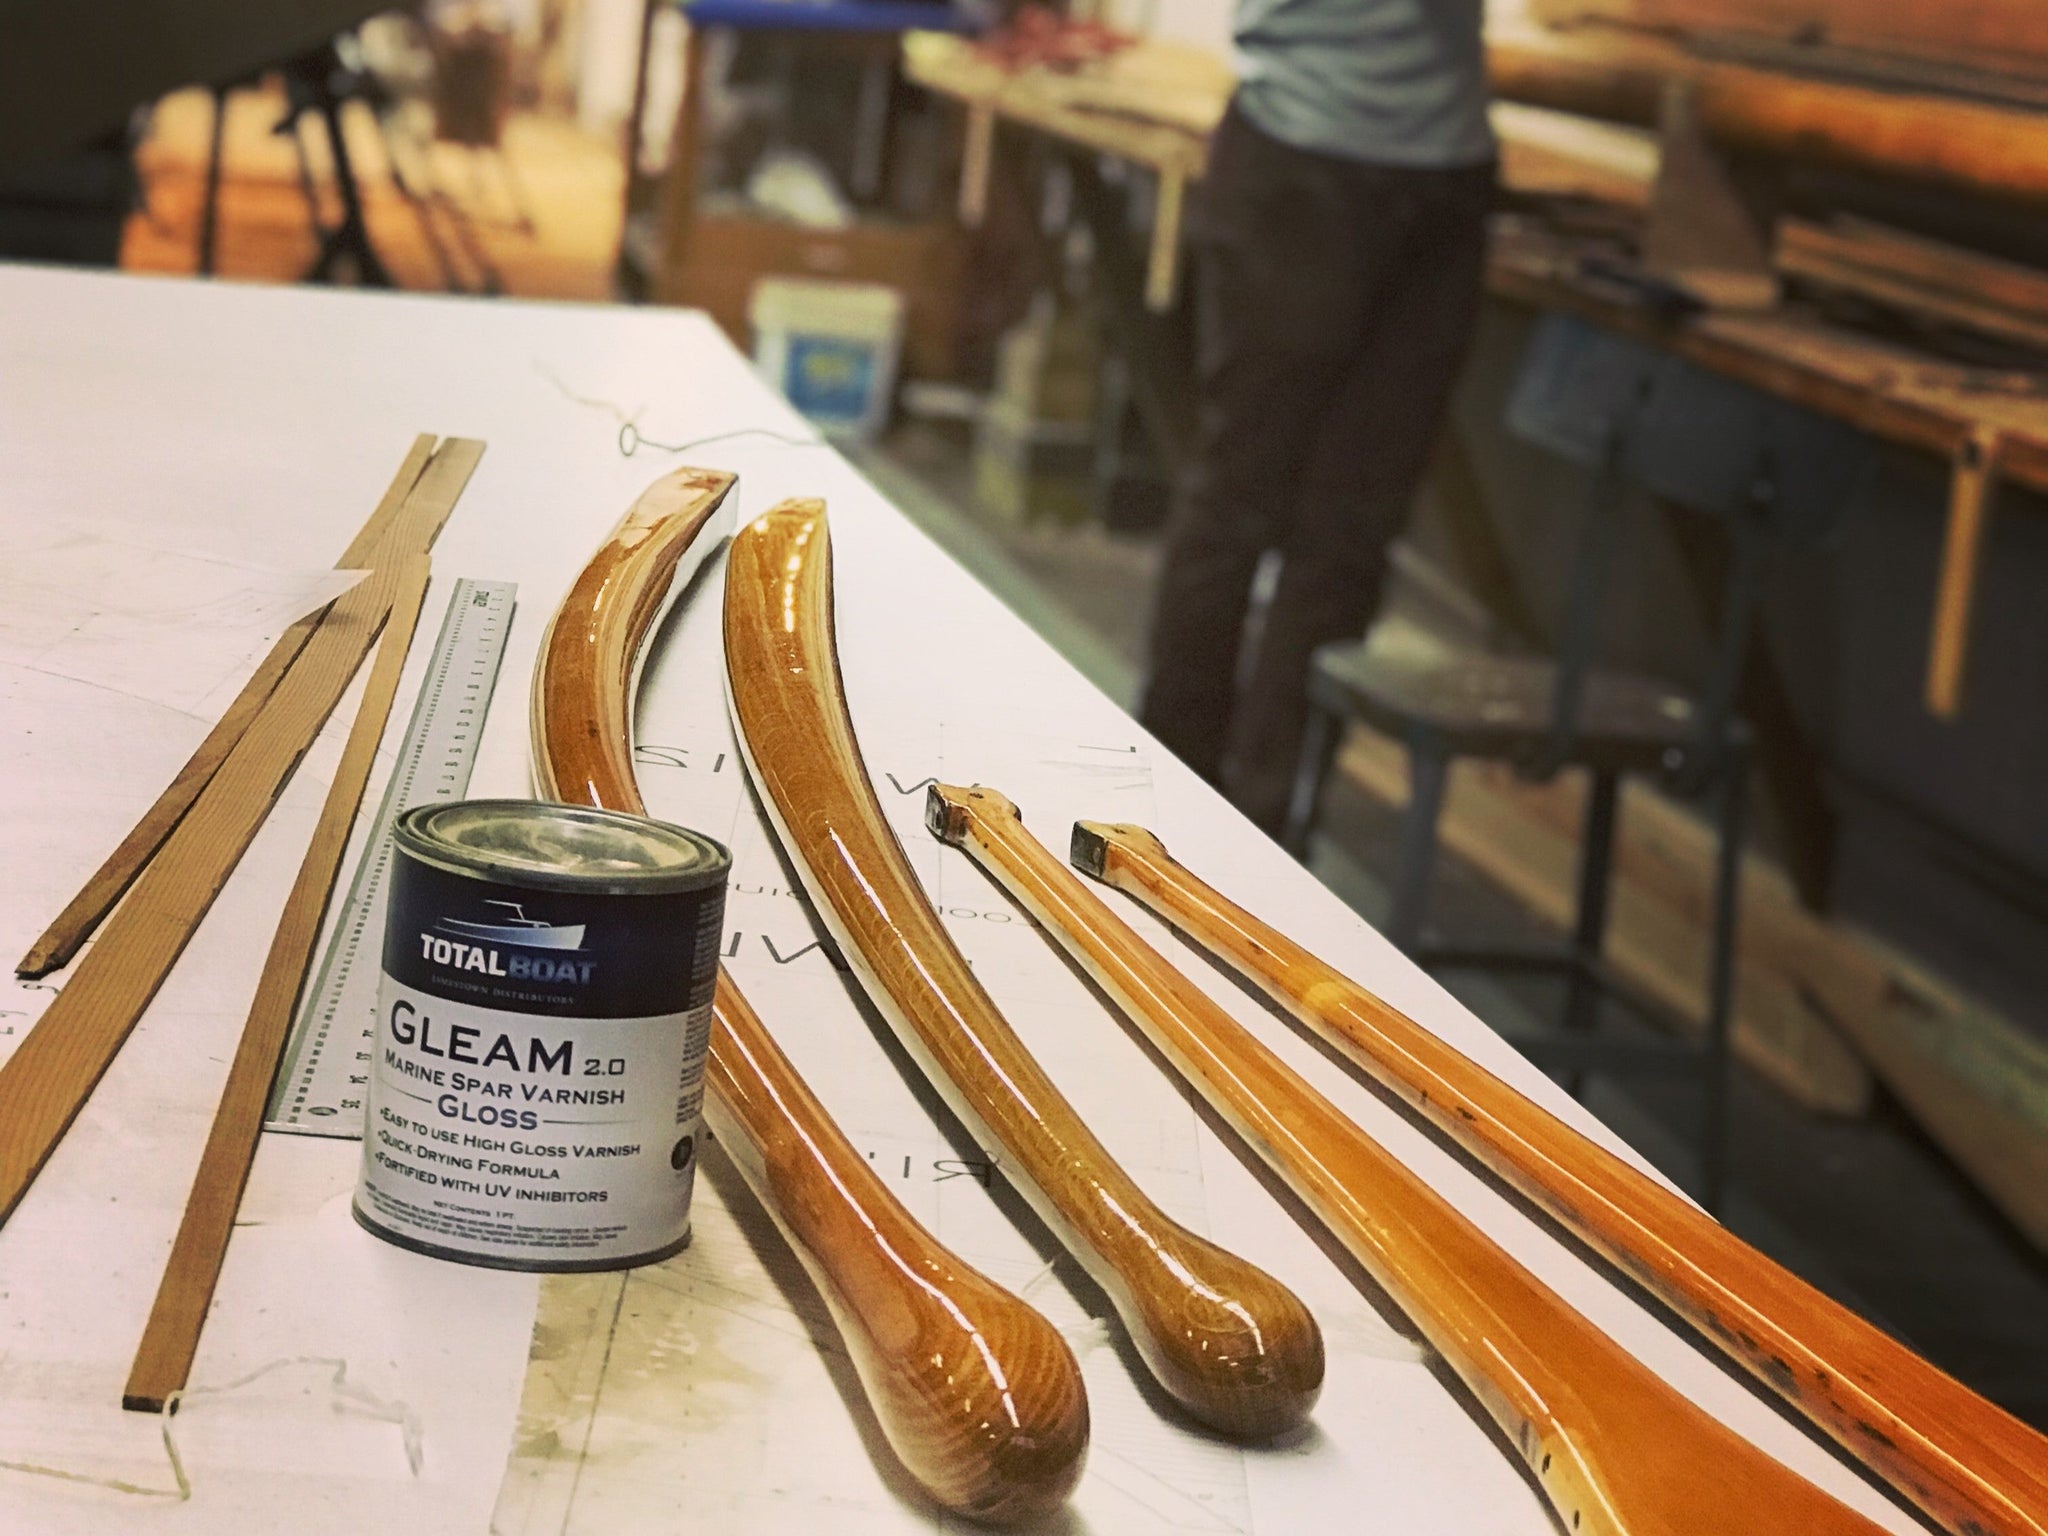
Jimmy Diresta using TotalBoat Gleam Marine Spar Varnish
How Cold Temperatures Affect Varnish
It Slows Everything Down
When temperatures drop, it takes longer for the solvent to evaporate, dramatically extending dry and recoat times. TotalBoat Gleam, for example, can be overcoated in 1 hour at 80°F, but that same coat needs 3 hours at 65°F and 8 hours at 50°F. TotalBoat Lust follows a similar curve: 1 hour at 72°F stretches to 3 hours at 60°F and 6 hours at 50°F. For anyone trying to build up multiple coats in a day, working near the lower end of the temperature range changes the math significantly.
It Increases Viscosity
Cold weather causes varnish to thicken, which makes it harder to brush out smoothly If the varnish can’t flow and level properly, you’re more likely to see brush marks, bubbles, and other imperfections in the final finish.
It Can Trap Solvents
Applying varnish too thick at any temperature is a risk, but in the cold it's compounded. When solvent evaporation is slowed, a thicker coat can trap solvents beneath the surface film, leaving the varnish soft and squishy even ifit appears dry. With many varnishes, applying beyond 3 mils wet film thickness dramatically extends dry times and can lead to this problem.
It Raises the Risk of Moisture Contamination
Cold air often means higher relative humidity and condensation. Applying varnish when dew is forming, fog is present, or rain is imminent can cloud the finish and prevent proper curing. Varnish applied to a surface that has condensation on it, even a thin film you can't see, will not bond properly and may blister or delaminate.

Storing Varnish in Cold Conditions
A great finish starts with properly stored varnish. Varnish that's been sitting in a cold garage or shed needs attention before it goes on your project.
- Never apply cold varnish straight from storage. Bring your varnish inside and allow it to reach at least 60°F before use. Cold varnish doesn't flow or level the way it should, and you'll be fighting the material the whole time.
- Store varnish above freezing. Solvent-based varnishes can typically withstand some cold storage, but repeatedly freezing and thawing a product is hard on it. Water-based varnishes are more sensitive to freezing, so those should be stored somewhere that won't drop below 32℉ (0℃) . Always check that no separation or texture change has occurred before using it.
- Check consistency before you begin. If the varnish has been in cold storage and looks thicker or stringier than usual, give it more time to warm up. Trying to work with varnish that hasn't fully returned to working temperature wastes time and material.
- Keep the can warm while you work. If you're working in a cold environment, consider keeping the can in a warm indoor space and bringing out only what you need in a smaller container. Cold air will cool the unused varnish faster than you might expect if you leave out.
Tips for Applying Varnish in Cold Temperatures
Know Your Hard Limits
As a general rule of thumb, do not apply when the air, substrate, or varnish temperatures are below 45°F. Water-based varnishes have a tighter lower bound at 40°F. These aren't conservative suggestions; they're the point at which the chemistry stops working reliably. Below these thresholds, even a varnish applied with perfect technique may not cure correctly.
Warm the Workspace, Not Just the Varnish
The air temperature matters, but so does the substrate temperature. A wood surface that has been sitting in a cold boatyard overnight can be well below the ambient air temperature, even after the space warms up. Use a surface thermometer to check the wood before you begin, and if needed, warm the space for a few hours before varnishing to let the substrate temperature come up with the air
Switch to the Right Thinner for Cool Conditions
This is one of the most practical adjustments you can make in cold weather. For solvent-based spar varnishes, check your product's TDS for thinner recommendations specific to cool conditions. Many manufacturers specify a faster-evaporating thinner for cold-weather brushing and rolling that promotes a quicker tack-free time without sacrificing flow or working time. This can meaningfully reduce the extended dry times that come with working in the cold.
For water-based varnishes, thin with water only, and check the manufacturer's recommended percentage. Water-based formulas are generally more sensitive to cold conditions, and using any thinner other than water can damage the finish.
Apply Thinner Coats
Thicker coats take even longer to cure in the cold and are more likely to trap solvents. Stay at or under 3 mils wet film thickness, the same guidance as normal conditions, and let each coat fully cure before adding the next.
Build Your Recoat Schedule Around the Temperature
In cold weather, recoat times extend significantly, so your daily schedule needs to account for that. For example, if you're working at 50°F, you might be looking at 8 hours between coats rather than the 1 hour you'd get at 80°F. That may mean one coat per day at the lower end of the range. Plan accordingly rather than pushing a recoat before the previous coat is ready.
Watch the Weather Closely
Morning dew and evening condensation are significant risks in cooler months. Make sure your workspace is protected from moisture, and that your last coat of the day has enough time to fully skin over before nighttime humidity sets in. If you're working outdoors, keep a close eye on forecasted lows and dew point.
How-to Avoid Common Cold-Related Mistakes
- Use a surface thermometer, not just an air thermometer. A cold substrate is just as much of a problem as cold air, and surfaces often lag behind the ambient temperature by several hours. Confirm the wood is within the application range before you start.
- Let the varnish tell you when it's ready. If the varnish isn't flowing off the brush the way you'd expect, it probably hasn't fully warmed to a workable temperature yet. Give it more time rather than fighting a cold, viscous varnish.
- Don't skip the wait times. In ideal conditions, you can sometimes push recoat timing and still have a great finish. . Unfortunately, in cold conditions, the previous coat needs its full dry time before the next one goes on. Check that it's fully tack-free before proceeding.
- Consider the wood moisture content. Cold, damp conditions affect more than the air. Wood holds more moisture in cooler, wet weather. The ideal moisture content for varnishing is 6-8%, and results are generally acceptable up to 10%. Above that, you risk blistering or delamination as the wood expands and the varnish struggles to bond properly. A moisture meter is a worthwhile investment for anyone doing serious varnish work.
- When conditions are iffy, do a test. If you're on the edge of the acceptable temperature range, apply a small amount of varnish to a hidden area or scrap wood and see how it behaves before committing to the whole project. A 30-minute investment in a test can save hours of rework.