















Common Varnish Problems
July 2026
Varnishing looks simple enough — open the can, pick up a brush, apply and call it a day. But anyone who's actually done it knows that varnish can be fickle. It can blush, bubble, peel, sag, and stay sticky for what feels like forever, often for reasons that aren't immediately obvious. The good news is that most varnish problems trace back to a handful of root causes: surface prep, application conditions, technique, or the wrong product for the job. Here's a rundown of the most common issues and what to do about them.

Finish Turns Cloudy
Blushing is the hazy, whitish appearance that shows up in a varnish finish, both when it's still wet or after it dries. It happens when moisture gets trapped in the film before it has a chance to cure properly. High humidity is the most common culprit, but cold temperatures, morning dew on the surface, or varnishing over wood that has a high moisture content can all cause it.
Pro tip: Oil-based varnishes tend to be more susceptible to blushing than water-based formulas, since humidity disrupts the solvent evaporation needed for proper cure. If you're varnishing in conditions that aren't ideal, a water-based formula may give you a little more forgiveness.
Good news is that you can usually prevent this from happening before you even open the can. Check the conditions: most varnishes perform best between 60–85°F with humidity below 85%. Avoid varnishing first thing in the morning when moisture is still on the surface, and don't apply in direct sunlight either as it dries the surface too fast and can trap solvents underneath.
Brush Marks That Won't Level Out
Some texture in a freshly brushed coat is normal, as varnish willself-level as it dries. But if the brush marks are still visible in the cured finish, something got in the way of that process. The most common causes are using the wrong type of brush, over-brushing the wet film, applying in conditions that are too hot or too sunny (which shortens working time), or applying the varnish too thick.
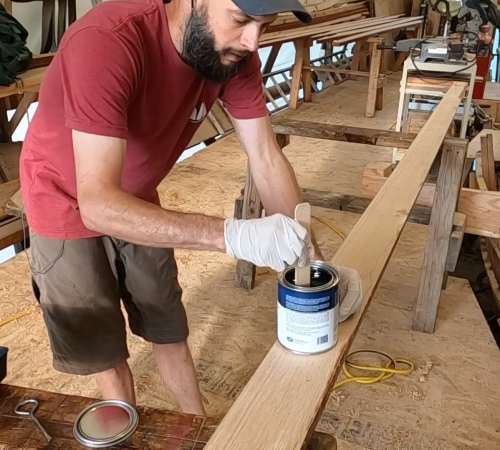
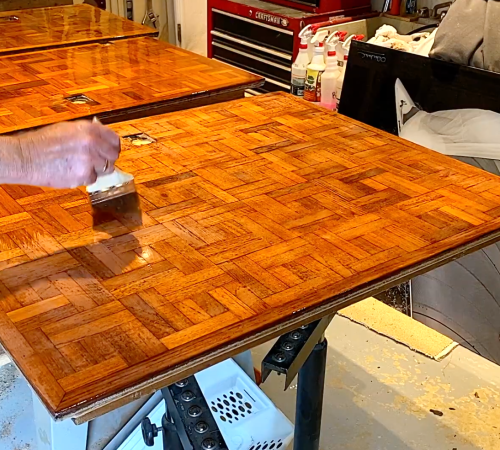
Use a high-quality brush suited to your varnish type: natural bristle brushes for oil-based spar varnishes, and nylon/polyester or nylon-polyester blend brushes for water-based formulas. Work in manageable sections, apply in the direction of the grain, and resist the urge to keep going back over wet varnish. Once it starts to get tacky, leave it alone. Thinning with the appropriate thinner can also help the varnish flow and level more easily.
Peeling and Delamination
Peeling is one of the more disheartening varnish problems because it usually means you have to start over. Varnish peels when it can't form a proper bond with the substrate underneath which almost always comes down to surface prep. Oily residue, wax, dust, silicone from cleaning products, or moisture in the wood can all prevent adhesion. Applying varnish over an existing finish that's already failing is another fast track to delamination.
If the existing finish is peeling, flaking, or cracked, strip it back to bare wood before you do anything else. Applying fresh varnish over a compromised surface won't save it. On bare wood, make sure moisture content is under 10% (ideally 6–8%), and clean the surface thoroughly with an appropriate surface prep solvent before applying your first coat. Oily hardwoods like teak need extra attention — wipe down with acetone or a dedicated dewaxer and let the surface dry fully before sealing.
Runs, Drips, and Sagging
A heavy coat of varnish often leads to drips and uneven finishes. It happens easily on vertical surfaces, where gravity does what gravity does — especially if the coat is too thick or the varnish has been over-thinned. Over-thinning reduces viscosity enough that the film can't hold itself in place while it dries.
The best technique is to avoid applying your varnish thick, and apply it in a thin layer. It takes more passes, but it's faster in the long run than sanding out runs in a cured finish. If you do get drips, let them cure completely before addressing, as trying to smooth wet runs almost always makes things worse. Once cured, sand the area smooth and recoat. When thinning, follow the product's recommendations and err on the conservative side.
Varnish That Stays Tacky or Won't Dry
If the varnish is still soft or sticky long after it should have dried, the culprit is usually one of three things: it was applied too thick, the temperature was too low, or the humidity was too high. Applying thicker than the recommended wet film thickness traps solvents inside the film, which slows, or in some cases completely stalls, the curing process. Some oil-based varnishes can also stay tacky if applied over oily wood that wasn't properly prepped and cleaned.
Give it time first — some varnishes need 24 hours or more to fully cure, especially when conditions aren't ideal. If it's still soft after that, check the application thickness and the environment. If the varnish is too thick,let it cure as long as possible, sand it down, and start fresh with thinner coats in better conditions. Going forward, apply within the manufacturer's recommended temperature range — typically 50–90°F — and avoid working in high humidity.
Fisheyes and Cratering
Fisheyes are small, circular craters that form in the wet varnish film, almost like the surface is repelling itself. They're caused by surface contamination, usually silicone from wax, polish, or cleaning products, but oils and greasy residue can do the same thing. Even a small amount of contamination can cause fisheyes across a large area.
Prevention is the only real cure here. Before every coat, wipe the surface down with a clean rag and an appropriate surface prep solvent. Be especially careful with silicone-based products near anything you plan to varnish — once silicone is on a surface, it's difficult to remove completely. If fisheyes have already formed, let the coat cure, sand it back, clean thoroughly, and recoat.
Cracking, Checking, and Alligatoring
Cracking and alligatoring is where the finish develops a network of cracks that looks like reptile skin, and typically shows up in older finishes that have been neglected or built up incorrectly over time. UV exposure breaks down varnish film gradually, and without regular maintenance coats, the finish becomes brittle and starts to crack. Applying too many thick coats without allowing adequate cure time, or applying over an incompatible old finish, can also cause this kind of failure.
There's no patching a cracked finish – it needs to come off completely. Strip back to bare wood, assess the condition of the substrate, and start fresh. Going forward, use a varnish with UV inhibitors and keep up with annual maintenance coats. Refreshing the finish before it fails is far less work than stripping and rebuilding from scratch.
Yellowing Over Time
All varnishes can yellow to some degree over time, but excessive yellowing is more of an oil-based problem than a water-based one. Oil-based spar varnishes naturally cure to a warm amber tone — something many woodworkers actually prefer for the richness it adds to the wood. Water-based varnishes, by contrast, are formulated to stay clear and tend to hold their clarity much longer. That said, neither type is fully immune to UV degradation if left unprotected, which is why UV inhibitors and regular maintenance matter regardless of which formula you're using.
Choose a varnish — water-based or oil-based — that's formulated with UV inhibitors, and plan for regular maintenance. A coat or two every year on exterior surfaces goes a long way toward preserving both the look and the protective integrity of the finish. If the yellowing is already severe, stripping and recoating with a UV-stable product is the most reliable reset.
Still Not Sure What Went Wrong?
Most varnish problems come down to surface prep, conditions, or application technique, and most of them are fixable with the right information. If you've run into something that's not covered here, or you're not sure where to start, our technical support team can help. Give us a call at 888-986-6623 or reach out through our website.