













How to Preserve Flowers in Epoxy Resin
Fresh flowers fade in days, but the same blooms cast in epoxy resin can stay vivid for years. Whether you're preserving a wedding bouquet, a corsage from a special event, or botanicals picked straight from the garden, preserving flowers in resin turns something temporary into a piece you can actually keep — a coaster, a paperweight, a pendant, or a standalone art piece.
The process isn't complicated, but it rewards patience. Rushing the drying stage or pouring too thick too fast is where most first attempts go wrong. In this guide, we walk you through how to do it right.

Safety First
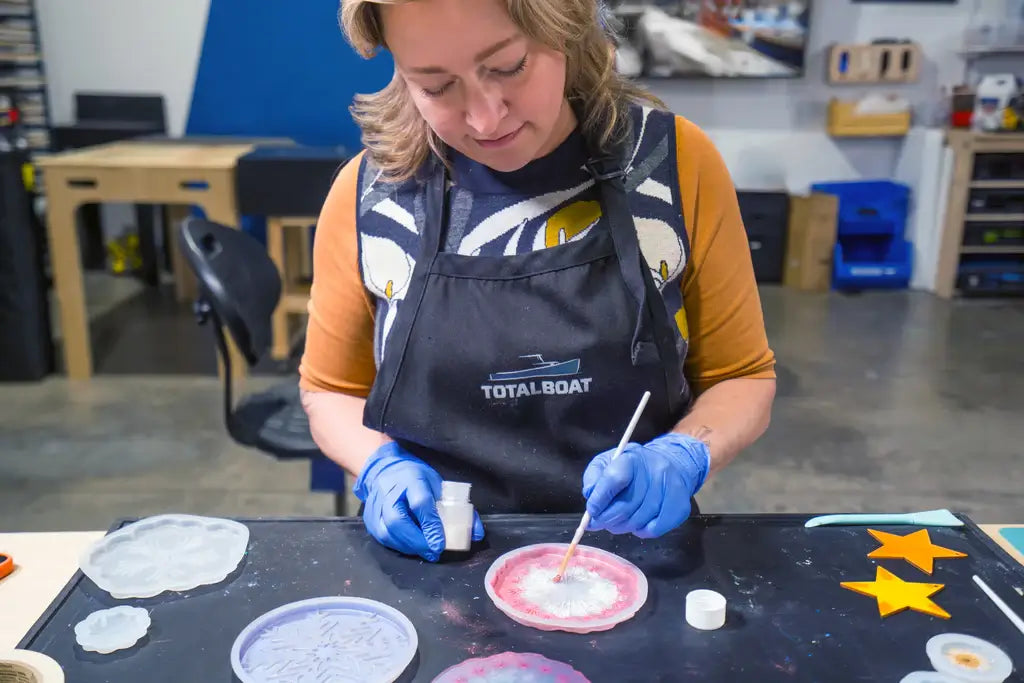
Work in a well-ventilated area and wear nitrile gloves and safety glasses any time you're mixing or pouring epoxy. Cover your work surface, since cured resin is difficult to remove once it sets.
- Read the safety information on all product labels before you begin.
- Protect your hands with suitable gloves.
- Protect your eyes, face, skin, and clothing throughout the project.
Tools and Materials
- Fresh flowers
- Silica gel or a flower press
- An airtight container (if using silica gel)
- Clear casting epoxy resin and hardener
- A clear sealant (optional)
- Mixing cups and stir sticks
- Silicone molds
- A heat gun or torch
- Tweezers or a small pick for positioning
- Sandpaper and polishing compound (for finishing)

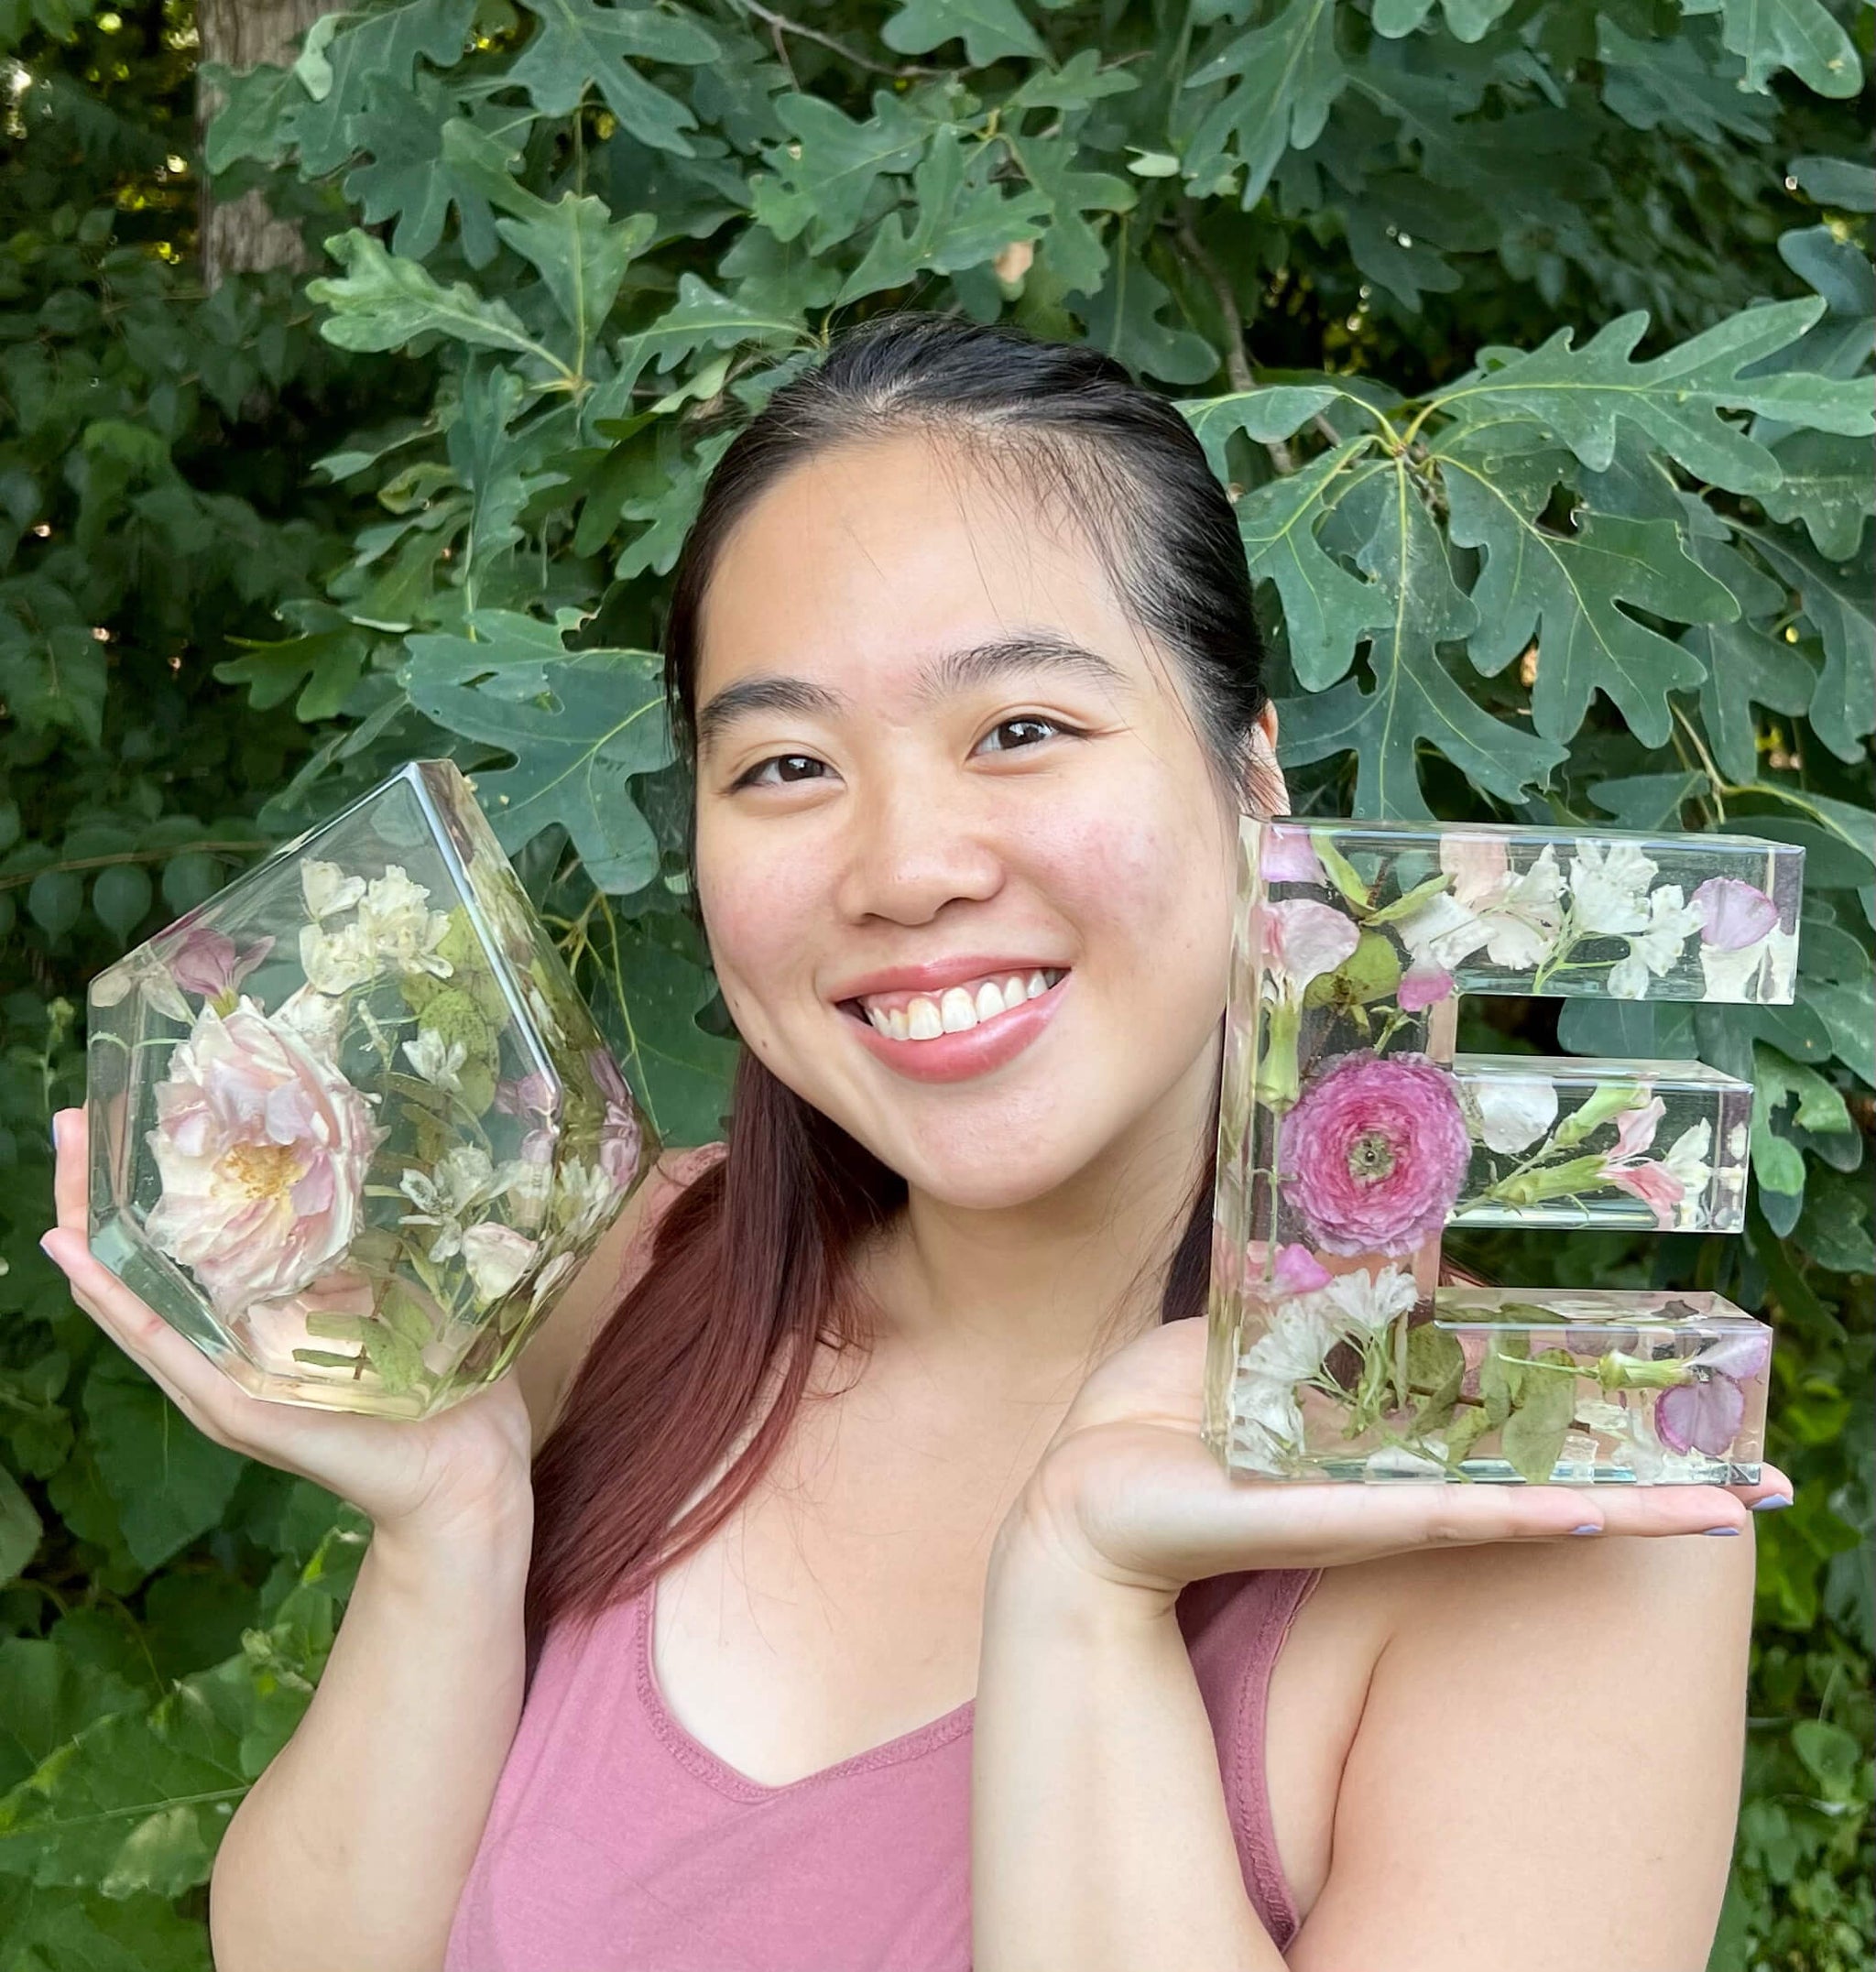
Flower casting by Hayley Cruz @createdbycruzz
Step by Step: How to Preserve Flowers in Epoxy
Step 1: Choose the Right Flowers
Not every flower holds up well in resin. Thin, flat flowers with less moisture — think pansies, baby's breath, ferns, small daisies, and lavender — preserve more predictably than thick, water-heavy blooms like roses or hydrangeas. Roses aren't impossible, but they take longer to dry fully and are more prone to discoloration if any moisture is trapped inside.
Pick flowers at their peak, not once they've already started to wilt. Any bruising or moisture damage will be locked in permanently once the resin cures.
Step 2: Dry Your Flowers Completely
This step determines whether your project succeeds or fails. Any residual moisture in the flower will react with the resin, causing cloudiness, discoloration, or a yellowed flower once it's sealed inside.
Two reliable drying methods:
Silica gel preserves color and shape best. Bury the flowers in an airtight container filled with silica gel, making sure the gel gets into every petal fold, and let them sit for about a week depending on flower thickness. This method is used when you want to do a large casting without losing the arrangement's shape.
Pressing flattens the flower between absorbent paper under weight for one to three weeks. This works well for flatter blooms but changes the flower's dimension, making it the ideal method for when you want to put flowers in a flat mold or surface.
Either way, the flower should feel papery and stiff with no cool or damp spots before you move on. If you're not sure, give it another few days. There's no real downside to over-drying, but under-drying will ruin the pour.

Step 3: Seal the Flowers (optional)
Once your flowers are fully dry, you can brush a thin, even coat of a clear sealant over every petal and let it dry completely before moving on. This optional step helps prevent the resin from soaking into any very thin or delicate spots, which can highlight bruising by showing dark spots. Some artists believe sealing also can prevent or delay flowers from turning yellow or brown once they're cast. As long as your flowers are fully dry, the sealing step is optional.
Try clear acrylic aerosol sealer or unscented hairspray for 3D shapes like flower heads and stems; when working with pressed flowers, thinned PVA glue or Mod Podge works best.
Always test your method on smaller projects or scrap materials before committing to a large or sentimental preservation.
Step 4: Mix Your Epoxy
Measure your resin and hardener according to the product's recommended mix ratio — accuracy matters more here than in most other resin applications, since air bubbles and cloudiness are much more visible in a clear casting with flowers suspended inside. Stir slowly and thoroughly for the full time recommended on the product, scraping the sides and bottom of the cup so nothing goes uncombined.
Pro Tip: For the most accurate mix ratio, measure your resin and hardener by weight using a digital scale rather than by volume.
A crystal-clear, low-viscosity casting epoxy is the right choice for this kind of work, since it's formulated for exactly this level of optical clarity in deep, decorative pours.

Step 5: Pour Your Base Layer
Pour a thin base layer into your mold, about a quarter inch, and let it reach a tacky, semi-cured state before placing your flowers. This gives the flowers something to sit on rather than sinking or floating once you pour the final layer. Use a heat gun or torch very briefly across the surface of each pour to pop any surface bubbles.
Step 6: Position the Flowers
Once the base layer is tacky, use tweezers to arrange your sealed, dried flowers exactly how you want them. This is your only real chance to get the composition right, so take your time. Press gently to make sure each piece has good contact with the resin below it.
Step 7: Pour the Final Layer
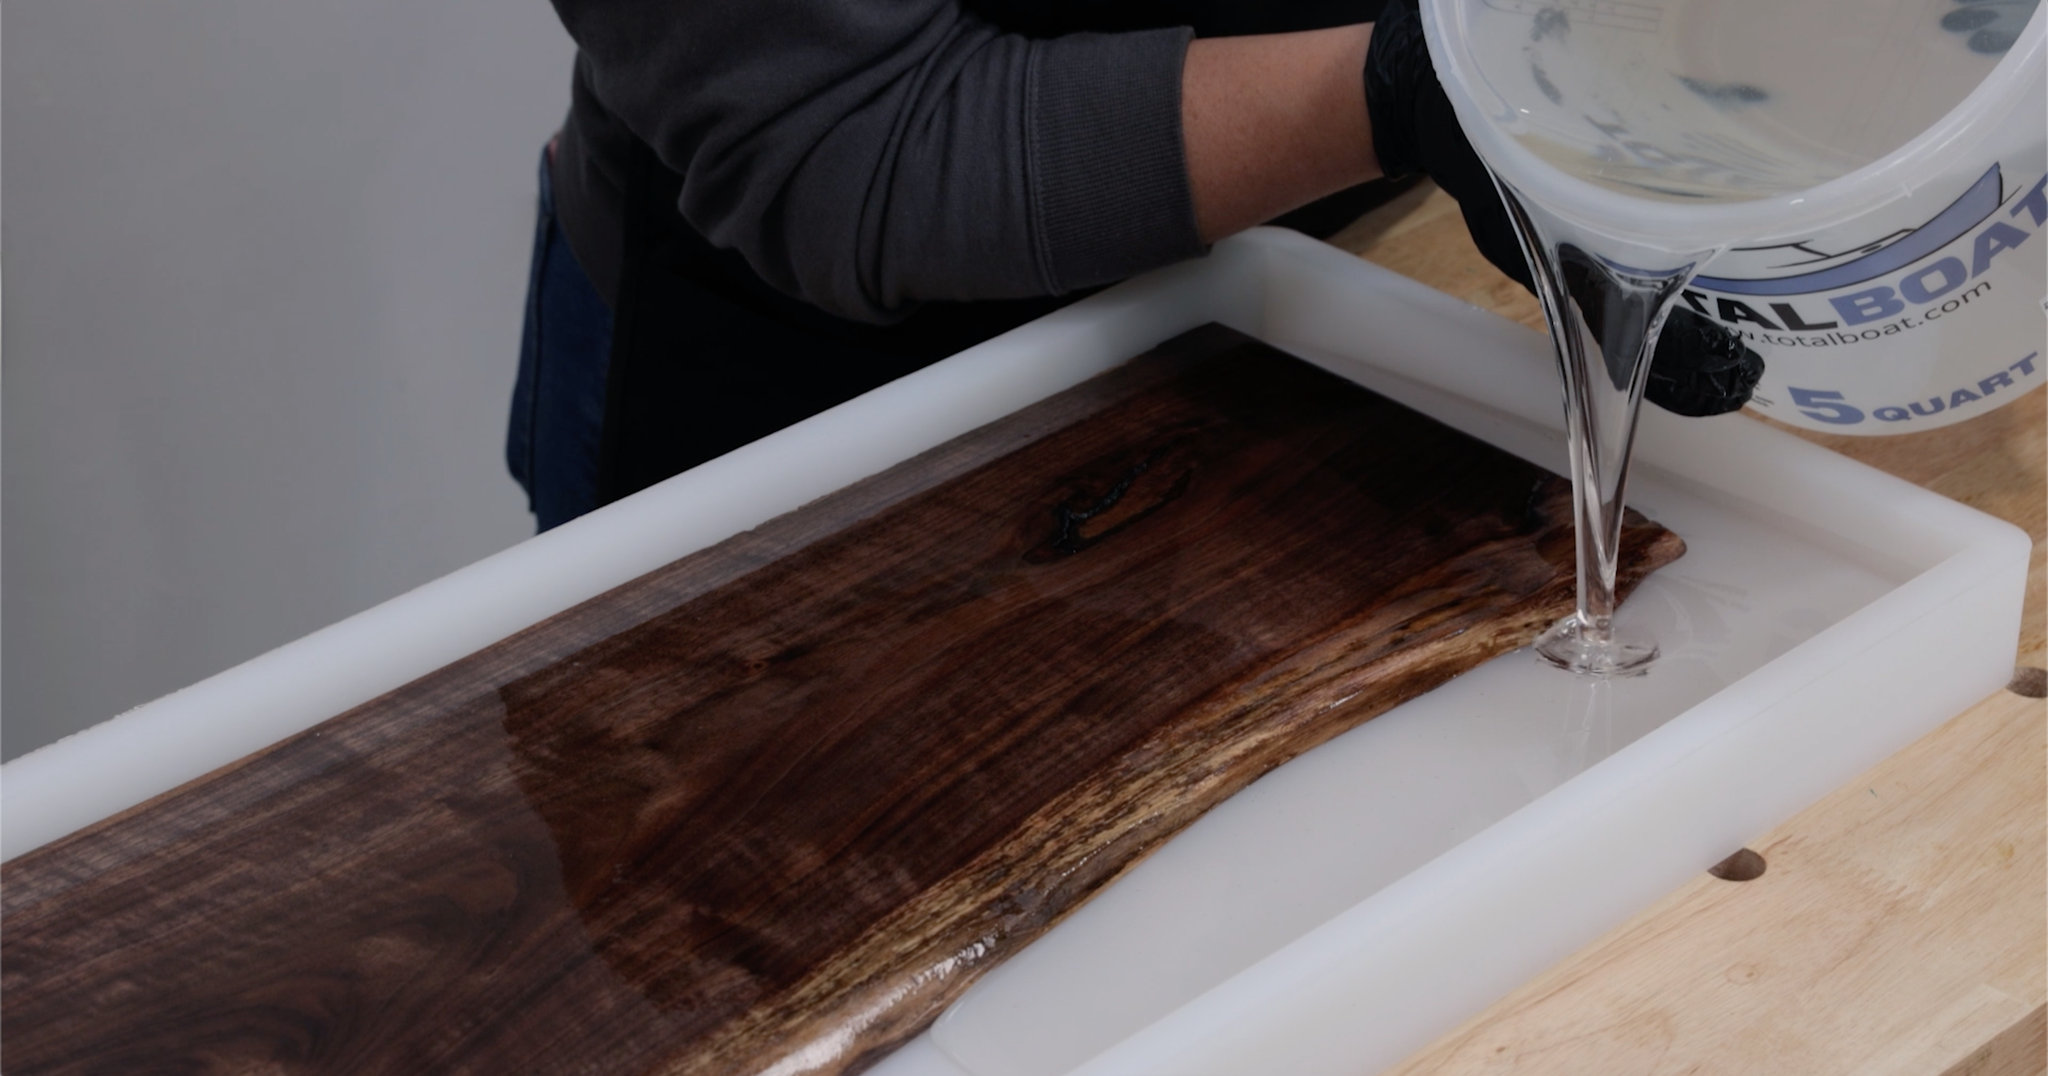
Mix a second batch of resin and pour it slowly over the arranged flowers, filling the mold to your desired thickness. Pouring too fast can shift your flowers out of position or trap air underneath them. Torch the surface again to clear bubbles, then cover the piece to keep dust out while it cures.
Step 8: Cure, Demold, and Finish
Let the piece cure fully per the product's recommended cure time before demolding — pulling it early risks warping or a tacky surface. Once demolded, sand any rough edges and polish or top coat the surface for a clear, glass-like finish.
Commonly Asked Questions
How long do epoxy flowers last?
Properly dried, sealed, and cured, flowers cast in a quality casting resin can last for years — many resin artists report a decade or more without significant fading. UV exposure is the biggest factor in longevity: direct sunlight will yellow the resin and fade flower color over time, so display pieces out of direct sun whenever possible.
How can I preserve flowers in resin?
Dry the flowers completely using silica gel or pressing, seal them with a thin clear coat to keep resin from soaking into the petals, then encase them in a two-part casting epoxy using a thin base layer, a positioning layer, and a final pour. The drying and sealing steps are what make or break the final result.
What type of epoxy is best for preserving flowers?
Look for a clear casting epoxy specifically formulated for deep pours and optical clarity, rather than a general-purpose coating epoxy. Casting resins are designed to cure slowly and evenly, which matters when you're pouring in layers around delicate material and want any trapped air to have time to rise out before it sets. If making a thin item like a tray or plate, an art resin or coating epoxy may be more suitable than a deep pour epoxy.
What should I do with flowers before putting them in resin?
Dry them fully using silica gel or a flower press until they're stiff and papery with no moisture remaining, then seal each one with a thin clear coat before embedding. Skipping either step is the most common reason flowers turn yellow or brown once they're cast in resin.
Ready to Get Started?
Have questions about your project? Our customer service team is here to help. Give us a call at 888-986-6623