














How to Paint a Non-Skid Boat Deck
Wet decks, steps, and swim platforms turn slick fast, and a good non-skid coating is the simplest way to keep your footing secure out on the water. Learning how to apply non-skid boat paint isn't much different from learning how to paint a boat deck with any other coating — the main differences are how you prep the surface and how thin you keep each coat so the texture cures correctly.
Non-skid paint applies by brush, roller, or spray equipment, and it's typically available in a handful of standard colors. If you want something custom, you can tint it with a compatible topside paint or with universal color pigments.

Safety First
Primers, non-skid paint, and thinners all carry health risks, so the right personal protective equipment (PPE) matters before you open a single can.
- Read the safety information on every product label.
- Review the safety data sheet (SDS) for each product
- Gather the PPE each manufacturer recommends. That typically includes a proper respirator for application and for sanding cured material, gloves suited to the job, and eye, face, skin, and clothing protection.
What You'll Need
- 1/8" nap solvent-safe foam roller cover
- Paint roller frame
- Chip brushes
- Quick-release masking tape
- Nitrile gloves
- Clean, lint-free rags
- 220-grit sandpaper
- 400-grit sandpaper
- Non-skid paint
- Dewaxer/surface prep solvent
- Brushing thinner
- Topside primer
- Epoxy barrier coat primer (for metal surfaces)
Step by Step How to Paint a Non-Skid Deck
1. Prep the Surface
How you paint a boat deck starts with matching your prep to the substrate underneath.
Fiberglass: Wipe the surface with a clean rag dampened with dewaxer/surface prep solvent. Abrade lightly with a scuffing pad, then wipe clean again with brushing thinner.
Wood: Wipe the surface with a lint-free rag dampened with brushing thinner and let it dry completely. Sand with 220-grit sandpaper, remove the residue, and wipe down again with a clean rag and thinner.
Previously painted surfaces: Remove all surface contaminants, including dust, wax, and grease, and strip any old coating that's in poor condition. Wipe clean with brushing thinner.
Metals: These need a primer first — see Step 2.
Masking: Once your final solvent wipe has dried, mask off any area that shouldn't get non-skid paint. Pick your tape based on how long it needs to stay put and how much flexibility you need. A high-performance tape rated for about 24 hours bends well around curves, while a painter's tape that holds for up to a week has strong adhesion but doesn't flex as easily.
2. Prime the Surface
Properly prepped fiberglass doesn't need a primer before non-skid paint goes on. Every other surface does.
Wood and previously painted surfaces: Apply a topside primer according to the label directions and let it dry completely. Sand lightly with 220-grit sandpaper, then wipe clean with brushing thinner and let dry.
Metals: Prime with a two-part epoxy primer or an appropriate barrier coat primer for the specific metal. Sand the cured primer smooth with 220-grit sandpaper, remove the residue, and wipe clean with dewaxer/surface prep solvent.

3. Stir and Thin the Paint
Non-skid particles settle out between uses even though they're pre-mixed into the paint. Stir thoroughly so the grit is fully suspended before you start.
In warmer conditions (70°F or higher), thin the paint 5-10% with brushing thinner for brush or roller application, or with xylene for spray application. Don't exceed the recommended thinning percentage, or the coating won't cure properly.

4. Apply the First Coat
This is where how to apply non-skid paint really comes down to technique. Use a brush, roller, or spray equipment, and don't expect full coverage from a single coat — a thin film cures correctly, and a thick one won't.
Plan on 2-3 thin coats rather than one heavy one. An overly thick coat can skin over on the surface while wet paint and solvent stay trapped underneath.
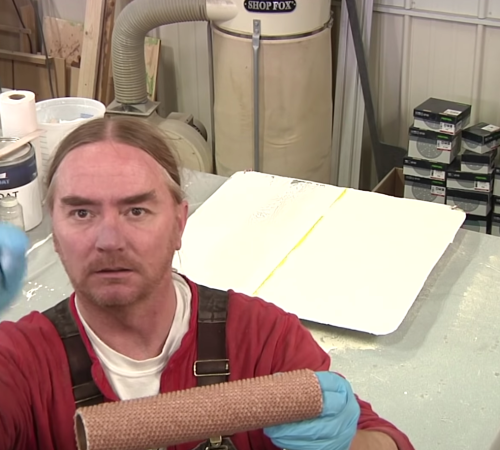
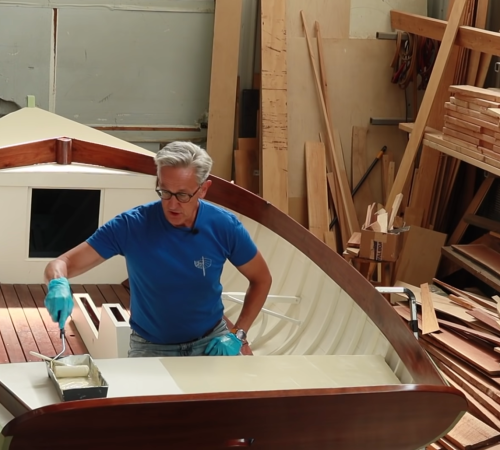
Roller application: use a roller with a 1/8" nap solvent-safe foam cover to keep the grit distributed evenly.
For a smoother finish, some painters 'tip' the rolled-on paint with a natural bristle brush right after rolling. Use a light hand so you don't drag too much of the grit around.
Spray application: use a nozzle at least 2mm wide, and let the first coat dry completely before moving on.
Apply within a 50-90°F range and 0-85% relative humidity, and avoid working when dew, rain, or temperature swings could interfere with drying.
Dry time before recoating: 8 hours at 90°F, 12 hours at 70°F, or 16 hours at 50°F.

5. Sand and Wipe Between Coats
Non-skid paint needs a light sanding between coats for the next layer to bond well. Don't try to recoat until the previous layer has dried to a sandable state.
Sand lightly with 220-grit sandpaper — just enough to haze the surface, not to strip away the grit. Some grit will sand down naturally; that's expected, so don't sand it perfectly smooth.
Wipe the surface with a clean, lint-free rag dampened with brushing thinner to remove sanding residue and contaminants, then dry it with a second clean rag.
6. Apply the Second Coat
Apply another thin coat. Two to three total coats is the sweet spot — more coats mean more grit, and more grit means better grip underfoot.
Let the final coat dry for 16-24 hours before walking on the surface.


TotalBoat TotalTread Non-Skid Marine Deck Paint white being applied with a roller
Frequently Asked Questions
Why didn't my non-skid paint dry properly?
Two things usually cause this: a coat that's too thick, or paint that's thinned incorrectly. Aim for about 3 mils wet film thickness (roughly 2 mils once dry). For brush or roller work, thin only with the recommended brushing thinner — other solvents can affect the cure. For spray application, use xylene, and stick to the recommended thinning percentage for your method.
My non-skid deck doesn't have much shine. Is that normal?
Yes. Non-skid paint is formulated with a low-sheen finish on purpose, to cut down on glare and keep the surface from getting slippery when it's wet. If you want more shine, apply at least one coat of non-skid paint as-is first, then blend in a topside paint for your finish coat only.
The finished surface feels too rough. Can I smooth it out?
A little sanding helps. The grit is engineered small for traction, so avoid removing it entirely, but a light pass with a sanding block and 400-grit sandpaper knocks down some of the coarseness without wrecking the non-skid texture.
Ready to Get Started?
With the right coatings, a little patience, and careful attention to safety, you can paint your boat from top to bottom. Browse TotalBoat's full lineup of topside paints and bottom paints to restore and protect your boat.