











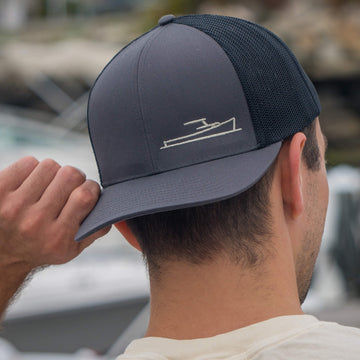



Teal, Linh, Emma, and their Yorkshire terrier, Compass, are the crew behind Onboard Lifestyle. They live full-time aboard SV bāsik, a custom 43.5-foot Featherlight catamaran, and share their refit projects with a growing community of DIY boaters. You may remember them from their deck painting episode Boat Painting with Onboard Lifestyle. With hurricane season winding down and a departure date closing in fast, the crew is working through a long list of projects, and one of them has been waiting a while: the salon table base.
In this episode, Teal takes on a fiberglass repair that started with a shortcut he took years ago. He moves between the cooler interior and the scorching cockpit to keep everything moving, and he uses High Performance Epoxy and TotalProtect Epoxy Barrier Coat Primer to get the job done right this time.
Why the Salon Table Base Cracked
Building or refitting a multihull means constantly balancing strength against weight. SV bāsik weighs about 8,500 pounds dry across a 43.5 by 25.5-foot footprint, which makes her a weight-sensitive boat where every added pound counts. When Teal originally built the salon table base, he used ultra-light materials and skinned the structure with a single light layer of fiberglass cloth, sweeping a fillet around the curb where the base meets the floor.
That light layup held for years, but rougher sea states eventually took their toll, and the tabbing cracked around the entire perimeter at the end of the base. Once Teal removed the lower table deck, he found the real culprit, which was that he never laid cloth on the inside of the structure. As he puts it, "I took a shortcut and it bit me in the butt."
His plan for the repair is a smart one for any weight-conscious boat. On the outside, he replaces the damaged skin with glass of about the same thickness, so the finished base looks seamless against the surrounding floor. On the inside, he adds extra layers where they will quietly carry the load without adding visible bulk.
Cutting Back the Damaged Glass
Working around a finished floor in a tight space calls for some care, so Teal starts by taping off the flooring surrounding the table base. With the floor protected, he uses a multi-tool to cut back all of the loose fiberglass, which comes away cleanly on all three sides. He then moves inside the base, removes the old fillet entirely, and sands everything down until he has clean, exposed core all the way around, leaving the extra corner tabbing from the original build in place since it was still sound.
Getting down to solid material before you rebuild is the most important step in any fiberglass repair. New glass and epoxy can only be as strong as the surface they bond to, so every bit of cracked or delaminated material has to go.

Rebuilding the Fillets with High Performance Epoxy
With the damaged material removed, Teal lays new fillets inside and out to rebuild the radius corners where the base meets the curb. A smooth, rounded fillet lets fiberglass cloth lay flat through the transition instead of bridging a sharp inside corner, which is where voids and weak spots tend to form.
High Performance Epoxy is a great fit for this work. It can be thickened with fillers into a filleting paste, and it cures slightly more flexible than traditional 5:1 epoxy systems, which helps it handle the stresses and loads that come with a structure flexing in a seaway. It also has a simple 2:1 mix ratio by volume and a non-blushing formula, so there is no blush to wash off before the next step.
The next morning, Teal goes over every fillet with sandpaper to knock down any burrs or high spots so the cloth won't snag when it goes down.

Laying New Fiberglass Inside and Out
Teal cuts the new cloth from a sketch he drew up ahead of time, with three separate pieces for the exterior perimeter and one piece for the interior. He notches a two-by-two square out of each corner of the interior piece so it folds cleanly into the box shape without bunching.
High Performance Epoxy's low viscosity makes it ideal for wetting out fiberglass cloth, and both the interior and exterior layers tuck down smooth and flat. The exterior now matches the original skin thickness, while the interior layer is the first of two, which will triple the strength of that corner once the second layer goes down. Since the rest of the structure held up fine, reinforcing this one high-stress spot out in the middle of the bridge deck gives Teal the extra strength he needs without adding weight where he doesn't need it.
Prepping for Paint with TotalProtect
While the table base cures, Teal turns his attention to the bridge deck head door, which he built years ago and never reinstalled after the head refit. He strips the hardware, cleans and polishes it, and keeps careful notes on which screw holes needed spacers so everything goes back exactly as it came off. After sanding away the loose, damaged paint, several areas were down to raw substrate, so a simple scuff and topcoat wouldn't cut it this time. As Teal says of the sanding, "Best tool you could use for this is patience."
Early the next morning, with temperatures still in the low 80s, he mixes up TotalProtect Epoxy Barrier Coat Primer. TotalProtect has an easy 3:1 mix ratio by volume, and Teal expects a pot life of three to four hours in that heat. He lays down a thin base coat on the door and on the cockpit cooktop he prepped earlier.

That first coat also works as a report card for all the glass, fairing, and epoxy work underneath, because it quickly reveals any bubbles, voids, or low spots that were missed. Teal's surfaces came through clean, and both pieces are ready for a light sanding and one more coat.
Tips for Working with Epoxy and Barrier Coat in Hot Weather
Teal's approach to working through a Texas heatwave offers some practical lessons for anyone tackling projects in summer heat:
- Schedule outdoor coating work for early morning, when temperatures are lower and humidity hasn't peaked yet.
- Keep an eye on the application range. TotalProtect should be applied between 50°F and 90°F, and the product, air, and surface all need to fall within that range.
- Mix only what you can use, since warmer temperatures shorten pot life and working time.
- When using High Performance Epoxy in warm conditions, choose High Performance Slow Hardener for the longest working time.
- Move smaller components like doors and hardware indoors, where you can get a cleaner coat without fighting the heat.
More to Come from SV bāsik
With the salon table base rebuilt and the door and cooktop primed, the crew has made real progress before departure day, with the second interior layer and final coats still ahead. Follow along with Onboard Lifestyle on YouTube to see how it all comes together.
If you have questions about repairing cracked fiberglass tabbing or choosing the right epoxy and barrier coat for your project, our tech support team is here to help. Call us at 888-986-6623 and we'll help you find the right products for the job.


Clear High Performance Epoxy Kits
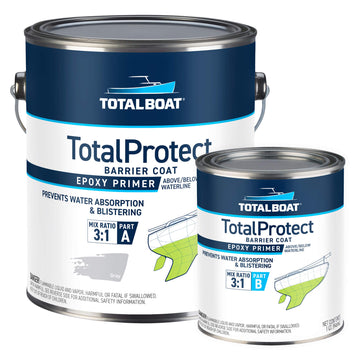
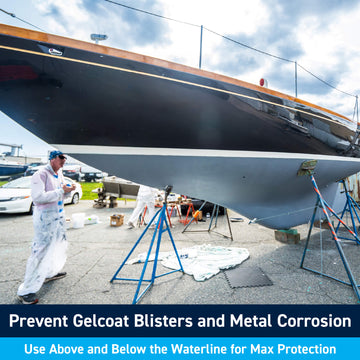
TotalProtect Epoxy Barrier Coat Primer


Plastic Paint Pails and Epoxy Mixing Cups