

















A Rotten Roof, a Five-Year Project, and One Last Push
If you've followed Ship Happens for any length of time, you know the drill by now: Simon and Gemma have spent the better part of five years bringing their 1980s cruiser Sarinda back from the brink, working through the hull, the decks, the transom, and more rot than either of them probably wants to remember. In their latest seven-day series, they take on the last major holdout: the boat's roof, which had been patched, glued, and butyl-taped together for decades and was finally ready to come off for good.
It's a project that starts with a sledgehammer-and-multi-tool demolition and ends with a fully rebuilt, fiberglassed, and varnished structure that's actually watertight for the first time in years.
Tear-Off and the Last of the Rot
The series opens with the roof coming apart piece by piece. Underneath the old tongue-and-groove cladding, Simon and Gemma find beams that were already cut through by a previous repair, rotten roof plies, and a roofline that turns out to be anything but symmetrical once they start taking measurements. Every original beam location gets measured and logged before demolition, since those numbers become the reference points for the new structure.
The first new beam goes in around the aft doorframe, one of the trickiest spots on the boat because the frame has to stay square and the door still needs to close properly once everything is buttoned back up. This is also where High Performance Epoxy makes its first appearance, mixed through a new metered pump dispenser that Gemma is visibly thrilled about after years of hand-pumping resin and hardener. The two-to-one, non-blushing formula meant no waxy amine layer to clean off before the next step, which matters on a project with this many bonded joints still to come.
By the end of day two, every beam is back in place and, as Simon puts it, the boat is officially rot-free for the first time in years.

Framing In and a Hatch Redesign
With the beam structure set, the crew turns to the longitudinals that tie everything together and the plywood decking that gives the roof its first real shape. This stretch of the build also includes one of the series' bigger plot twists: after living with a temporarily fitted stairway hatch overnight, Simon and Gemma decide the original hatch position just isn't going to work. Rather than force a fix, they scrap the fitting altogether and reposition it lower and offset to the side, a change that ends up creating room for a handrail down the road.
The hatch lid itself gets pulled aside to be finished separately on the bench, which sets up a smarter workflow: prime, varnish, and fully cure the piece indoors while the roof structure is being fiberglassed, then simply drop the finished hatch into place afterward. It's a small sequencing decision that pays off later in the series.
Raising the Roof Through a Heat Wave
Day five is as much about the weather as it is about the woodworking. With temperatures climbing into the 30s Celsius and barely a breath of wind, Simon and Gemma get the last sheets of plywood decking screwed down and start working out the roof's overhang and curve using string lines, a bent batten, and a fair bit of trial and error. Once the plywood is on, they route back the overhanging edges to the marked curve and get their first look at the roofline from the ground, eight feet of overhang past the original line to give the aft deck real shade.

It's also when the varnish work starts in earnest. Trim pieces destined for the hand rail area get a coat of TotalBoat Wood Sealer as a primer, applied with a foam roller Gemma is quick to praise for how easily it lays the product down, followed by Gleam varnish for a durable, glossy topcoat. Because the sealer doesn't require sanding between coats within a 48-hour window, they're able to keep multiple pieces moving through the finishing process without slowing down the rest of the build.

Stanchion Bases, Sag, and a Little Extra Uplift
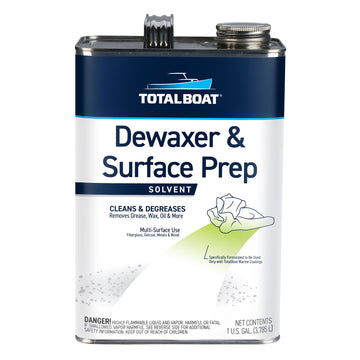
Day six is detail work: fitting the turned wood stanchion bases, or "pucks," that will eventually carry the stainless steel hand railings. Each puck gets counter-bored for its mounting bolt, dry-fit against the deck curve, and bonded down with thickened epoxy (High Performance mixed with silica thickener) after the surface gets a wipe with Dewaxer and Surface Prep to make sure nothing interferes with the bond. Simon opts to set the assembly with a few millimeters of built-in uplift to account for any future sag, a small adjustment that has Gemma teasing him for overthinking a problem that hasn't happened yet.
Once the epoxy cures and the temporary props come off, the roof structure holds its shape on its own, and the crew moves on to the long curved side pieces that will eventually be fiberglassed to form the finished edge of the roof.

Fairing In the Final Shape
The series wraps with the trickiest geometry of the whole build: a tight corner where the roof edge has to transition smoothly from a straight run into a curve. After a bit of trial and error trying to bend a solid strip of plywood into place, Simon settles on TotalFair to close the gap. Mixed as a simple 50/50, two-part system, the fairing compound lets him build the corner up to the exact profile he needs rather than trying to force a piece of wood to do something wood doesn't want to do, and it sets up clean enough to route and sand into a smooth, fair line ready for fiberglass.
From there, it's routing the perimeter down to its finished height, easing the edges with a roundover bit, and a final prep-and-prime pass with dewaxer and surface prep and more wood sealer on the hatch before the whole assembly gets buttoned up for fiberglassing.
A Watertight Boat, At Last
What started as a demolition project ends the series as a fully framed, decked, and largely finished roof structure, the last major piece standing between Sarinda and being a genuinely watertight boat after years of buckets, tarps, and patched leaks. It's a good reminder of what a roof rebuild like this actually involves: careful measuring before anything comes apart, a bonding and finishing system that can keep up with a multi-week build in serious heat, and the patience to redesign a piece like the hatch rather than force a fit that isn't quite right.
Taking on a similar roof, deck, or fairing project of your own? Our tech support team is happy to help you pick the right products for the job — give us a call at 1-800-497-0010 or reach out through our website!





Clear High Performance Epoxy Kits
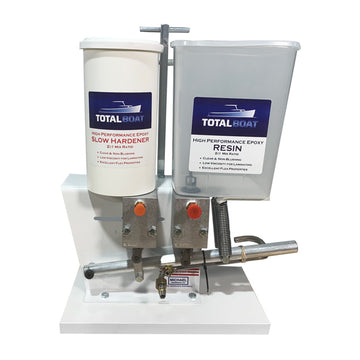
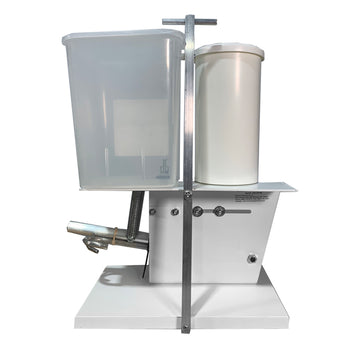
High Performance Epoxy Metering Pump Dispenser
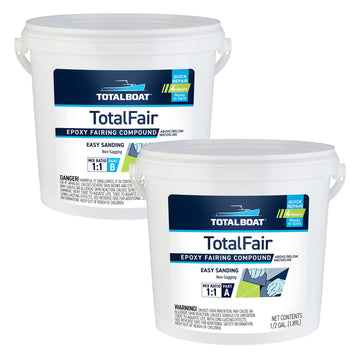
TotalFair Epoxy Fairing Compound


5 comments
The boat is considerably older than 1980 and as I recall it was a 1940s navy boat converted maybe in around the 80 as a pleasure craft.
I’ve been following this build for quite a while. It’s an incredible transformation. And a very impressive piece of History being saved.
I’ve been following this build for quite a while. It’s an incredible transformation. And a very impressive piece of History being saved.
Great video and really informative. But, why does everybody in the video talk funny? Was something wrong with the microphone?
I love TotalBoat’s metered epoxy pumps. Not only are they precise, but the fact that they’re smaller than others’ makes it easier to make small batches for small tasks (or hot desert days).