If there's one sailing channel that makes boat repair look equal parts inspiring and terrifying, it's Spear It Animal. Raff and Sasha are two self-described modern-day pirates on a mission to sail around the world — a mission that hit a serious snag when their dream catamaran spent 52 days sinking in a Grenadian mangrove. After towing her 40 miles south to Spice Island Marine, the rebuild officially began.
Episode 95, "Who Said Boat Projects Aren't Sketchy???" captures the crew right in the thick of it — grinding, glassing, filleting overhead, and lowering a broken crossbeam down from the sky with ropes, and ratchet straps. It's also where TotalBoat's High Performance Epoxy, Silica Thickener, and Milled Fiberglass get a proper workout! 😉
First, a Word About Darren and Jay
Before Raff and Sasha could dive into the interior work, they needed serious help on the exterior. Enter Darren and Jay of Fiberglass Pro Grenade Unlimited — a duo who showed up on day one grinding fiberglass in flip-flops, and never looked back. The pair cut out rotted balsa core from bow to stern, replaced it with composite foam coring, and started laying glass over the damage before the cameras could even catch up.
While the pros handled the outside, Raff and Sasha had plenty waiting for them on the inside.

The Real Enemy: Gravity
Repairing an overhead surface is one of those jobs that sounds straightforward until the epoxy starts running down your arm. After hours of grinding, wire-brushing a filmy mangrove residue off every inch of the cabin ceiling, and sanding edges with a custom-built L-bracket jig, Raff and Sasha were finally ready to fill the gaps.
However, their first attempts with milled fiber and silica kept sagging. As the epoxy exothermed and heated up, the mixture just couldn't hold overhead. It was trial, error, and a little frustration before they cracked the code.
For more information on epoxy thickeners - what they are and how to use them - check out our guide: How to Use Fillers and Thicken Epoxy.
The Recipe That Changed Everything
The breakthrough came when they added longer milled glass fibers into the mix alongside the finer milled fibers they'd been using. Combined with High Performance Epoxy and silica thickener, the result was a fillet that finally held overhead, in the heat, batch after batch.
Here's how they built their overhead epoxy fillet, step by step:
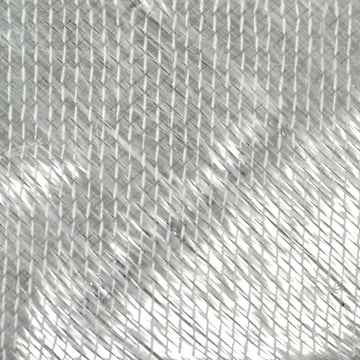
1. Start with the long milled fibers. Raff mixed longer milled glass fibers directly into the wet epoxy resin first. The goal is what he called the "bird's nest" — fibers intertangled enough to see the structure, but still wet and workable. This step gives the fillet its backbone.
2. Add the fine milled fibers. A second round of finer milled glass fibers goes in next, creating the same bird's nest effect on a smaller scale. Think of it as filling in the gaps within the gaps — liquid fiberglass with epoxy holding it all together.

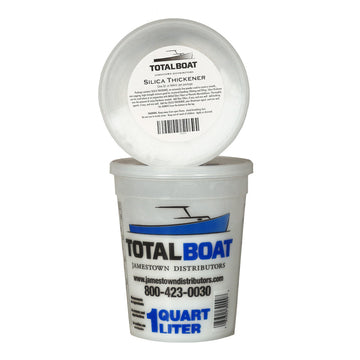
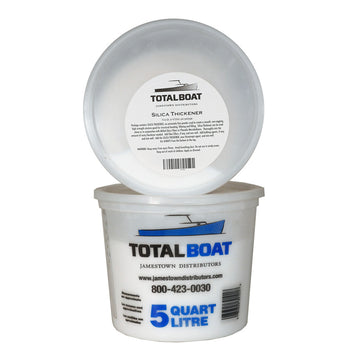
3. Thicken with Silica. Here's where the TotalBoat Silica Thickener earns its keep. Added gradually and mixed thoroughly, silica brings the whole batch up to that sweet spot between mayonnaise and peanut butter — thick enough to hold overhead as the epoxy cures, but still workable. Raff's pro tip: always wear a respirator when handling silica powder. The particles are extremely fine and genuinely dangerous to inhale.
4. Test before you commit. Pick up the spatula and let the mixture sit. If it holds without slumping, you're ready to apply. If not, a bit more silica does the trick.

5. Prime, then fill. Before loading the fillet into the joints, they wet-brushed both mating surfaces with straight epoxy resin, essentially priming the wood and fiberglass to improve adhesion. Then, using spatulas cut in half for better access, they pushed the thick fillet mixture deep into each joint until it bubbled back out. That feedback tells you the void is packed solid.
The result after cure: smooth, hard, and completely sag-free. They sanded everything down with a 32-grit grinder, marked thin spots and air pockets with a permanent marker, and then went around laying wetted-out fiberglass over every flagged section for added reinforcement. Raff's summary: "Fiberglassing is so much easier than epoxy filler. That was kind of therapeutic."

Then Things Got Sketchy
With the ceiling buttoned up, it was time to tackle the front crossbeam, the structural piece that connects the two hulls. During the sinking, it had broken completely in half. In the mangroves, they'd lashed it back together with salvaged 2x4s and ropes they found on the water. That jury rig had held all the way to Grenada.
Using an old solar rack bar as a cross-support, ratchet straps, block-and-tackle off the mast, and what Raff called an "insurance rope," they carefully unbolted one side of the broken crossbeam and eased it down. The second half was less elegant — but they walked away clean, with no new holes in the boat and only one fiberglass splinter between them.
By the time this episode wrapped, the boat was transforming. Darren and Jay had glassed, faired, and gel-coated both crossbeam mounts and both bow sections. The interior ceiling was 99.9% finished. And Raff and Sasha had proven, batch by batch and project by project, that they know how to use these materials — not just follow instructions, but actually problem-solve with them in real conditions.
That's what good epoxy work looks like. Not perfect on the first try, but dialed in through iteration.


Clear High Performance Epoxy Kits