
Matt Steverson of The Duracell Project has been hard at work refitting the legendary racing boat, Duracell, into a comfortable cruising home. In this week’s video, he is diving into all the basics of fiberglassing. Matt will be going over all the tools, techniques, and materials needed for doing a fiberglass project on your own!
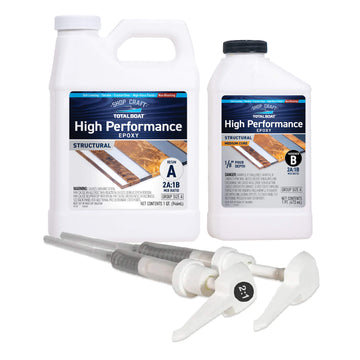
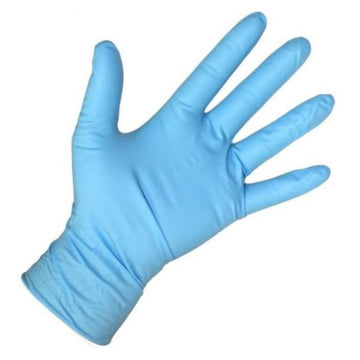
First things first, Matt goes over all the proper PPE required when doing his fiberglass projects. He makes sure to wear gloves, and a proper respirator when working with thickened epoxy and acetone. He usually is always seen wearing a tyvek suit while doing a lot of boat work projects as well. The other materials he needs for all his fiberglassing projects include the epoxy resin and acetone. Matt uses TotalBoat High Performance Epoxy in both slow and medium hardeners depending on the ambient temperature. He uses acetone to clean the surface first before beginning any epoxy and fiberglass job.
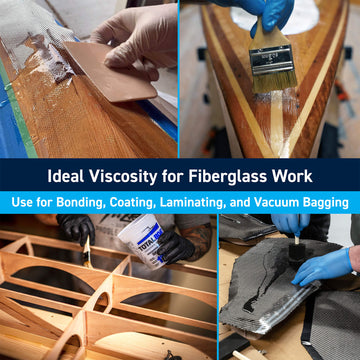
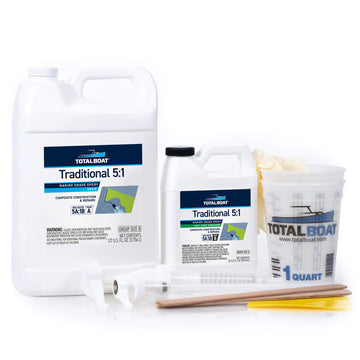
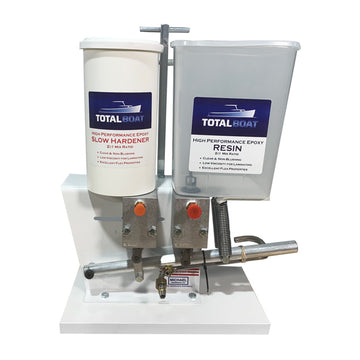
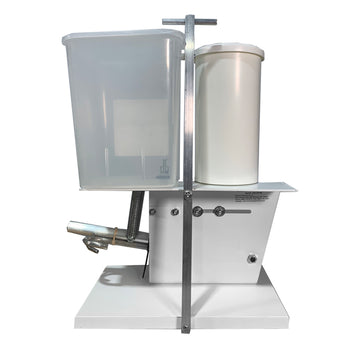
Matt is going to be demonstrating his fiberglassing skills by laminating and gluing a shelf inside of Duracell. He starts by mixing the epoxy, first using the High Performance Metering Pump to accurately dispense the correct ratios of parts A and B into the plastic paint pails. He then adds the silica to thicken the epoxy. This is great for filleting or filling before fiberglass is laid down. Matt glues down the top of the shelf with a bead of the thickened epoxy then moves onto filleting the corners. He uses a resin spreader and a tongue depressor to smooth out the areas and remove any excess epoxy.
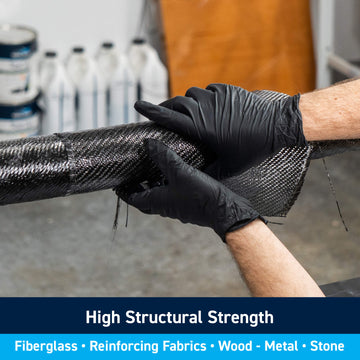
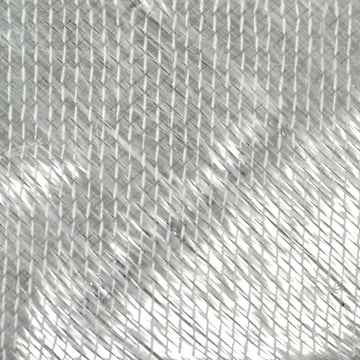
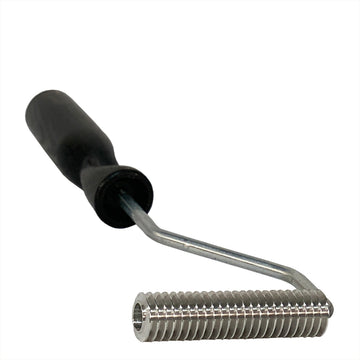
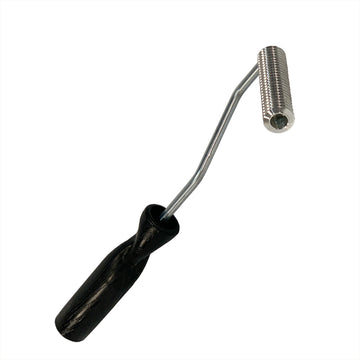
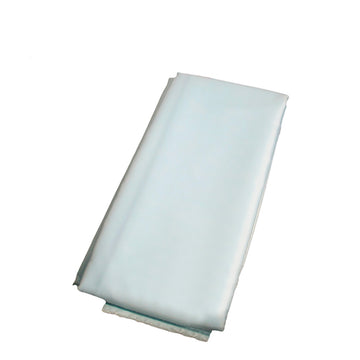
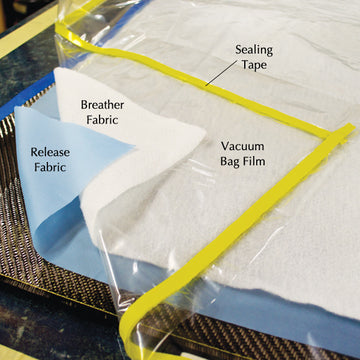
Next, he mixes another batch of High Performance Epoxy without any filler for laminating the fiberglass tape and 1708 Biaxial Cloth. For taping he uses a paint tray and a roller to roll out the epoxy on the substrate before laying down the fiberglass. After the fiberglass is saturated, he goes over everything with an epoxy roller. This makes sure all air bubbles are out from under the glass and has total adhesion to the substrate. Lastly, he explains the benefits of using Peel Ply Vacuum Bagging Release Fabric. It goes on top of the fiberglass after it's wet out. This step produces a smooth, even surface ready for finishing. He adds his tips and tricks for this step along the way.
Matt’s final words of encouragement for those thinking about doing a fiberglass project is that it just takes practice. Your fiberglassing skills will improve the more you practice. Be sure to follow The Duracell Project on YouTube for more boat works information as well as following along with their massive refit project with weekly videos on their progress. Let Matt know below if you have any more questions and we hope this tutorial video will help those learning how to do their own fiberglass projects on their boats. Thanks for watching!









4 comments
@George L, Yes, you can use heat lamps both to warm up the epoxy before mixing and the finished layup. I don’t know what wattage, but if you can keep the layup between 60-80 degrees F, it should cure just fine. I usually will keep my layups warm overnight for a good cure. Take a look at the Totalboat epoxy TDS for more specific temperature numbers.
@John M, yes, that bulkhead is the second of 3 watertight bulkheads in the boat. Yes, if you are using 5-1 in a warm place, it will exotherm quickly. Try a slower hardener. I have not used TBs 5-1, but their 2-1 slow is excellent for taking time with epoxy projects.
First, Thank You for a great tutorial – you’ve helped to confirm some of my understanding, and also shared some very useful tips that I hadn’t considered (acetone in the bucket, peel ply, nap roller for wetting out).
Second: Is that a crash bulkhead I saw to the right of the new shelf?
Third: I’ve struggled with TB 5-1 Epoxy and exotherming, even with small batches ; It may be that my use of fast hardener is the culprit. Is that less of a problem with 2-1?
You mentioned using an oven type set up to warm up your room. I live in Michigan and hope to start this fiberglass project in March but it might still be 50-55 degrees in the storage building where my boat is. Have you ever used heat lamps to warm the new epoxy so its dries quicker and if so, what wattage is useful to get a good hardening result?