

























Common Wood Stain Problems: Causes, Fixes, and How to Prevent Them
September 2026
If you've ever pulled the rag away to find blotches, streaks, or a color that looks nothing like the can, you already know how frustrating wood staining problems can be. The process seems simple: apply, wipe, done. But wood is unpredictable, and a handful of small missteps in prep or technique can throw off the whole finish. This guide covers the most common stain problems woodworkers and DIYers run into, why they happen, and how to fix or prevent each one so your next project comes out even and rich the first time.

What Causes Common Wood Stain Problems
Most wood stain problems trace back to one of three sources: the surface, the technique, or the conditions. Unsanded or unevenly sanded wood absorbs stain inconsistently. Rushed or heavy application leaves excess product sitting on the surface instead of soaking in. And humidity, temperature, or poor airflow can speed up or slow down drying in ways that create streaks, tackiness, or dull color. Once you know which of these three is the culprit, most stain problems become easy to diagnose and correct.
Blotchy or Uneven Stain Absorption
Why Blotching Happens
Blotching is probably the single most common wood stain problem, and it shows up as dark patches next to lighter, thirsty spots. Softwoods like pine, along with woods that have inconsistent grain density such as cherry or birch, are especially prone to it. The uneven grain absorbs stain at different rates, so some areas soak up far more pigment than others.
How to Prevent Blotchy Stain
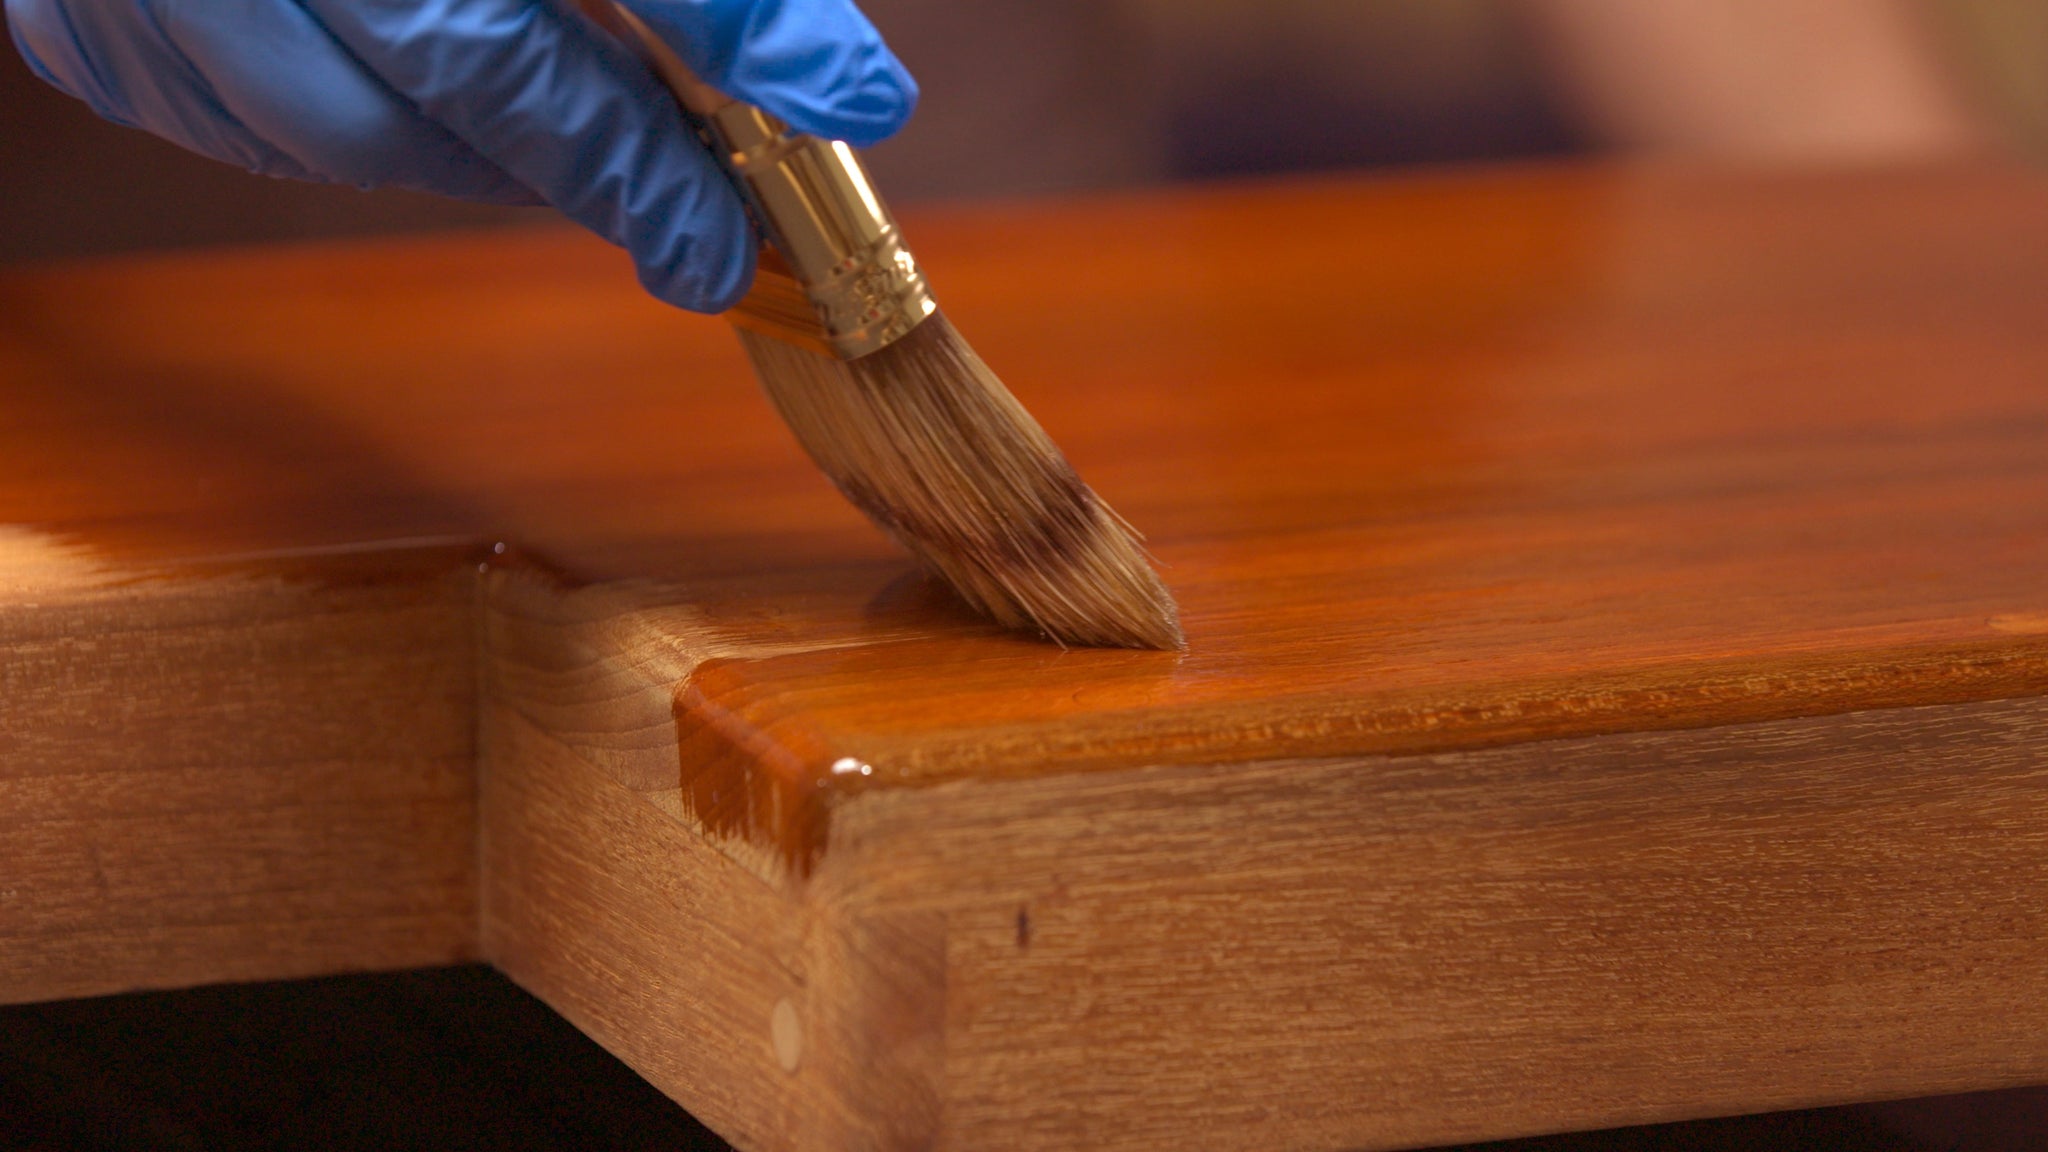
Sand the wood evenly in the direction of the grain, working up through the grits so the surface accepts stain consistently. Wipe away all sanding dust before you begin. Apply a thin, even coat and work in the direction of the grain rather than against it. On blotch-prone species, a pre-stain wood conditioner helps even out absorption by partially sealing the more porous areas of the grain before the stain goes on. Test a scrap piece first either way, since some woods simply absorb stain unevenly no matter how well you prep them, and knowing that ahead of time saves a ruined project piece.
Stain That Won't Dry or Stays Tacky
A stain that stays tacky long after it should feel dry usually means too much product sat on the surface instead of being wiped off. Excess stain pools on top of the wood rather than penetrating it, and that surface film takes far longer to cure than the stain that soaked into the grain.
Wipe off any stain that hasn't absorbed within a minute or two of application, working with a clean, lint-free cotton rag in the direction of the grain. Don't let the excess turn tacky before you wipe it. Humidity and cold also slow drying considerably, so aim for a warm, well-ventilated space with good airflow. A quality oil-based stain like TotalBoat Signature Wood Stain dries to the touch in 30-60 minutes under normal conditions, so if your project is still wet well past that window, excess product or poor ventilation is almost always the reason.
Streaks and Lap Marks
Streaks and lap marks happen when stain dries before you've finished blending one section into the next, leaving visible overlap lines. Warm rooms and fast-drying formulas make this more likely if you work too slowly across a large surface.
Break the project into manageable sections and keep a wet edge, moving from one area to the next before the previous section sets up. Brush or wipe with the grain, and use a clean rag to smooth and blend the edges between sections as you go. If your space runs warm, work a little faster or in smaller sections to stay ahead of the dry time.
Stain Color Doesn't Match the Can or Sample
Nothing derails a project faster than opening the can, applying a coat, and discovering the color looks nothing like the swatch. Wood species, grain pattern, and even the individual piece of wood all affect how a stain reads once it's on. Softwoods often pull color darker and blotchier than the sample chip suggests, while dense hardwoods may look lighter than expected.
Pro Tip: Always test the stain on an inconspicuous area or a scrap of the same wood species before committing to the whole piece. If the color runs darker than you want, blending in a natural or clear shade can tone it down. Mixing two compatible stains together is also a simple way to dial in a custom tint when none of the standard shades hit the mark.
Poor Stain Penetration on Refinished or Older Wood
Stain needs bare, porous wood to soak into. Old varnish, paint, wax, or sealer left behind from a previous finish blocks penetration, so the stain sits on top instead of absorbing, and it can smear or lift once you apply a topcoat.
Strip old finishes completely and sand down to bare wood before staining. Wipe the surface with a dedicated dewaxer or surface prep solvent to remove any remaining residue, then let it dry fully before you stain. Stain is a penetrating formula, not a surface coating, so it only performs on wood that's genuinely clean and open-grained.
Stain Bleeding Through the Topcoat
If color lifts or smears when you apply varnish, polyurethane, or epoxy over stained wood, the stain likely wasn't dry enough before topcoating. Applying a topcoat too early traps solvent underneath and disturbs the pigment layer.
Give the stain its full recommended dry time before topcoating. Most oil-based stains need at least 30 minutes to a few hours before an oil-based finish and considerably longer, often 24 hours, before a water-based or epoxy topcoat. Check the product's technical data sheet for exact windows, since dry and recoat times vary by formula, temperature, and humidity.
Wood Stain Problems on Exterior Surfaces
Outdoor wood surfaces bring an extra layer of stain problems that interior projects don't face. Sun exposure fades and breaks down color over time, and repeated exposure to moisture and temperature changes stresses the wood grain, so a stain that looks perfect on day one can dull, gray, or peel within a season. Choose a topcoat rated for UV and moisture exposure, and plan on a maintenance recoat schedule rather than treating the finish as a one-and-done project. Exterior wood also needs a fully cured, well-sealed topcoat over the stain, since an unprotected stained surface has little defense against sun and water.

TotalBoat Signature Stain being applied with a cotton rag
How to Prevent Wood Staining Problems From the Start
A little prep goes a long way toward avoiding common stain problems altogether:
- Sand evenly in the direction of the grain and remove all dust before staining
- Clean the surface of oil, wax, grease, and old finish residue
- Test the stain on scrap wood or a hidden spot first
- Work in a warm, dry, well-ventilated space with good airflow
- Apply a thin, even coat and wipe excess promptly, before it turns tacky
- Don't thin the stain unless the manufacturer specifically recommends it
- Let the stain dry fully before adding a topcoat, and choose a UV-rated topcoat for outdoor or marine wood
Why is my wood stain blotchy? Blotching happens when wood absorbs stain unevenly, usually because of inconsistent grain density or uneven sanding. Softwoods like pine are especially prone to it. Sanding evenly and testing on scrap wood first helps you catch the problem before it hits your project.
How long should wood stain dry before I add a topcoat? It depends on the formula and the topcoat. Oil-based stains are often ready for an oil-based topcoat within 30 minutes to a few hours, but water-based or epoxy topcoats typically need around 24 hours. Always check the product's technical data sheet for exact times.
Can I fix wood stain that already dried unevenly? In many cases, yes. Light sanding followed by a fresh, even coat can even out mild blotching or streaks. For heavier unevenness, you may need to strip the finish and start over on bare wood.
Do I need a topcoat over wood stain? Stain alone doesn't protect wood from moisture, wear, or UV exposure. Most stains are designed to be sealed with a varnish, polyurethane, or epoxy topcoat once fully dry, and that topcoat matters even more outdoors.
Can I stain over an old finish? No. Stain needs to penetrate bare, porous wood to work correctly. Strip and sand any existing finish down to bare wood before applying a new stain.
Ready to Get to Work?
Most wood stain problems come down to prep, patience, and knowing your dry times, and a little test patch on scrap wood before you commit can save an entire project. If you run into an issue that doesn't match anything here, or you want a product recommendation for your specific project, give our tech support team a call at 888-986-6623.
Do It Yourself But Not on Your Own


Comments
Could I receive a catalog? Or pdf file I can print? Thank you.