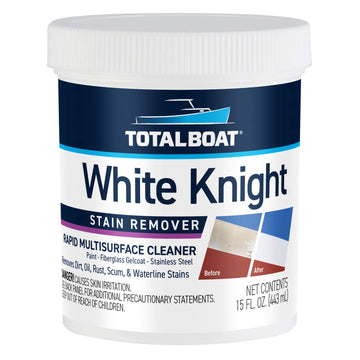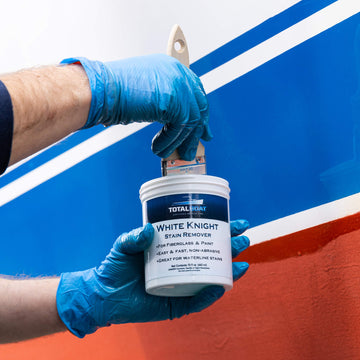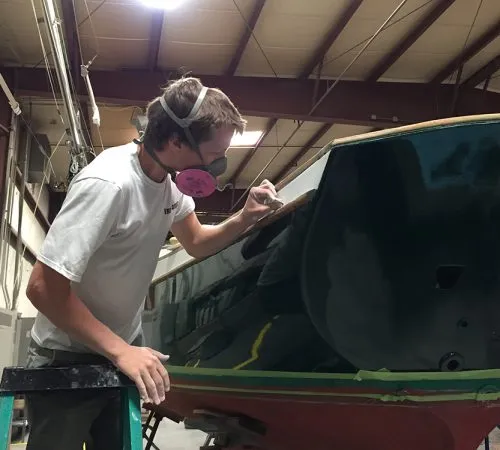
Preparation is key to success with any paint job on any surface you choose to paint. Brendan probably spent twice to three times the amount of sweat and labor on prepping his surfaces for new paint than he did on the final paint jobs. Sanding, cleaning with the proper solvent and then a proper wipe down with the right (lint free) rag is paramount for a pro looking finish. Brendan spent a lot of time testing the amount of thinner he was adding to the topcoat paint. He chose to use a 2-Part paint by EMC called Quantum. The patches in the photo shown are examples of how each batch of thinned paint went on the hull very differently.
This test was perhaps the most important step and is something Brendan encourages boat painters to do on every hull, with every paint – unless you are very familiar and comfortable with your shop setting, your tools, the temperature and the materials you will be applying. Even the best prepped, most familiar surfaces can be a challenge with all the variables that contribute to a perfectly applied finish.
Brendan’s advice? Take the time to test the various coatings on your hull each time you paint. Test your brushes and mix small amounts to test your ratios. And take your time. Prep is one part of the puzzle of hull painting, and the other is the big mystery of making paint dry and how to make it mirror-like and smooth. Orange peel, sagging and imperfections in your top coat will haunt you until you redo them. So getting them right the first time is always the best idea.
