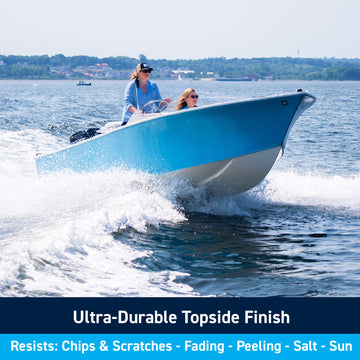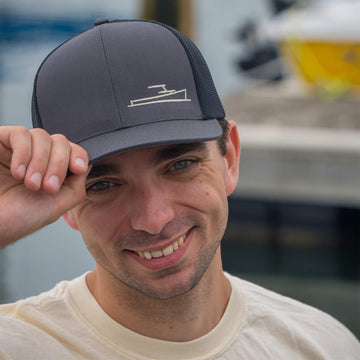
YouTube maker and Netflix’s “Making Fun” star, Jimmy DiResta is no stranger to making things by hand. After finding success building his first wood strip canoe a few years back, he is on to the next boat build: a 13’ 9” Rice Lake Skiff from Bear Mountain Boats.
Jimmy is seen as the king of makers amongst the maker community as his job is solely making anything and everything, and teaching how to make things involving wood, metal, epoxy, and more! He is always willing to dive into any project regardless of his skill level. And he is a man of many skills, from forging, to woodwork, and now has added boatbuilding to his skillset.
The first time Jimmy saw this boat was in 2019 at the Makers Rendezvous that Bear Mountain Boats held in Canada. As soon as he saw the beautiful little rowboat with the small motor on the back, he knew he had to build one himself. So he got the plans in the fall of 2019, and as we all know, life gets in the way so it wasn’t until this past May that he began the build. The plans provide him with everything he needs to know to build this boat. Jimmy used his shopbot CNC to cut out the boat mold stations, the same machine he used when he built the canoe. Once the stations were set into the strongback, it was time to prep the wood. Jimmy is repurposing doug fir wood from his deck renovation. He saved the wood that was installed over a hundred years ago and now it will be used for this boat build. Once the wood was prepped, Jimmy began to glue and clamp the planks together over the mold. It’s a beautiful thing to see this wood live its second life as the boat takes shape.
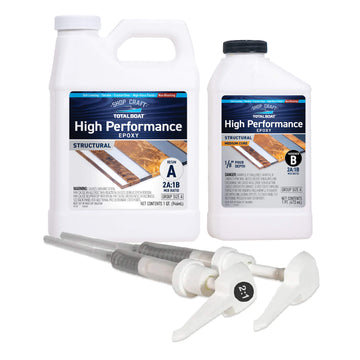
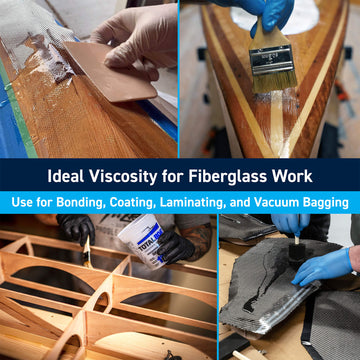
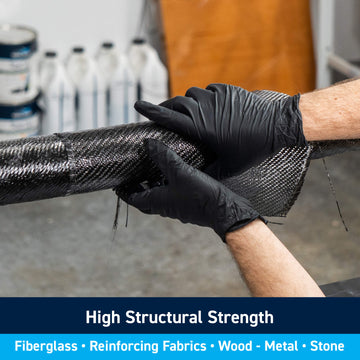
He next mixes up some High-Performance Epoxy to glue down the keel and he taped off where he doesn’t want any of the epoxy. He uses the sawdust from his palm sander mixed with the epoxy as a thickening agent. Once cured, he peels the tape off, shapes it up then continues to glue the stem. Now comes the satisfying part: fiberglassing. He lays out the fiberglass cloth, starting from the center of the keel from one side down at a time. He wets it out with High Performance Epoxy with Slow Hardener and uses a plastic spreader and a chip brush to evenly saturate the cloth. He does 4 layers of cloth, sanding in between each layer.
This is just Part 1 of this boat building series, so be sure to like and subscribe to Jimmy’s channel now if you aren’t already to follow along with the next steps of this build. Jimmy is never afraid to try something new and he would be the first to admit when he might need some advice. Let him know in the comments below what you think of the build so far, and if you have any advice that might be useful for Jimmy as he continues on this boat building adventure!
