We are back with Matt Steverson, from The Duracell Project, as he turns his legendary ocean racing sailboat into a comfortable cruising home for him and his wife, Janni. In today’s video, Matt is modifying the ballast tanks to make smaller water tanks using High Performance Epoxy to fiberglass and glue them in place.
On Duracell’s original design, there were three ballast tanks on each side plus one in the bow. One side of the boat held 3.4 metric tons of water or about 900 gallons. They were filled by an intake on the leading edge of the keel when the boat was going fast. Duracell was designed to race in the Southern Ocean where conditions are much windier so as breeze built, a ballast tank could be filled to supplement the keel to help keep the boat upright against the wind. And as we know, Matt and Janni will not be using Duracell in the same way, they will be cruising not racing. But they do still need fresh water storage on board for drinking and cleaning, so they are going to cut down the ballast tanks to about ⅓ of the original to get more livable space to use.
The first step in this modification process was to cut out the ballast tanks, remove the existing paint and start the build of the new water tanks. These tanks are being modified to make more room in the boat for cabinetry, their dream galley and more seating areas. He is using the panels that he cut out from the original ballasts and first it’s going to have a floor panel that goes horizontally to the hull side and that’ll be glassed into the hull all the way down. Then there will be a vertical panel that comes up to counter height and then a top panel also at counter height. There will also be baffles down the middle to keep water from sloshing around. He first templated and cut out the baffles to prevent water from moving around too much inside the tank.
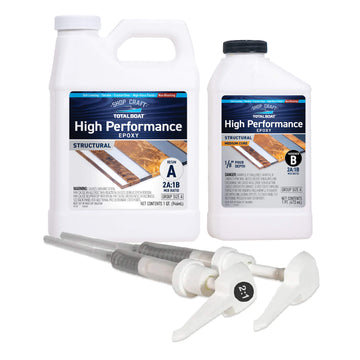
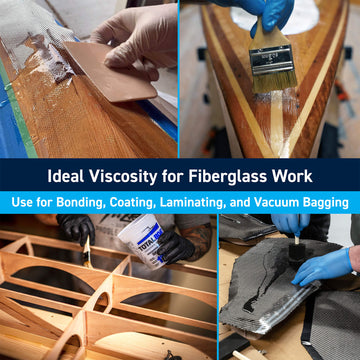
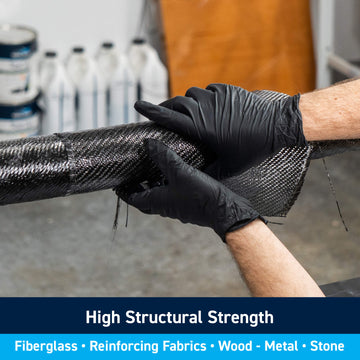
Now Matt begins to experiment with a way to put together the new water tanks. He begins by gluing in the baffle. Once everything is glued into place, he will be coating the interior of the tanks with a special food safe product. He uses his super handy metering pump to dispense the High Performance Epoxy faster and more accurately. Once the epoxy is mixed, he adds the thickener and begins to glue the baffle and fiberglass it into place. Next, he starts building the forward portside tank. One of the difficulties he faces is to fiberglass the inside of the tank. He originally wanted to glue down the piece, make an access hatch and blindly fiberglass the inside. But a better solution was to build a flange. Using more thickened epoxy, he creates a mold for the flange and glass the underside with fiberglass cloth, an epoxy roller and a natural bristle brush. He pops the mold out which leaves a perfectly flat flange all the way around . Now Matt can then glue the top of the tank down to the newly flat surface. Now that this experiment was a success, he begins the same process for the three other ballast tanks.
Stay tuned to the end of the video to see Matt cut a door leading to the stateroom. Janni approves of the size and style. It’s a refreshing ending to the video as they envision their future time spent in this “koselig” stateroom . Koselig means cozy in Norwegian and it’s something we will hear a lot from Matt and Jani in the upcoming videos as they continue to make outstanding progress on this special refit! Be sure to subscribe to their channel to state up to date on their boat projects, and let them know below what you think of their new designs and ideas for Duracell! Thank you for watching!
