


Welcome back, TotalBoat enthusiasts! In this edition, we're diving into the restoration journey of Danielle and Tommy from Slow Car Fast Home as they tackle the hull repairs and gelcoat restoration on their 1978 SeaCamper boat.
Preparation and Sanding
The journey began with an extensive sanding process, where Tommy spent four days meticulously sanding down the entire hull. After sanding, they focused on repairing dings and divots, ensuring the surface was smooth and ready for the gelcoat application.
Structural Putty and Fairing Compound
To address deeper damages, Danielle used a dremel to expose fibers, creating a better grip for the structural putty. They used Polyester Structural Marine Repair Putty catalyzed with MEKP, which ensured a strong bond.


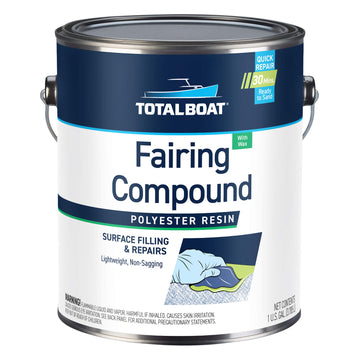
Once the polyester structural putty cured, Tommy sanded it down, creating a seamless and smooth surface before applying TotalBoat Polyester Fairing Compound & Marine Filler.


Gelcoat Application - Day 1
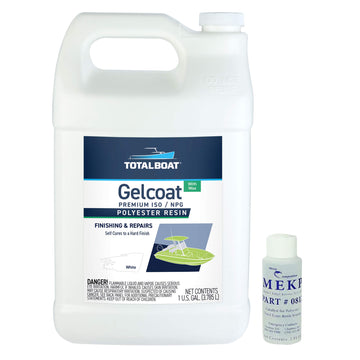
After assessing the hull, they decided they wanted to spray gelcoat instead of using marine paint. Since this was their first time attempting a gelcoat, they embarked on the application journey with careful precision. They used Gelcoat without wax for the first two coats, and worked in small 8 oz pours to avoid wastage and ensure proper application. The repairs were visibly transformed, showcasing the effectiveness of the earlier prep work.
Danielle enthusiastically comments- ‘The steps we were repairing, oh my gosh, they look wild! We took a lot of time trying to do all the repairs on this with the polyester structural putty, and then the polyester fairing compound…and this is just beyond what I thought this would look like, this is insane.’

Gelcoat Application - Day 2
The second day brought the final coat of gelcoat, this time with wax added. This crucial step facilitated a complete cure, preventing the gelcoat from remaining sticky. Danielle and Tommy shared their learnings and the challenges they overcame, emphasizing the importance of a smooth workflow.
Sanding and Buffing:
With the gelcoat in place, the next phase involved careful sanding using 600-grit sandpaper to help achieve a flawless finish. The couple emphasized the necessity of working in small sections to avoid overworking the gelcoat. The final buffing and polishing phase was completed with TotalBuff Rubbing Compound and TotalShine Finish Compound, delivering impressive results.

After weeks of dedication and a few trial-and-error lessons, Danielle and Tommy successfully restored the lower half of their SeaCamper. The shine of the new gelcoat speaks volumes about the transformative power of proper restoration techniques. Stay tuned for their next adventure as they shift their focus to the topside of the boat!
Remember, if beginners like Danielle and Tommy can take on such a project, so can you! We hope this journey inspires your own boat restoration endeavors. Until next time, happy boating with TotalBoat!

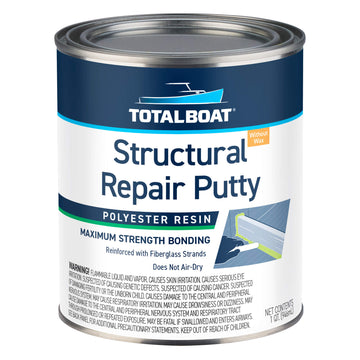
Polyester Structural Marine Repair Putty


2 comments
Well done. It’s nice to see young people taking on project that most people would hirer out.
What a team!
I am in process of repairing my sunk and refloated Trojan F-36 with major hull damage.
I am converting a 38ft Chris Craft hull into an aluminum Trawler. A Major project.