


know what you’ll need
Epoxy Calculator
If you find yourself wondering ‘How much resin do I need?’ and are trying to figure out how to convert cubic inches to ounces or gallons, you have come to the right place! Our epoxy calculator will help you determine how much you will need for your project.
Note: This calculator is ideal for estimating the amount of epoxy needed for resin pours. For composite laminating projects such as wetting out fiberglass cloth, check out this resin lamination calculator.
How To Calculate Epoxy Resin Coverage
For projects with a rectangular shape, volume is calculated by multiplying the length x width x coating thickness. Note: enter thickness as decimal value (for example, 1/8″ is 0.125). Working with a round surface? Just enter the diameter and desired finish thickness.
Conversions
1/8″ = 0.125
1/4″= 0.25
3/8″ = 0.375
1/2″ = 0.50
5/8″ = 0.625
3/4″ = 0.75
7/8″ = 0.875
1″ = 1.00
know what you’ll need
Epoxy Calculator
How Much Epoxy Will I Need?
Calculating how much epoxy you need is based on volume. Enter the dimensions here, and our free epoxy calculator will do the math for you!
What are the dimensions of your project?
Tips For Working With Epoxy Resin
Only dispense the epoxy resin and hardener into a clean plastic, metal, or unwaxed paper mixing cup. DO NOT use glass or foam mixing cups as the epoxy can dissolve many types of foam materials such as styrofoam. Glass mixing cups are not recommended due to the potential danger from exothermic heat build-up from the reaction.
Make sure that you are mixing more material than the manufacturer’s recommended minimum of epoxy. This will help ensure that the mix ratio has been dispensed accurately, promoting the best possible cure of the epoxy. Do not dispense more than the manufacturer’s maximum recommended amount of epoxy. The manufacturer bases this on giving the user the greatest amount of working time, while avoiding generating too much heat from slab pours, or castings. For larger pours, divide the required amount of epoxy by the maximum pour amount. Mix and apply the epoxy in stages. Do not mix or apply the next stage until the previous pour has started to harden, the exothermic reaction has occurred, and it has started cooling down.
MIXING: The epoxy needs to be completely and thoroughly mixed for a proper cure, but avoid lifting and whipping, as it adds air bubbles into the epoxy. Always scrape the bottom of the mixing cup and the sides ensure a good mix. It is strongly recommended to use the 2 cup mixing method. Mix in one cup, then pour into another one and continue until it is completely mixed. This reduces the chances of any resin or hardener rich areas.
When mixing, always scrape the sides. If any unmixed material remains on the side of the container and falls onto your surface while pouring, it will leave an uncured wet or sticky spot.If any pigments, tints, thickening agents, or other additives are to be added, dispense them into the mixed epoxy, and mix in thoroughly prior to pouring. As soon as the epoxy has been completely mixed, it should be poured or applied. Do not allow the epoxy to sit in the mixing cup any longer than it needs to, as the cure reaction has already started at the time the two components were mixed together.
Most problems related to the curing of the epoxy can be traced to mixing the resin and hardener at the wrong ratio, a poor job of mixing the two components together, or some outside contaminant. It is imperative to dispense the proper amount of epoxy resin and hardener, whether it is by weight or by volume, and the two components must be completely mixed together. Resin or hardener rich areas will not cure properly, and usually stay sticky, or leave a different surface texture than properly cured epoxy. Grease, oil, wax, or any other foreign materials are considered contaminants and can leave irregular textures on the surface, a fish eye effect, or drastically slow the cure.
Stir the two components together thoroughly. In cooler temperatures, add an extra minute to the stirring. Then, scrape the sides and bottom of the pot as you mix. Use the flat end of the mixing stick to reach the inside corner of the pot. Curing epoxy generates heat, so do not use foam or glass mixing containers.
Not sure which TotalBoat epoxy system is right for your project? This handy epoxy selection guide chart makes it easy to choose.
most people ask...
Frequently Asked Questions
-
Is the Calculator 100% Accurate?
It’s best to consider any epoxy coverage calculator a good starting point, but there are other factors and variables that might impact how much epoxy you will need. Porous surfaces that require a seal coat will increase the amount of resin needed. How are you handling the edges of the surface? You will need more if you are allowing epoxy to run over the edges, compared to building a dam or wall. And, you’ll probably lose a little to mixing or overflow. For most epoxy applications, 5-10% extra should be added to account for the inevitable wasted epoxy that stays on the stir stick, or stays in the bottom corners of the mixing cup, or accidental drips.
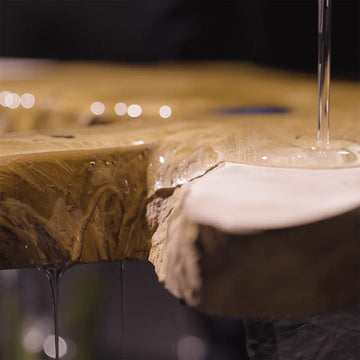
Most common table top and bar top epoxies provide approximately 12 sq feet per mixed gallon coverage at 1/8″ thickness. When in doubt, buy more. We aren’t telling you that to trick you into purchasing more resin than you need! It’s a lot better to have a little extra on-hand than to run out in the middle of a project and have to start all over.
-
What Is The Actual Formula For Epoxy Coverage?
When it comes to coating a rectangular surface, the basic formula for table top epoxy resin coverage is quite simple:
First, measure the piece. You’ll need to know length and width in inches. You’ll also need to know how thick you’d like the epoxy finish to be. Multiply these 3 measurements together to calculate the volume for the top of the table (or bar, or countertop) in cubic inches. To convert cubic inch volume to US fluid ounces, divide by 1.805. To convert ounces to gallons, divide by 128.
Working with a round table? Easy. For a round surface, you will need to measure the diameter. Divide the diameter by 2 to calculate the radius. To calculate volume in cubic inches: (radius squared) X pi (or, 3.14159265) x (desired epoxy coating thickness). Divide by 1.805 to convert cubic inch volume to US fluid ounces. To convert ounces to gallons, divide by 128.
Remember, these formulas don’t address epoxy needed to cover the edges or any losses from mixing or pouring.
-
I Already Know The Area: How Much Resin Will I Need?
If you already know the area for a given surface, just multiply that by desired coating thickness (remember to convert feet to inches and fractions to decimals first) to get volume. Then convert cubic inch volume to ounces, convert ounces to gallons, and pad by 5 to 10% percent.
-
Is a Seal Coat Needed?
A seal coat should only be needed for wood or otherwise porous materials. This prevents air bubbles from coming out of the substrate while the flood coat is applied later. To apply a seal coat, brush on, or apply a thin layer of epoxy to the surface. A few minutes after applying the seal coat, observe the sealed material. Apply more epoxy to areas that have absorbed the initial seal coat. Allow the seal coat to cure prior to applying the flood coats.
Related Products


Clear High Performance Epoxy Kits


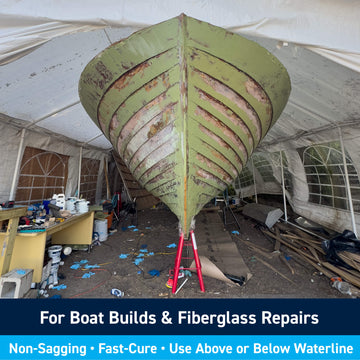
TotalFair Epoxy Fairing Compound


Traditional 5:1 Marine Epoxy Resin Kits

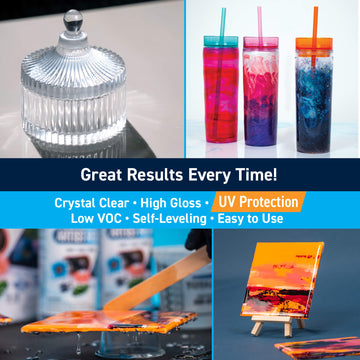
ThickSet Cast + Coat Deep Pour Epoxy Resin Kits


Wave + Marble Art Epoxy Resin Kit

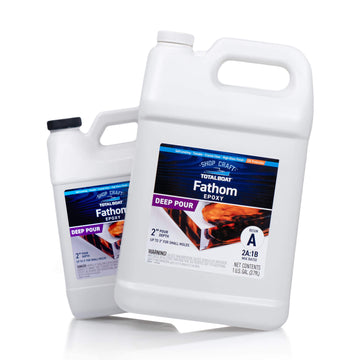
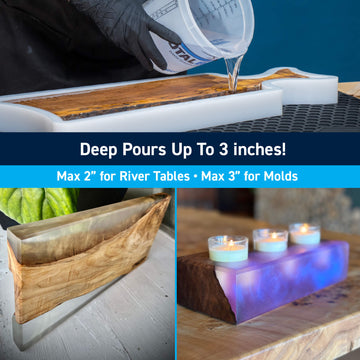
Fathom Deep Pour Epoxy Resin Kits

MakerPoxy Crystal Clear Artist’s Resin by Jess Crow


High Performance Epoxy Slow Hardener

High Performance Epoxy Medium Hardener

High Performance Epoxy Fast Hardener
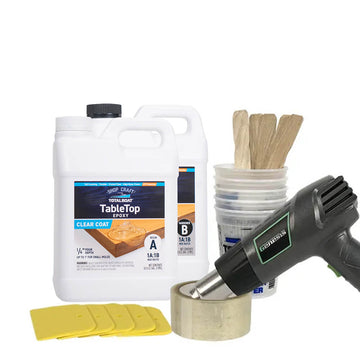
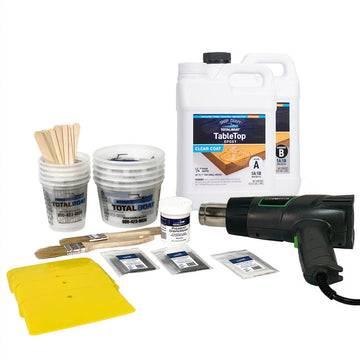
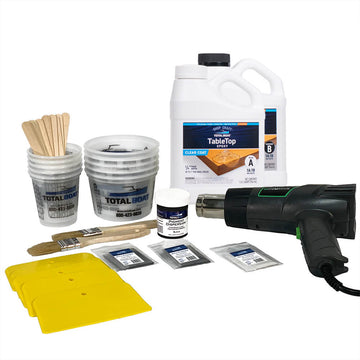
Clear Epoxy Bar Top & Table Top Project Kits

Epoxy White Marble Effect Countertop Kit
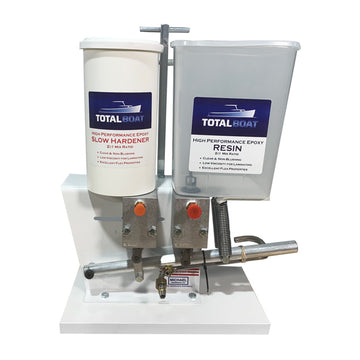
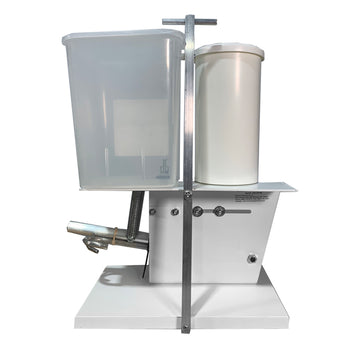
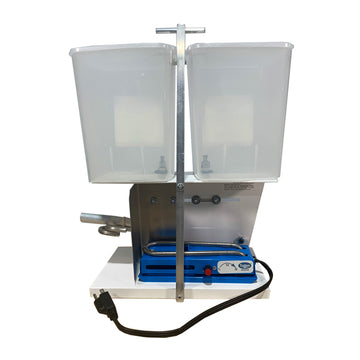
High Performance Epoxy Metering Pump Dispenser
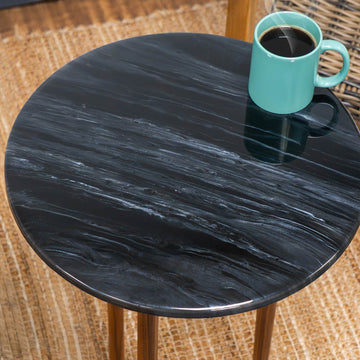
Epoxy Black Marble Effect Countertop Kits


Kintsugi Epoxy Repair Project Kit
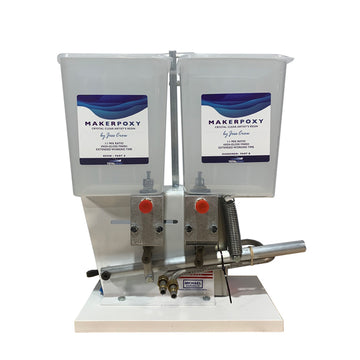
MakerPoxy Metering Pump Dispenser