


If it’s still light out when you leave work, you know it’s time to get crackin’ on the boat projects. Such was the prognosis at last week’s Shop Night. The crowd was big, the projects were ambitious and the pace was frantic! Seems like the perfect time to dig into the project of beefing up – and raising up – the transom on the SeaCraft 20. It’s been in the plan for a while, but it’s a big and important project and one which requires lots of planning, materials and certainly expertise.
The expertise on-hand was drawings and recommendations from expert boat builders who are regulars in the TotalBoat Workshop. Stephan, the motorcycle seat maker from our video series, is among them and he gave some notes and pointers to the team before blasting off to another shop down the street. Matt Smith, Naval Architect and builder of the carbon fiber hard top for the BlackWatch 26, also weighed in and gave a good overall plan to follow for the transom crew. There was little trepidation though, and the team got right to work and glassed in the transom, now raised by 5″, vacuum bagging it by the end of the night.
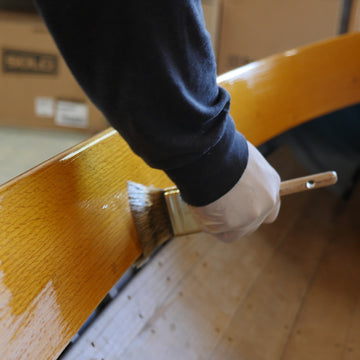
The Facebook album below touches on many of the Shop Night projects that are underway currently. The Century Resorter is getting closer to completion, with gallons of varnish in their near future. And it looks amazing! Optimist repairs are always going on over in the Opti Hospital, with a crack team coming by every week from Tiverton Yacht Club to put the hours in and lay on the Thixo and fiberglass. It’s serious work because they are youth trainers and need to be solid, safe and they need to sail well! Shane and his dad are attacking a new hatch for their sailboat and there is some varnish going onto the weatherboards, too.
But it’s the transom that is a big deal – and with hundreds of pounds of horsepower hanging off the back – we thought it was worth filling you in on the process of raising it. We know it’s a common repair on boats with outboards and we thought this method worked really well – or maybe that remains to be seen! Check out the pics and the process below.
Chuck started by making a template with decreasing sizes that could be cut away as the next piece was cut. These fiberglass pieces would be layered onto the transom’s Penske board.
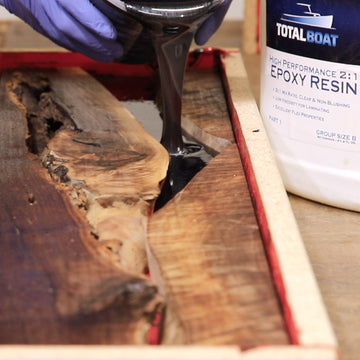
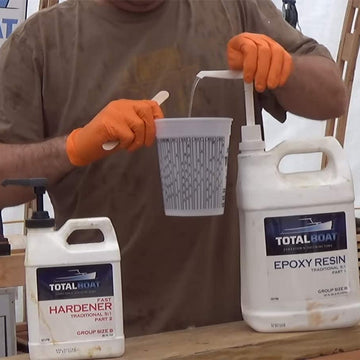
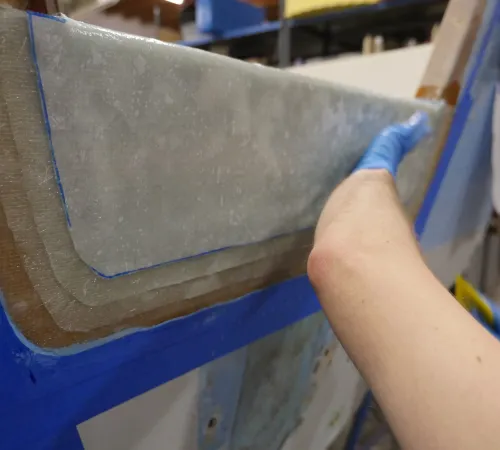
Thin plastic film from 3M was laid on the table first and the fiberglass was wetted with the TotalBoat 2:1 High Performance Epoxy. By sandwiching the 1708 fiberglass between the film, it made for clean cutting and transporting.
The template was laid on top of the film and traced, and then cut into pieces matching the transom shape. The Penske board was wet out with the epoxy. (We are doing the outer transom first, just over the top of the Penske board to the inside, and then glassing the inside later. Maybe tonight?)
Eric and Chuck applied a few pieces of rectangular 1708 fiberglass onto the Penske board to fill in the area where it had been sanded. This will level the area to the rest of the transom. The pieces of cut fiberglass were layered onto the transom with the largest size going down first. Once applied, the thin film was peeled off and they used squeegees to get the air out of the fiberglass sheet.
Once all the layers were applied, a breather fabric was added on top. The breather allows the vacuum to remove all of the air from the fiberglass layers. Tape was applied around the perimeter and the area was vacuum bagged overnight. BOOM! Look for an updated photo on Instagram or in the blog.
Next up – glassing the inside!